Building the Car Rotisserie
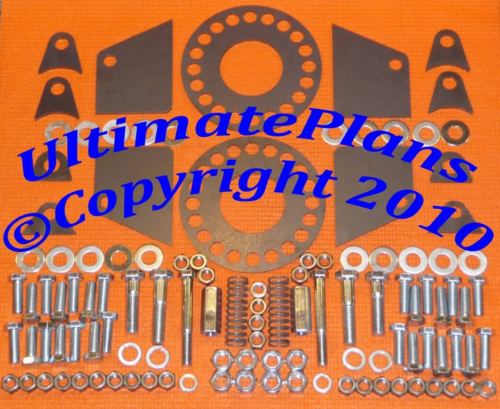
After crawling under the car several times, I thought there must be better way of improving the underside of the car without the wear and tear on my body. I saw advertisements for car rotisseries in Streetrod magazines but decided the cost (especially the delivery) was more than I wanted to pay. I than found an EBAY sale for car rotisserie plans for 12.99 USD:
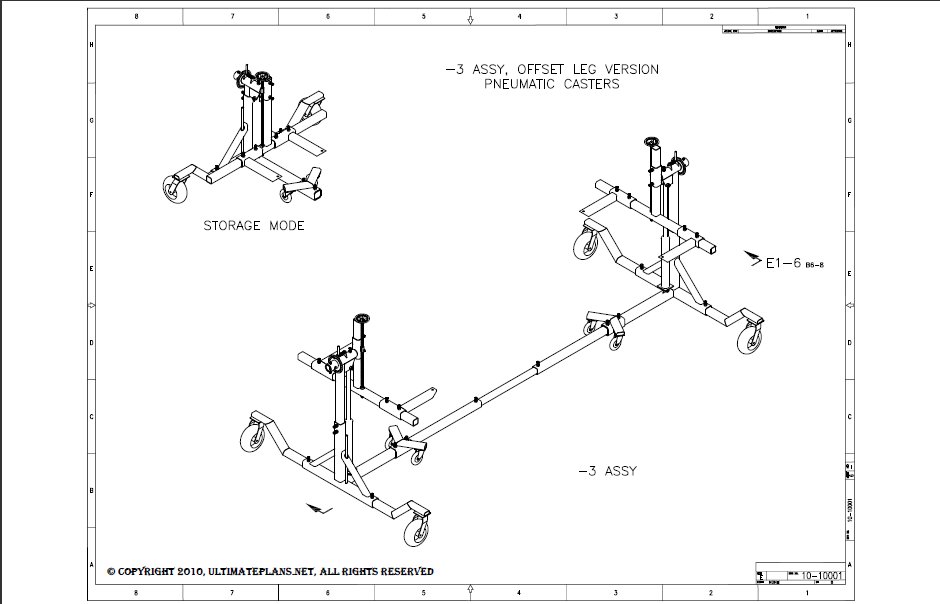
It looked easy enough so I purchased it. It came with about 30 pages of instructions and 27 sheets of drawings which I printed on my HP laser in B-size (tablet).
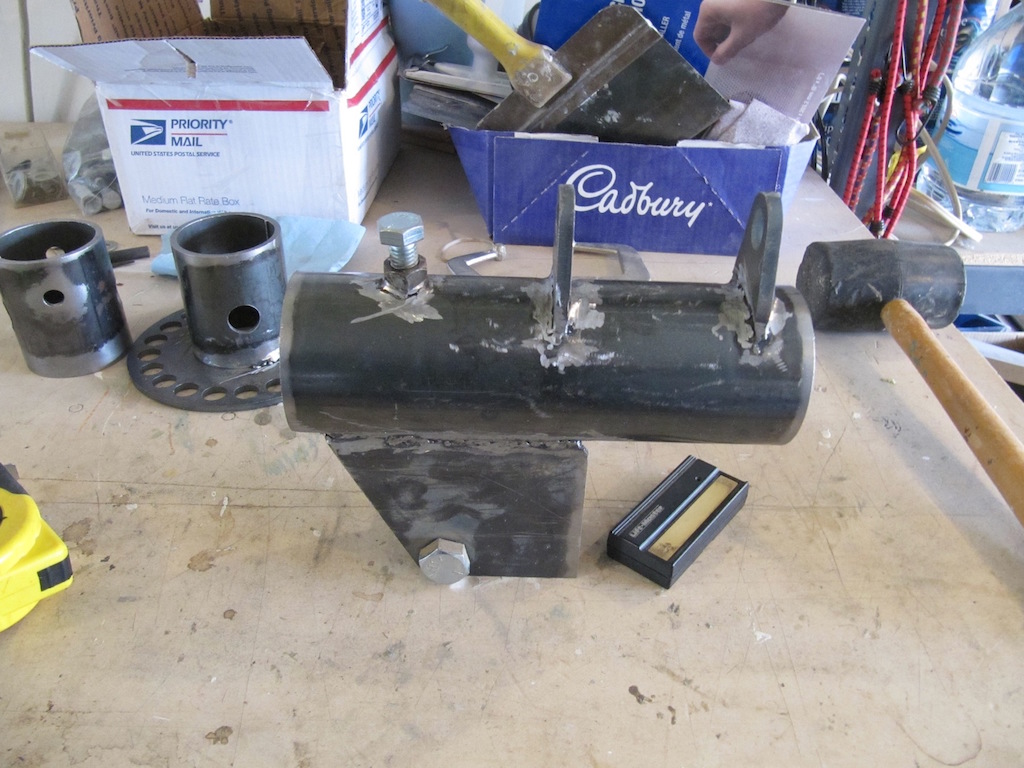
I jotted down all the measurements for the tubular steel and headed off to A2Z Metals at 1530 Church Street, Winnipeg. I could probably have gotten the steel cheaper elsewhere but Allen cut the steel to my exact measurements, while other places would only approximate the cuts and I would have to correct the measurements at home. I did not have the proper tools to do this.
The drawing below shows the version of the rotisserie that I will build.
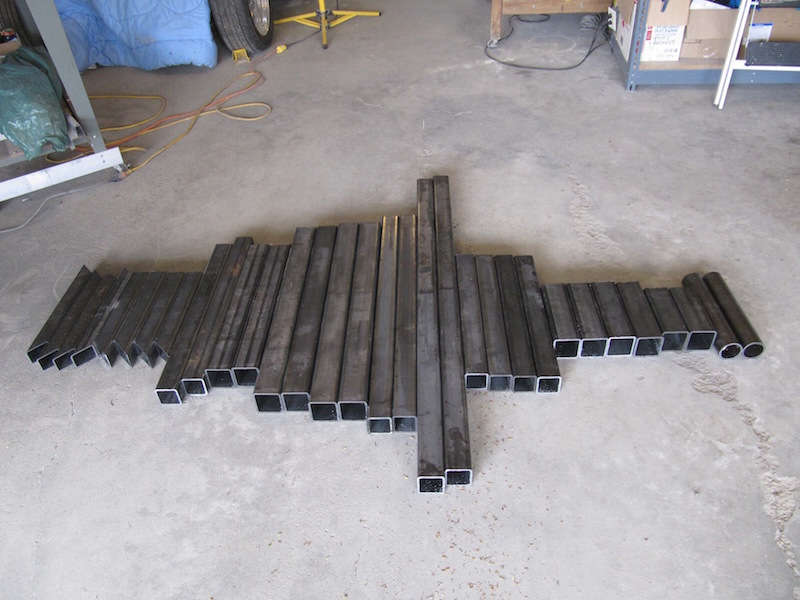
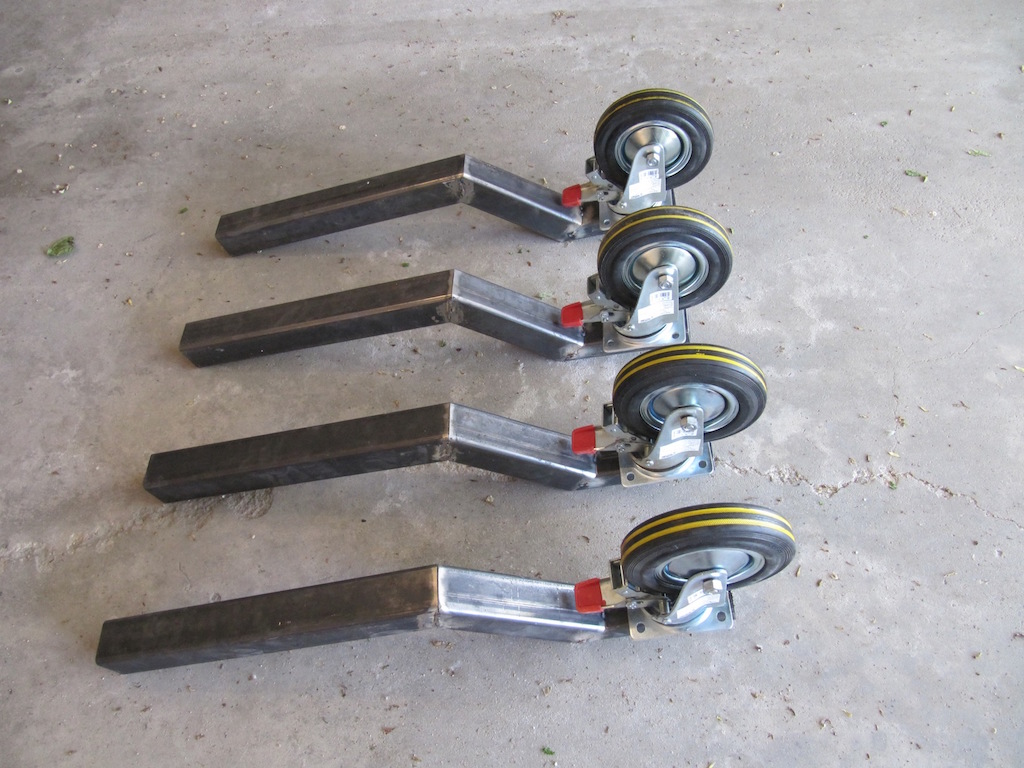
I took the steel home, drilled the required holes and tacked it together with my little MIG welder. I took the pieces to Extreme Machine on Hutchings Street where they arc welded all the joins with a 1/4 inch seam. I purchased the caster wheels from Harbor Freights in US.
I painted all the steel using Tremclad Dark Navy (with brush) and Wild Raspberry (with spray can).
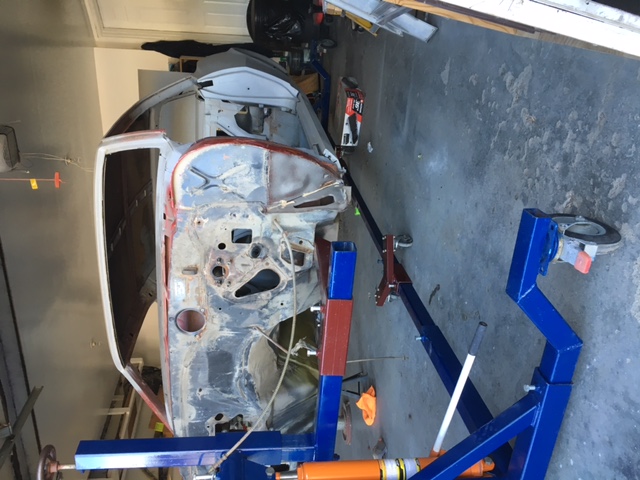
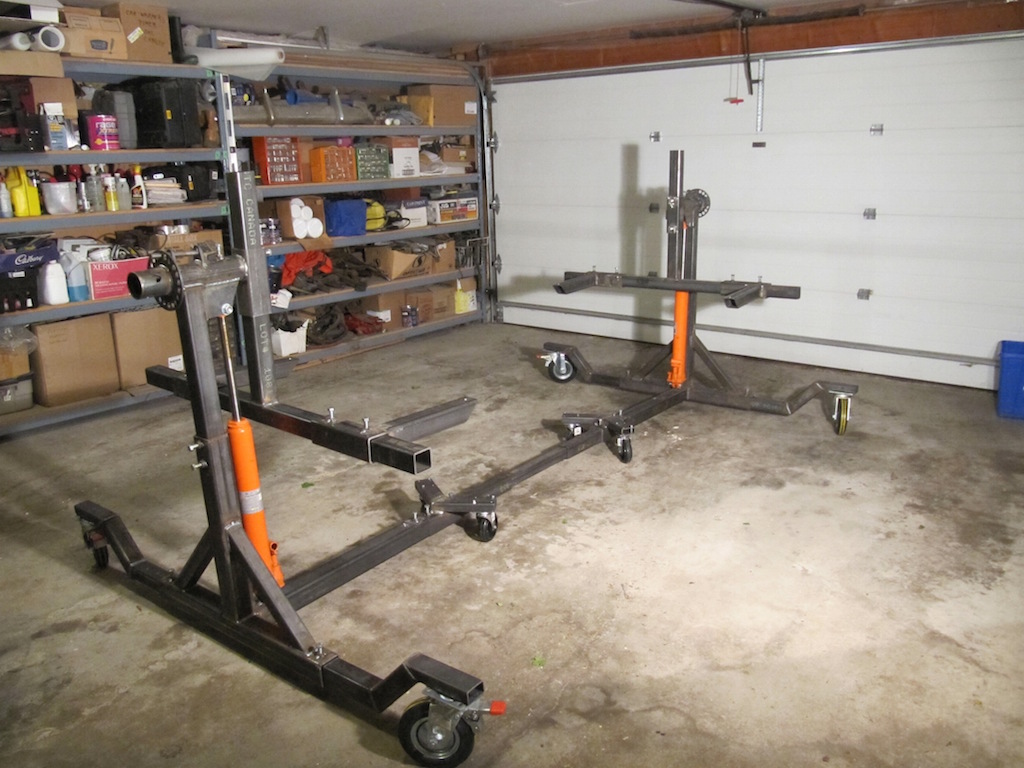
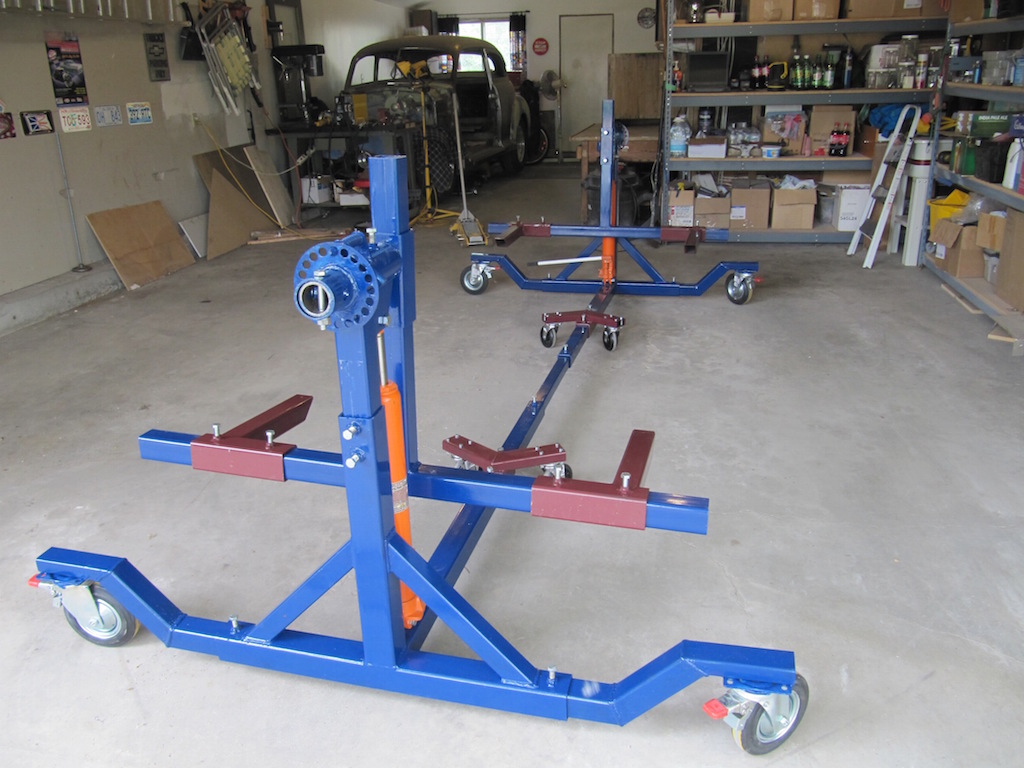
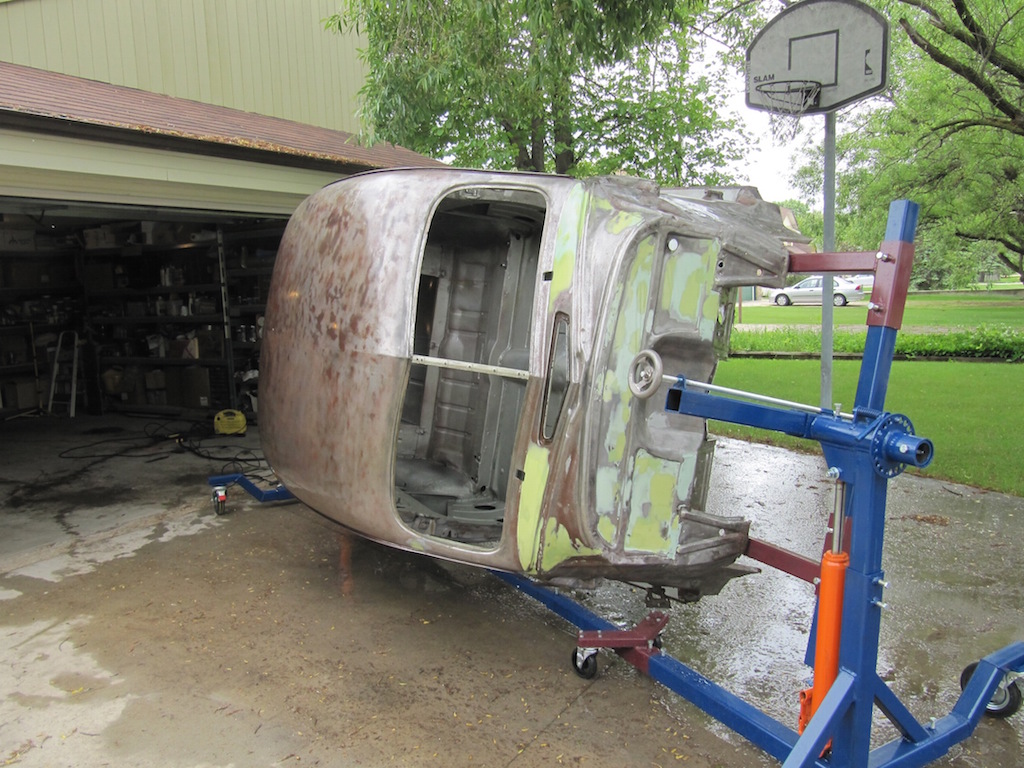
The picture below shows the assembled rotisserie with almost all the pieces.
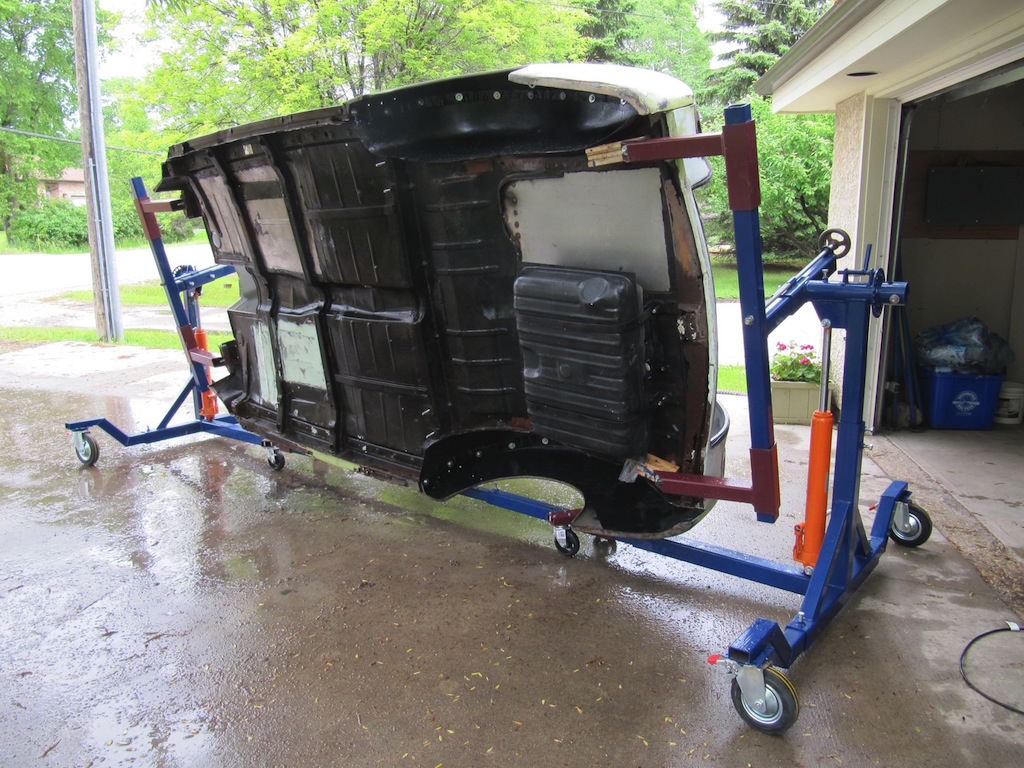
The next picture the assembled rotisserie all painted.
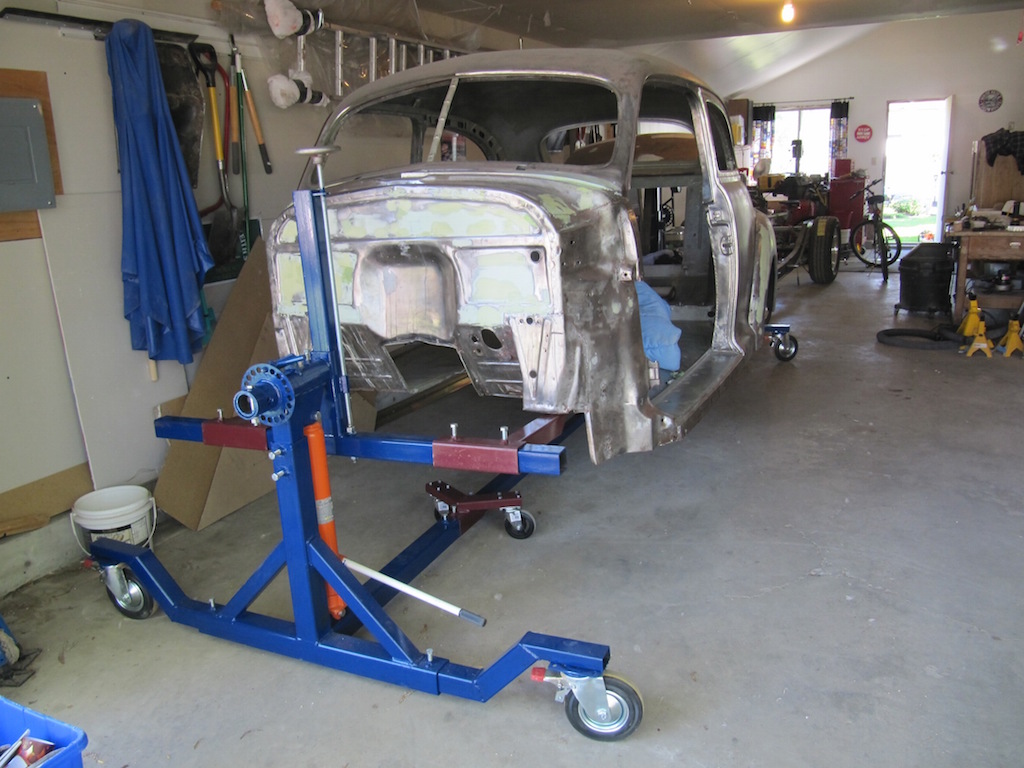
I found it was very easy to move it around due to the offset wheels. it was also easy raise and lower it. I found out quickly that I could not push it thru the garage door when the car was rotated on it's side (bang!).
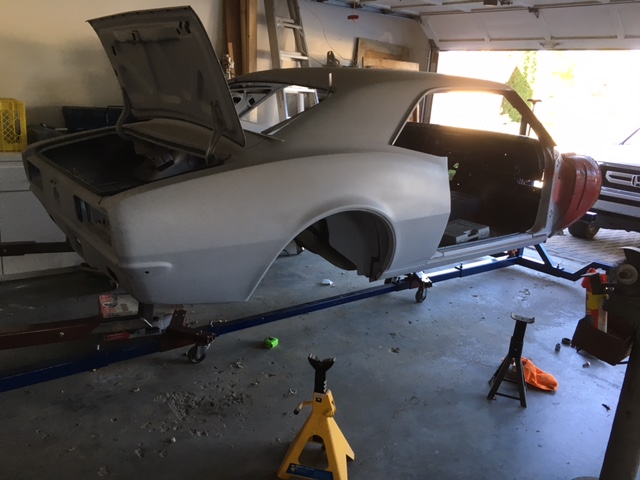
The spare tire slot was replaced with flat steel and the driver's side floorboard was replaced with a new one from Chevs-of-the-Forties store.
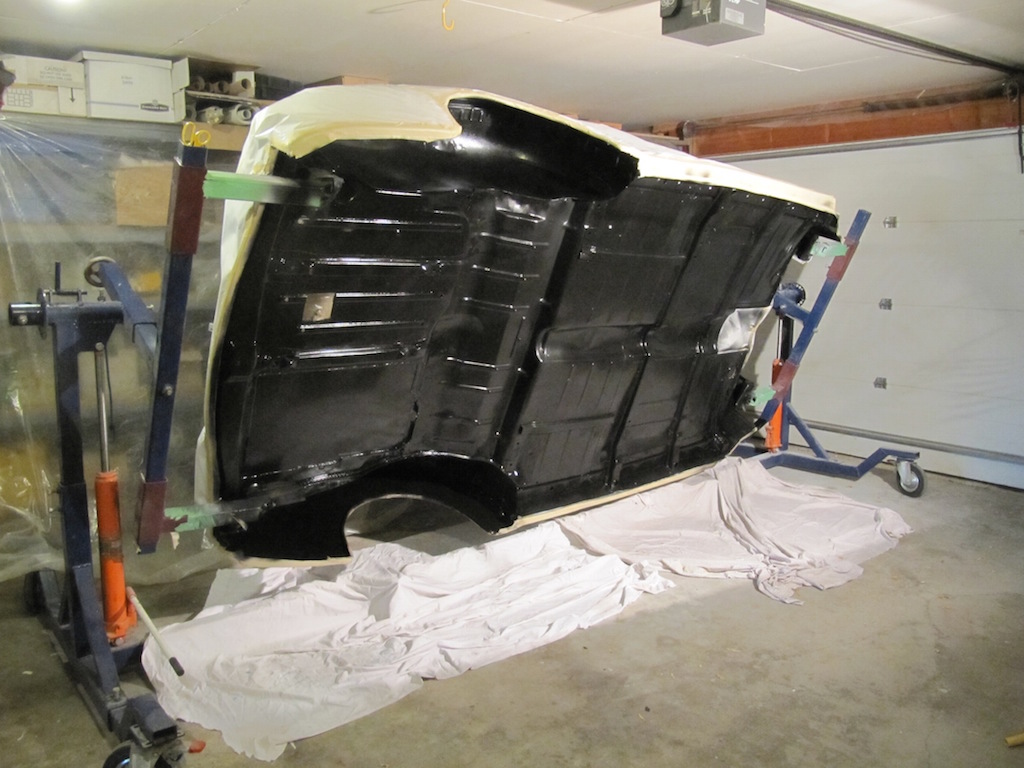
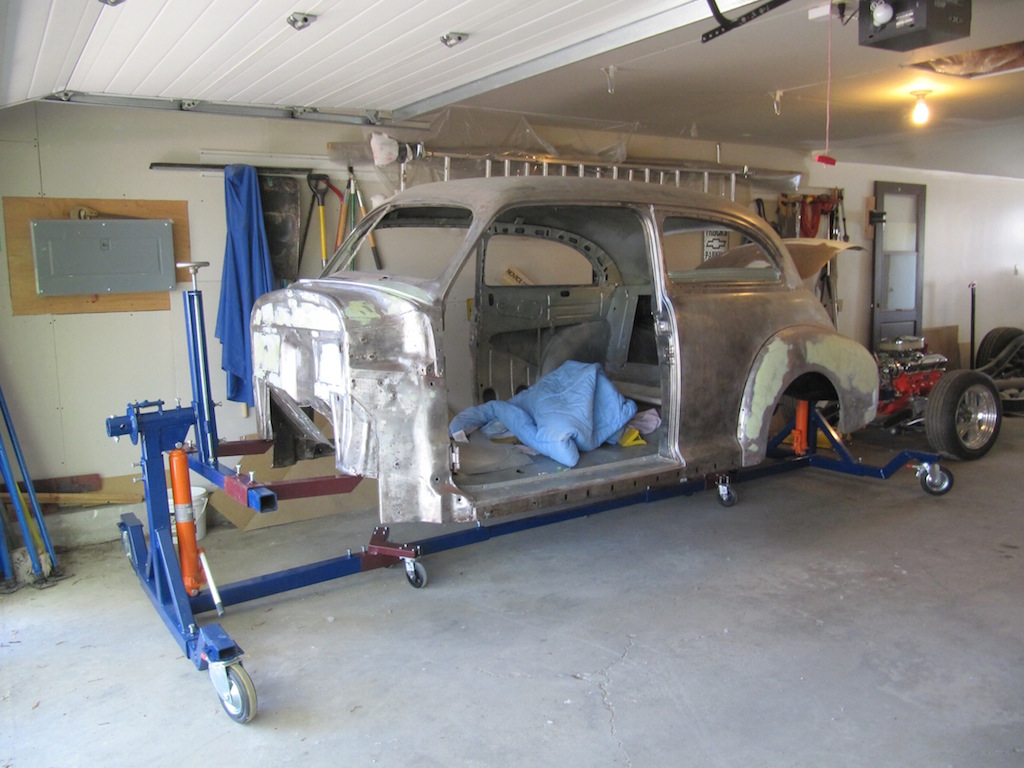
After I finished the bottom, I took the body off of the rotisserie and placed it on jack stands. My painter then came out and painted the fire wall, inside the doors, the jams, and inside the trunk lid.
I decided for now that I had no immediate use for the car rotisserie, but I did not want to sell it. I ended up advertising it on Kijiji as a rental item for $100/month, minimum 2 months (If interested look on Winnipeg Kijiji for my ad!). So far I have recouped the cost of the material. Now, I am working on my labor costs. I have also had several people offering to buy it.
August 31, 2016: Sold my car rotisserie this week. I used it for 2 years and rented it out for 3 years at $100/month. Cost about $1200 to make and sold it for $1700. It just got too heavy to move around. Problem is I promised delivery with the sale. Regina, here I come! Maybe I will stop at the casino and spend the money.
I may still build another one if my friends require one! I will keep all my documents and drawings.
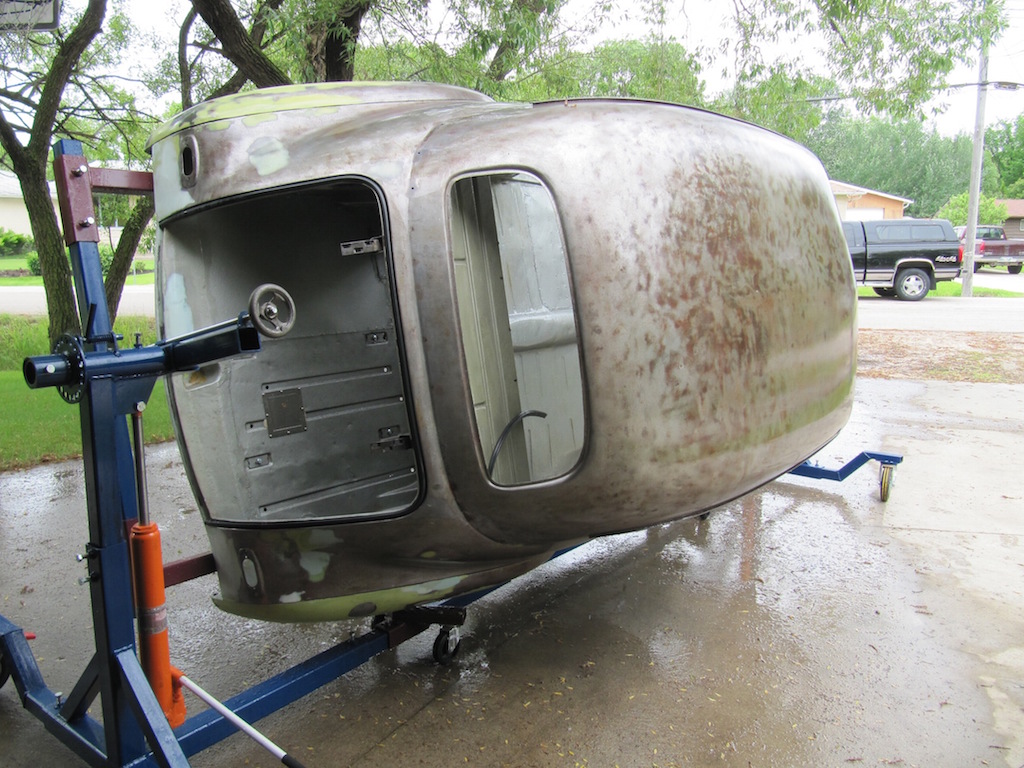
Other cars on my rotisserie: