Painting
Selecting a paint color was one of the more difficult tasks in my project. Jill and I spent many hours discussing (read arguing) about the right color for the car and finally she indicated that I choose any color that I wanted. I was leaning toward a reddish brown or copper. At this time I had been dealing with Spectrum Coatings on Border Street in Winnipeg.
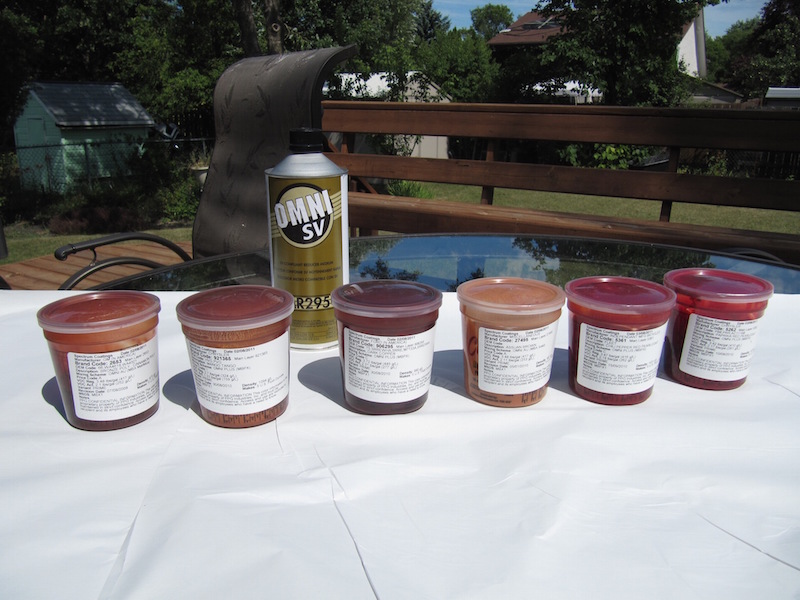
I picked 6 favorites and got Spectrum to provide me with samples in the PPG Omni line ($4.50 each).
• 906295 Dark Copper
• 921365 Mango Tango
• 2653 Bronze Poly
• 27495 Assuan Brown
• 5361 Chili Pepper Red Pearl
• 5262 Paprika Red Pearl
I picked some scrap pieces of metal and sprayed a sample of each color as shown below.
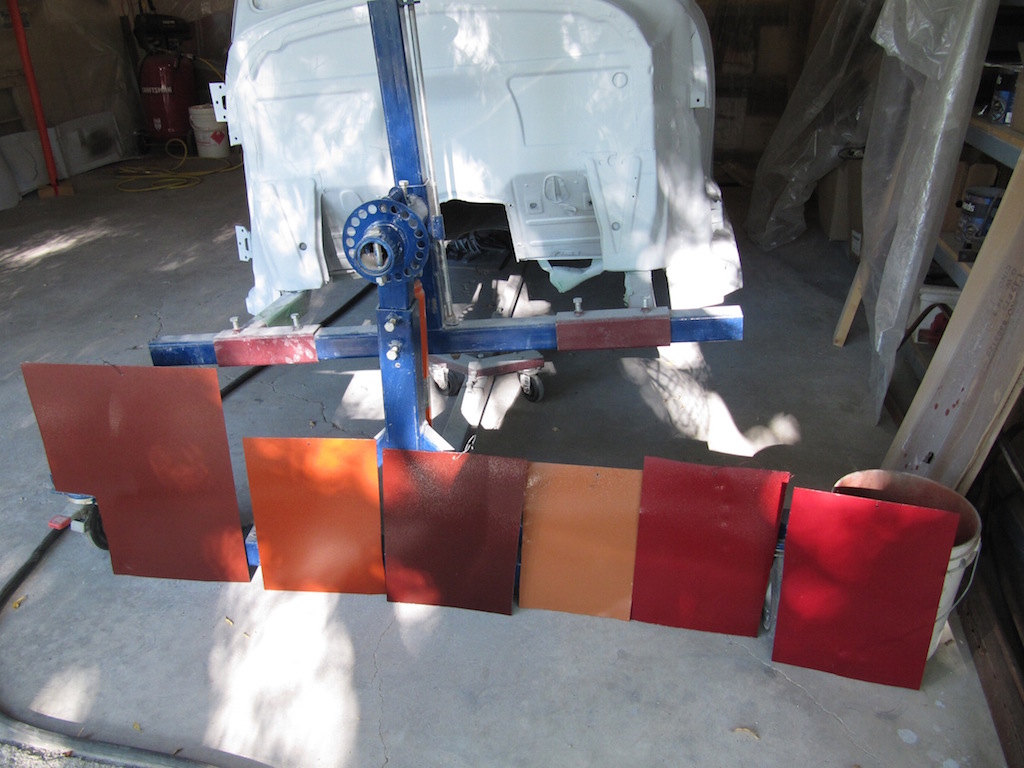
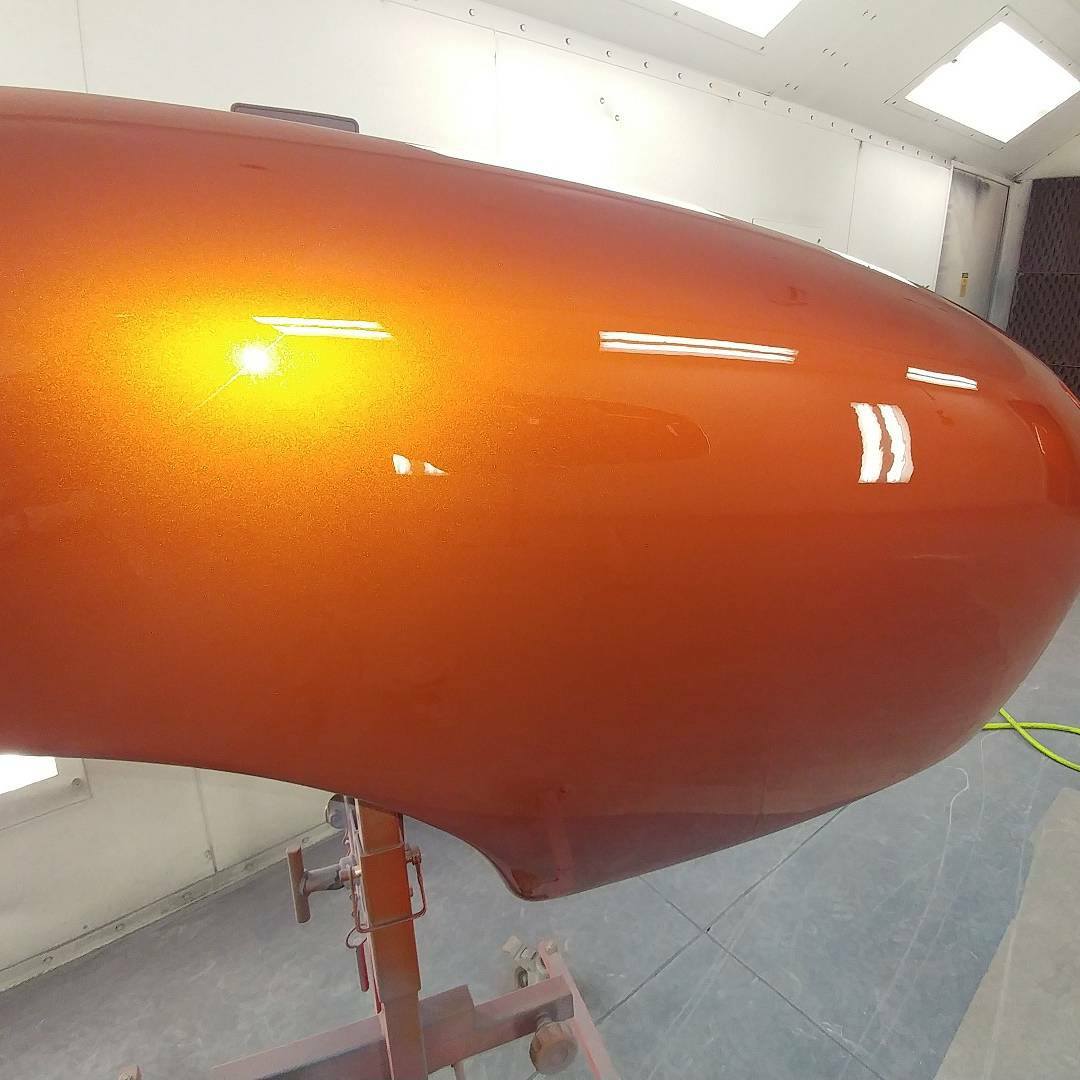
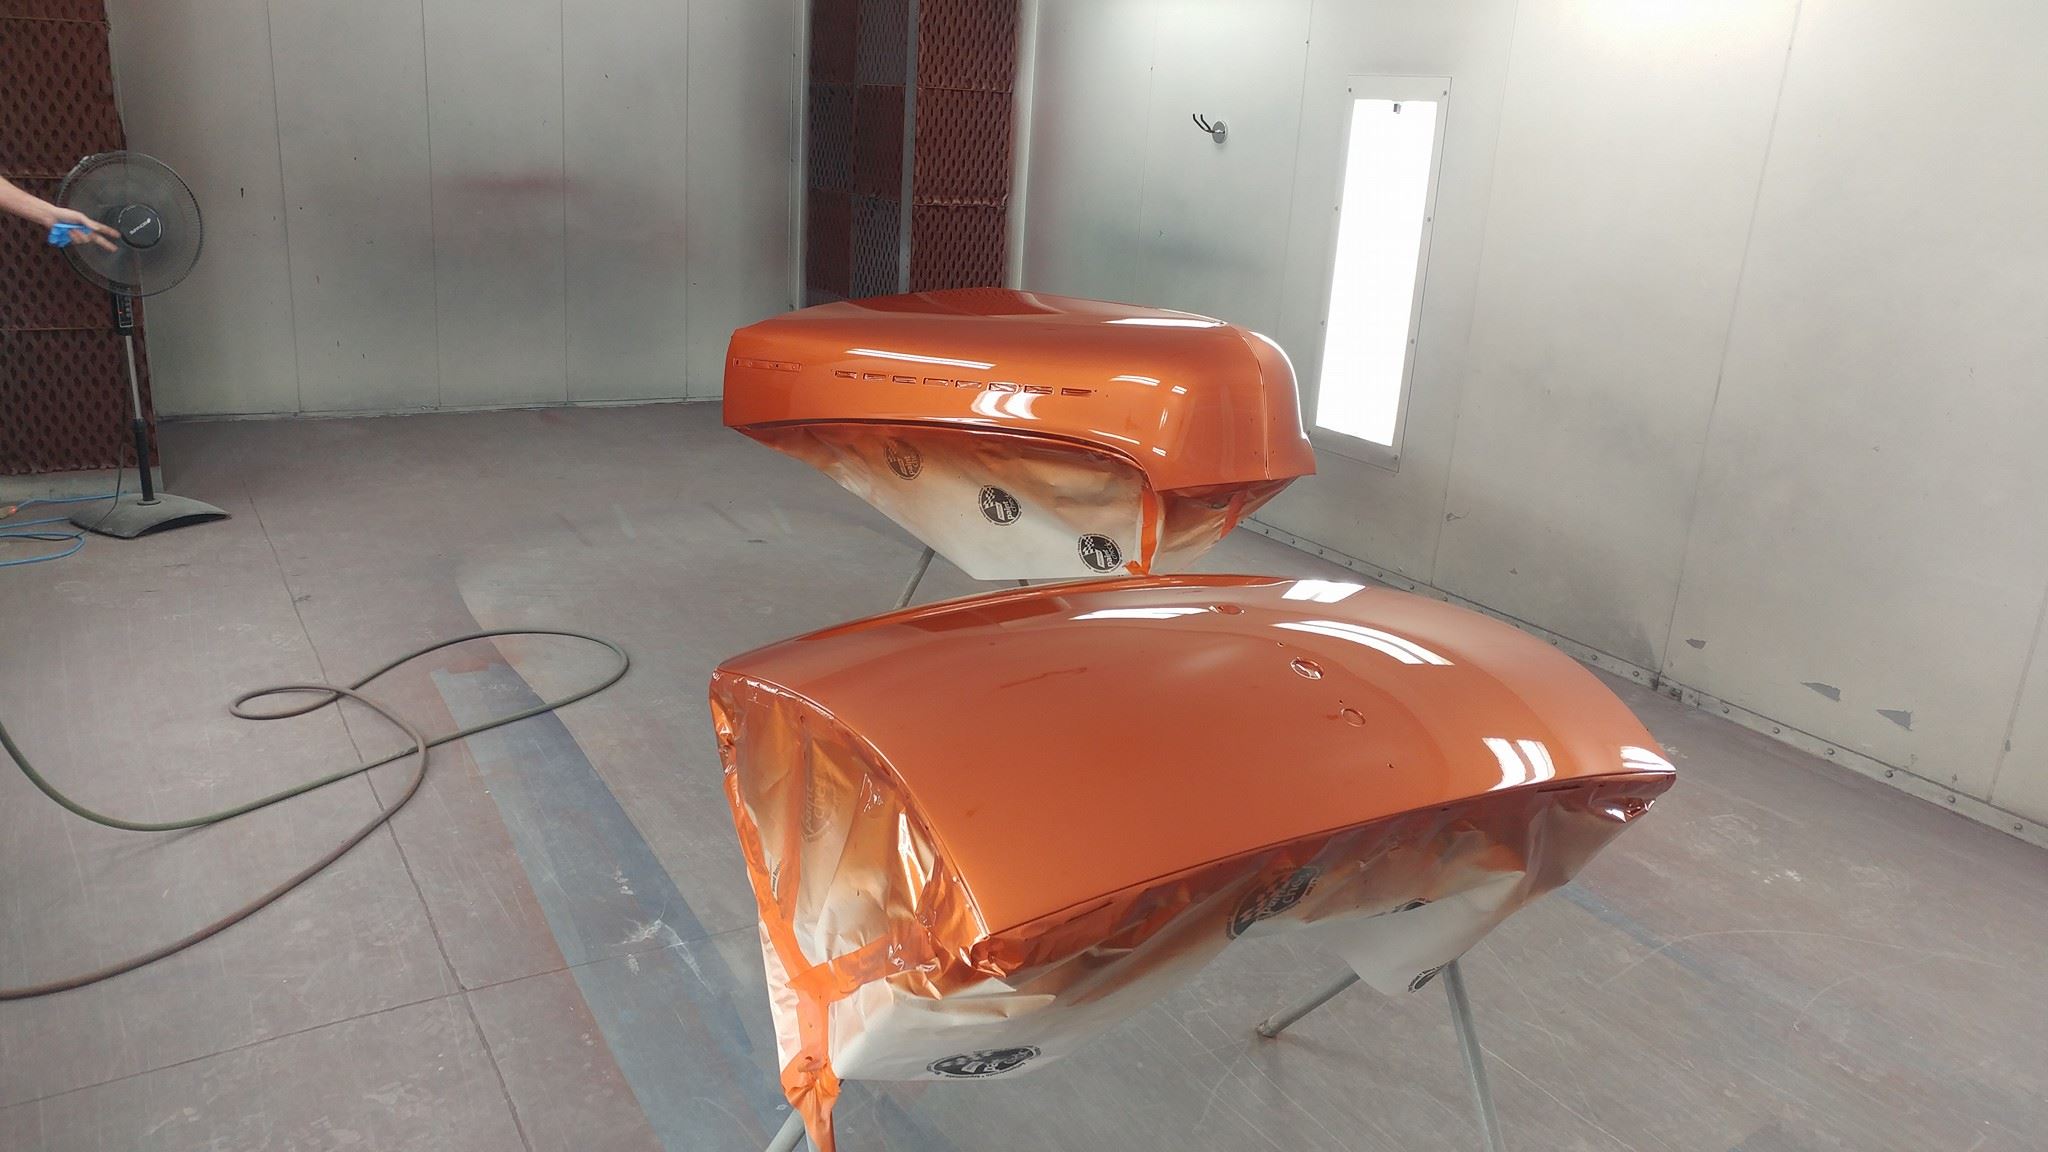
The color that I finally chose was the Mango Tango shown in the second panel above. It consists of 8 different tints and a pearl as shown below. Because of the pearl, the cost was very high (around $825.00 for a gallon). This color was used mainly by Chrysler (their Jeep line).

I picked the PPG Omni line because Spectrum said it was the most affordable. I later found that I could purchase the far superior PPG Deltron line from EBAY for about 1/2 the price that I payed for a gallon of the Omni. It really pays to do your research.
I found a painter (Wes Griffith) who did bodywork and painting on the side from his full time job in a body shop. He agreed to paint my car for a reasonable price. He has since purchased the body shop that he worked in (see specifications link).
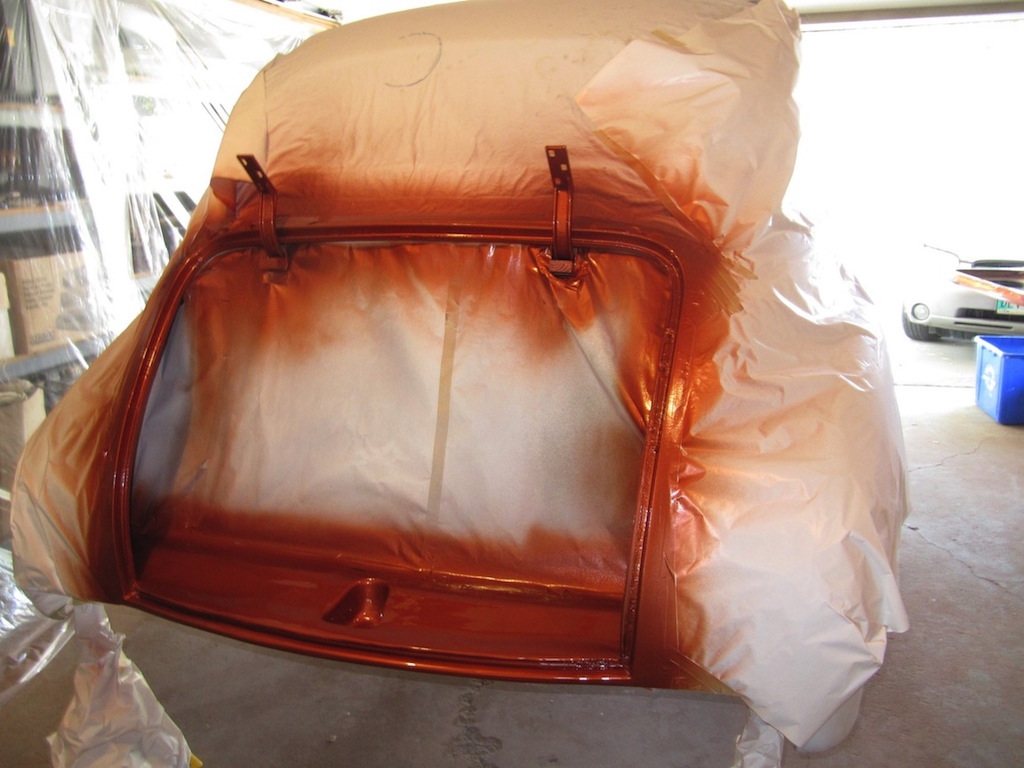
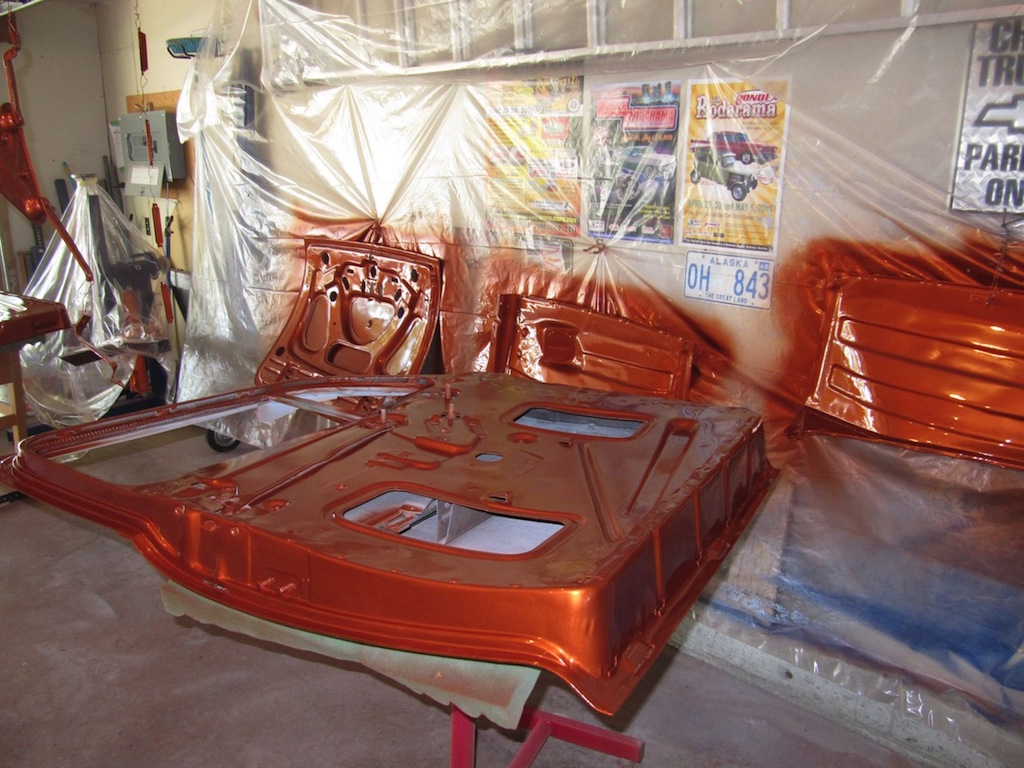
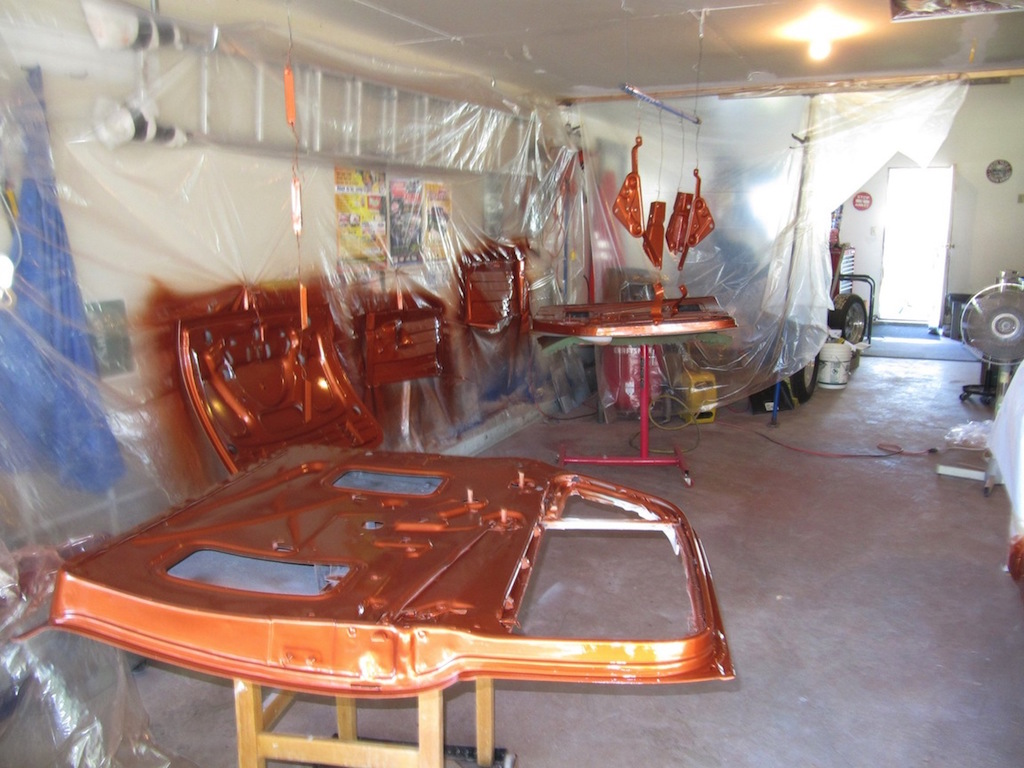
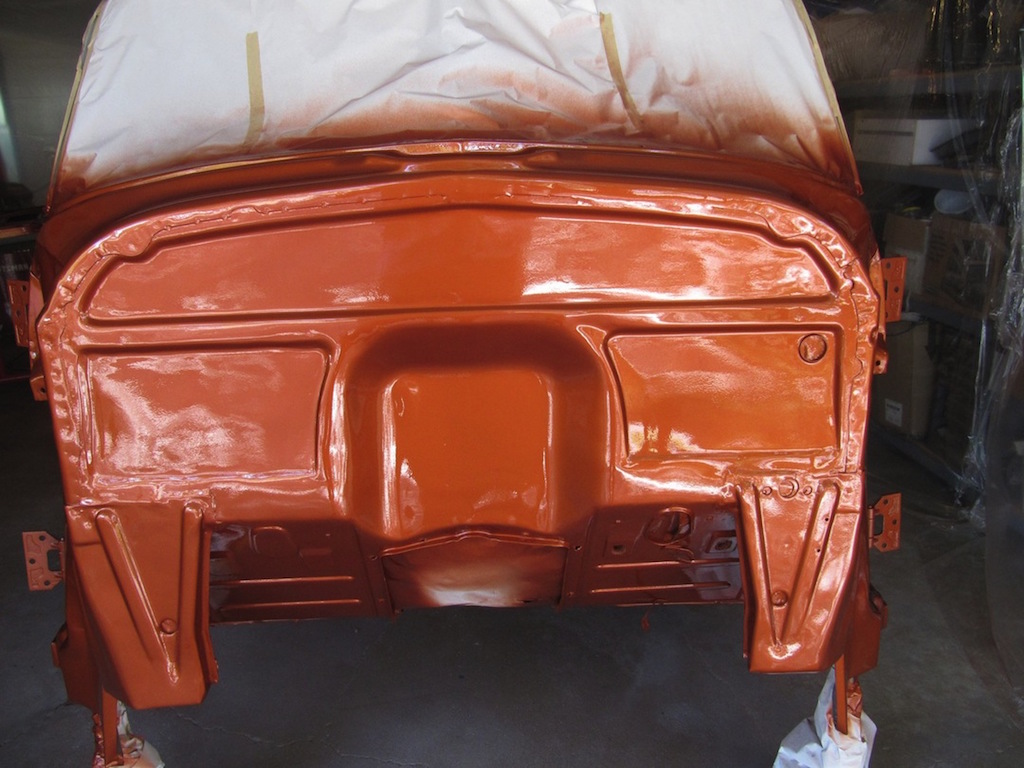
I put the car body on jack stands and he came to my garage and painted the firewall, inner fenders, inside of the doors, and the inside of the trunk lid. He used his own paint gun with my compressor.
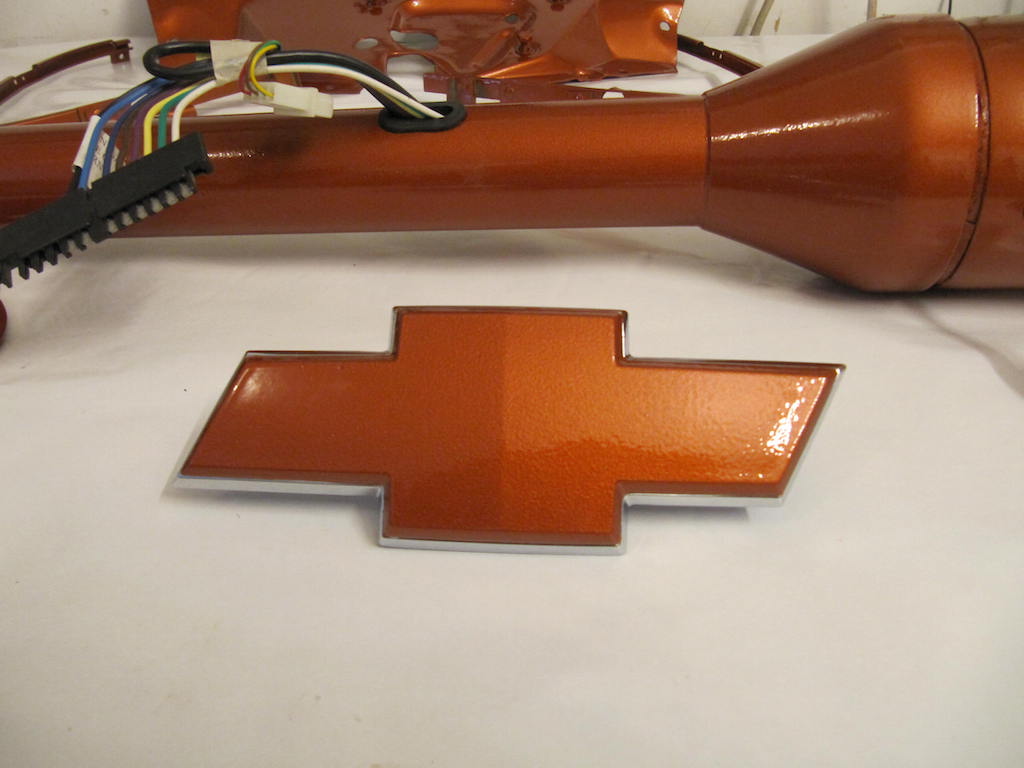
The pictures below don't do it justice. It looks much better in person.

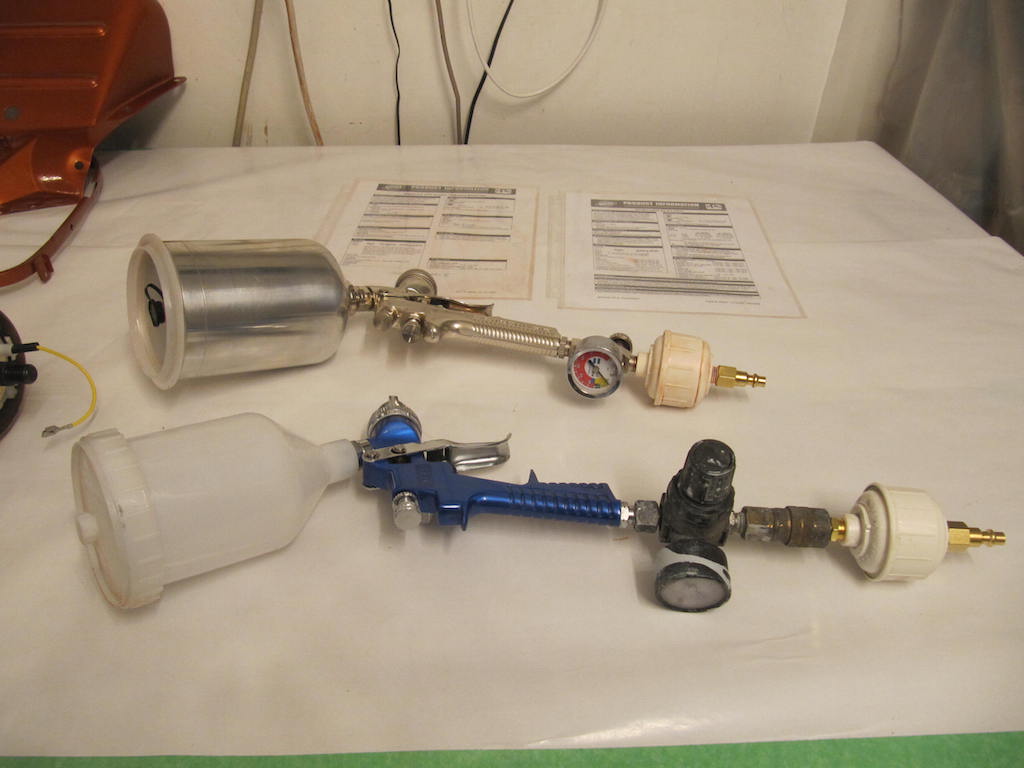
I decided to try my hand at spraying some base coat and clear coat. My painter recommended that I get a better paint gun for the base coat so I picked up a Devilbiss 670 Plus off of Ebay. I picked up a new Princess Auto gun for the epoxy primer for $19.00 (the blue one).
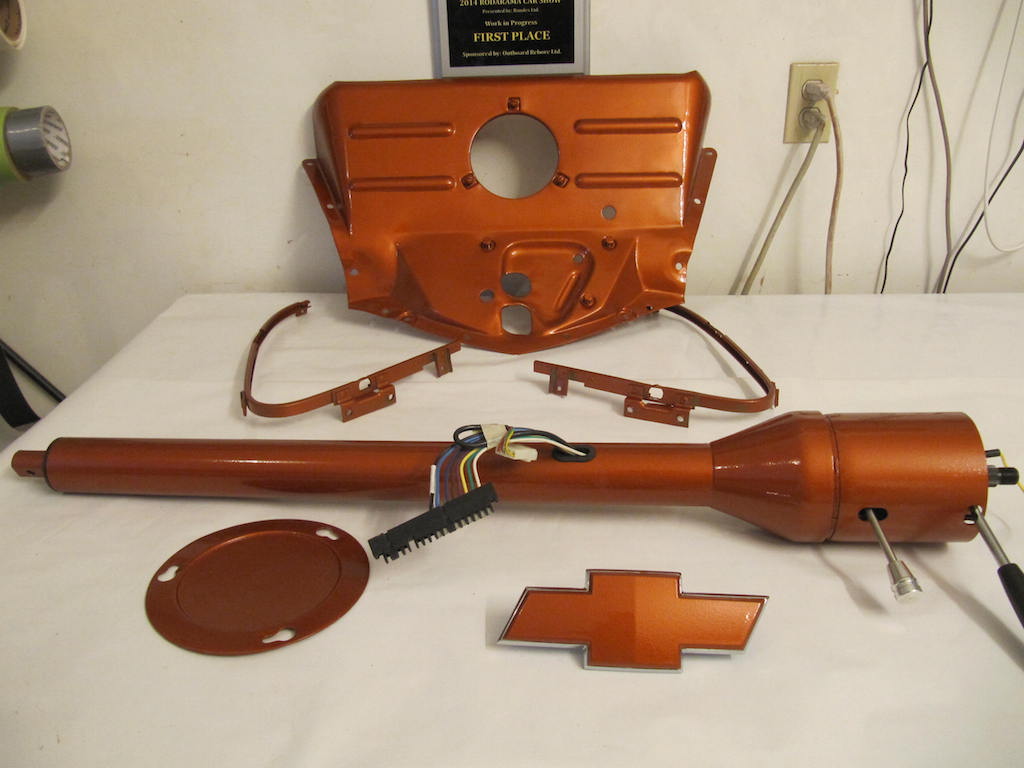
The base coat went on great, but I had a lot of "orange peel" when I sprayed the clear coat.
I managed to wet sand and polish the steering column to get the "orange peel" out but when I attempted to do the same with the other pieces I sand thru to the primer. I will try again. People suggested that I increase the air pressure on the gun and maybe dilute the clear coat.
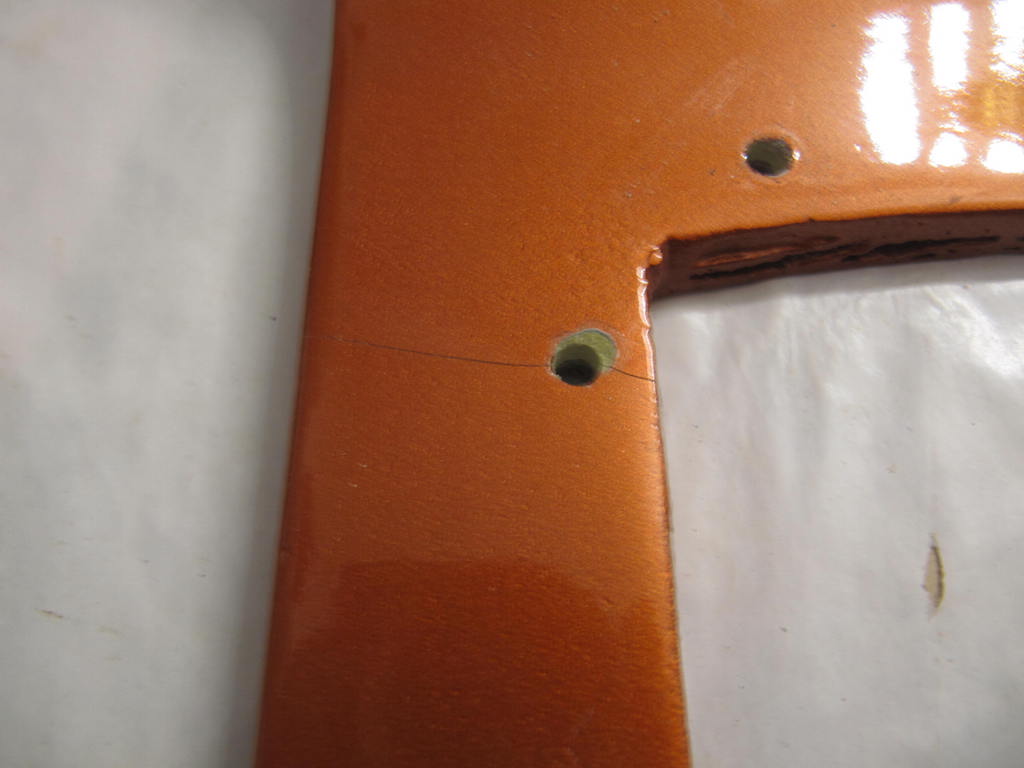
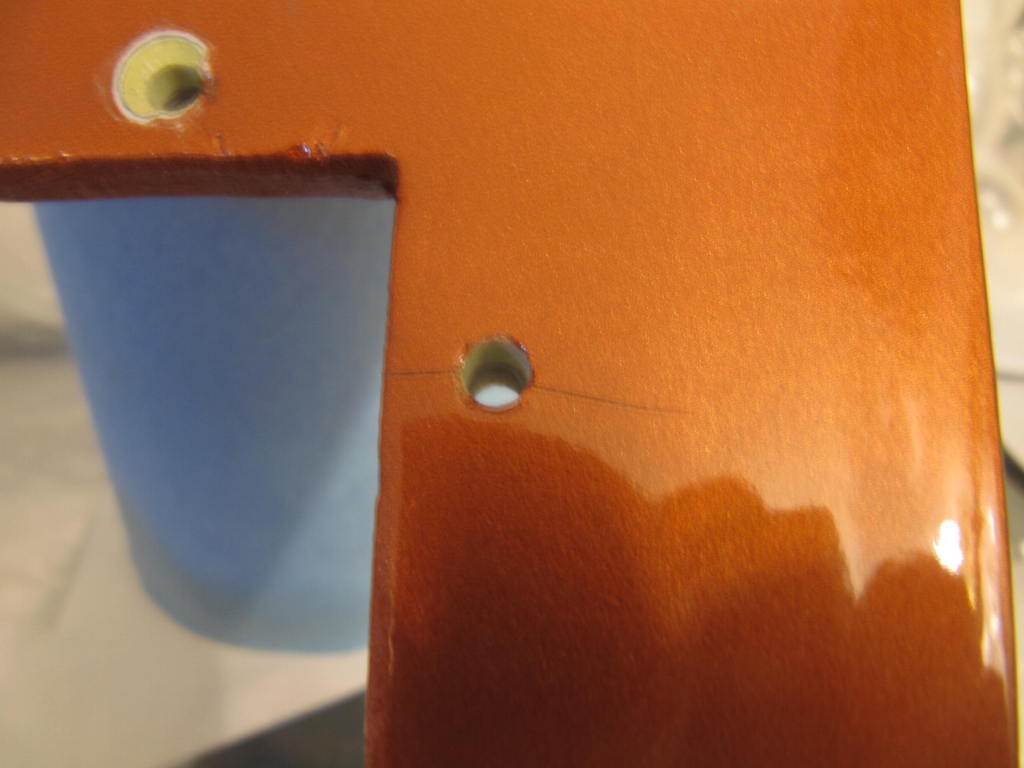
The 2 pictures above show the left and right side of the top of the center console. When I screwed it into the console, the fiberglass cracked. I fixed the cracks and drilled the holes out so that the screws would slide thru putting no pressure on the fiberglass.
I now have to re-paint the console top.
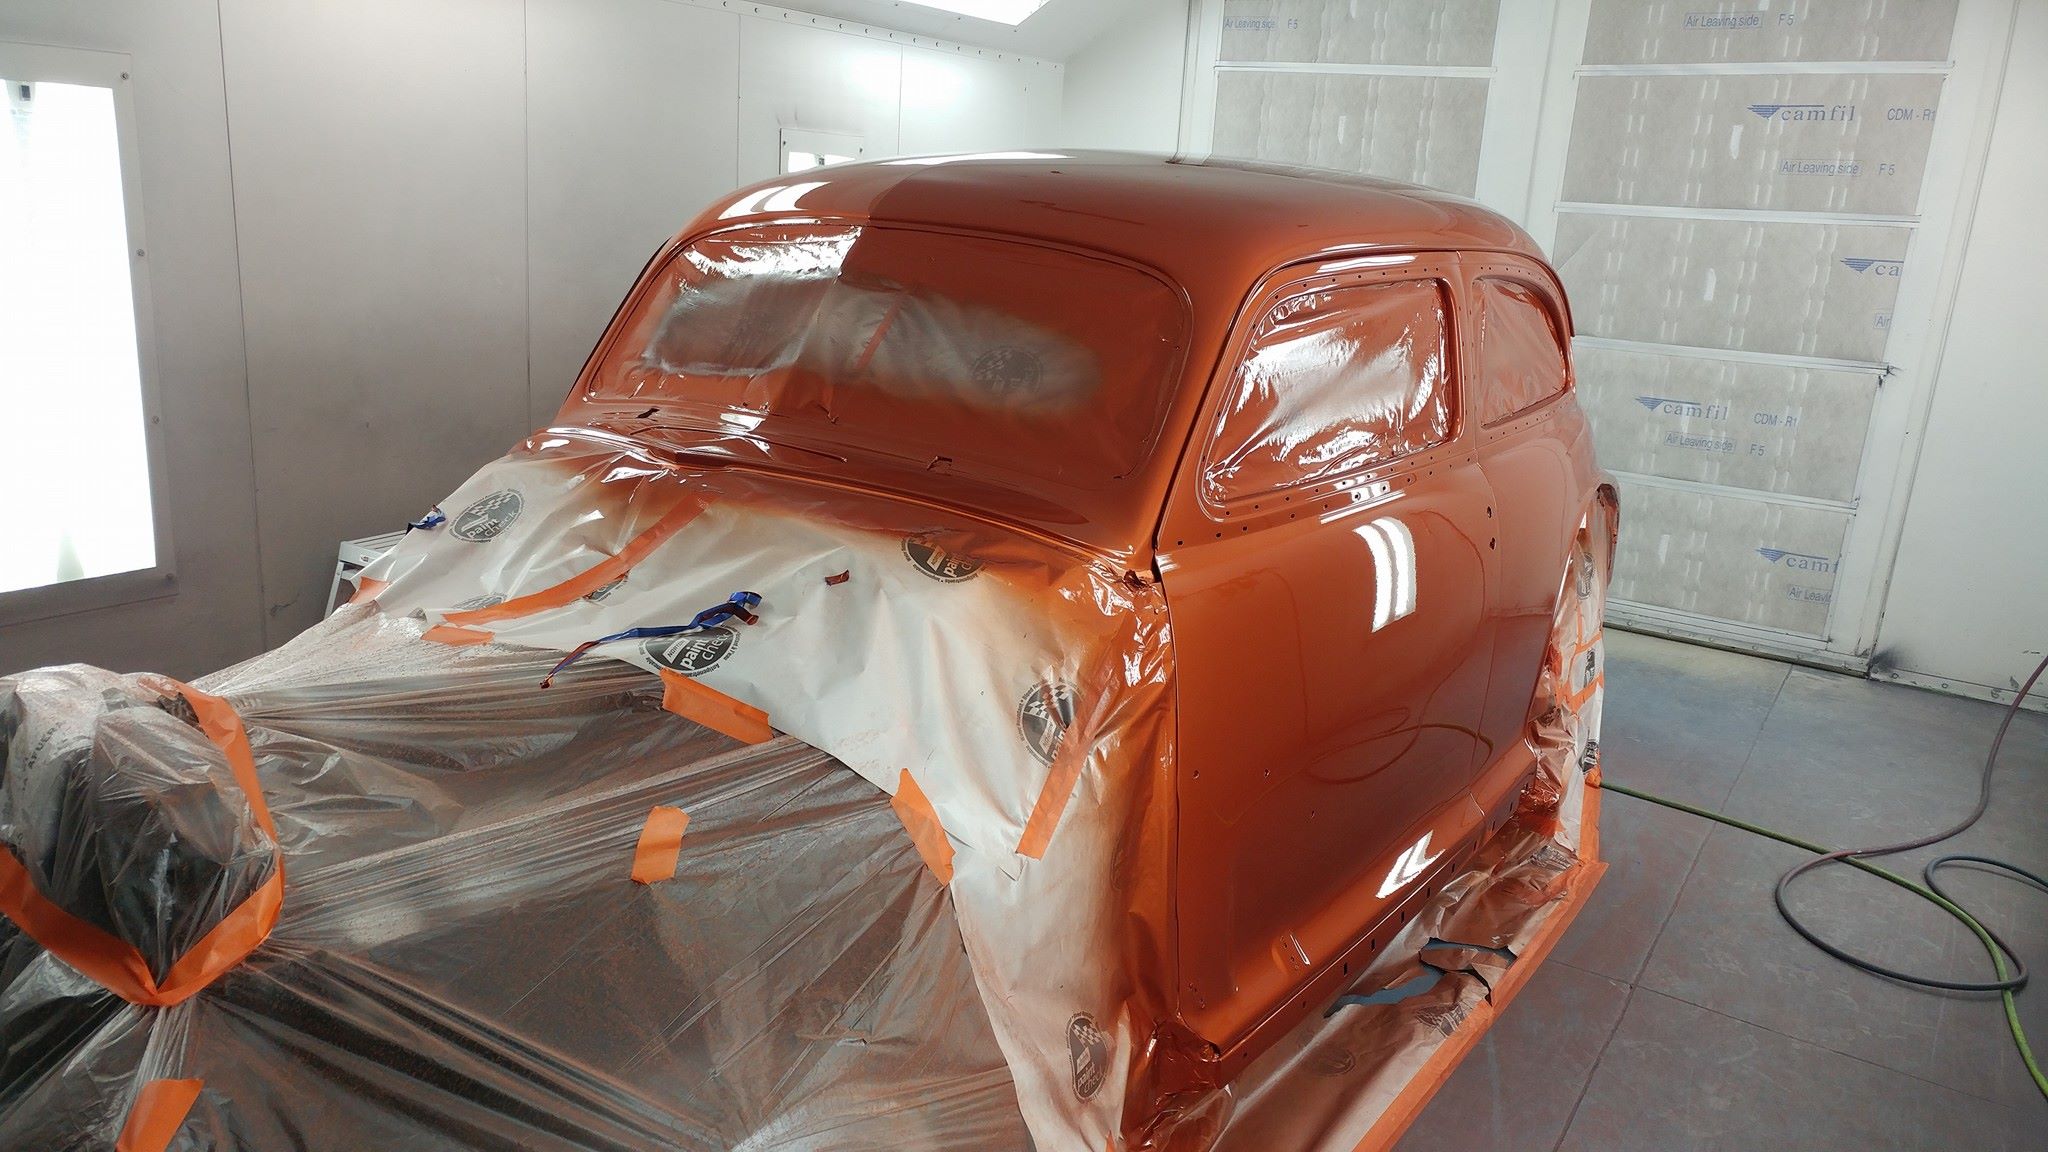
Finally! My car is now in the process of getting painted and I am starting to see results. After getting the bodywork done in St. Andrews, the car was taken to Anola Custom Collision and Glass which is owned and operated by Doug Newton.
Here are the first pictures that he posted on his facebook page.
To see Doug's Facebook page go to:
https://www.facebook.com/Anola-custom-collision-and-glass-890455577661272/
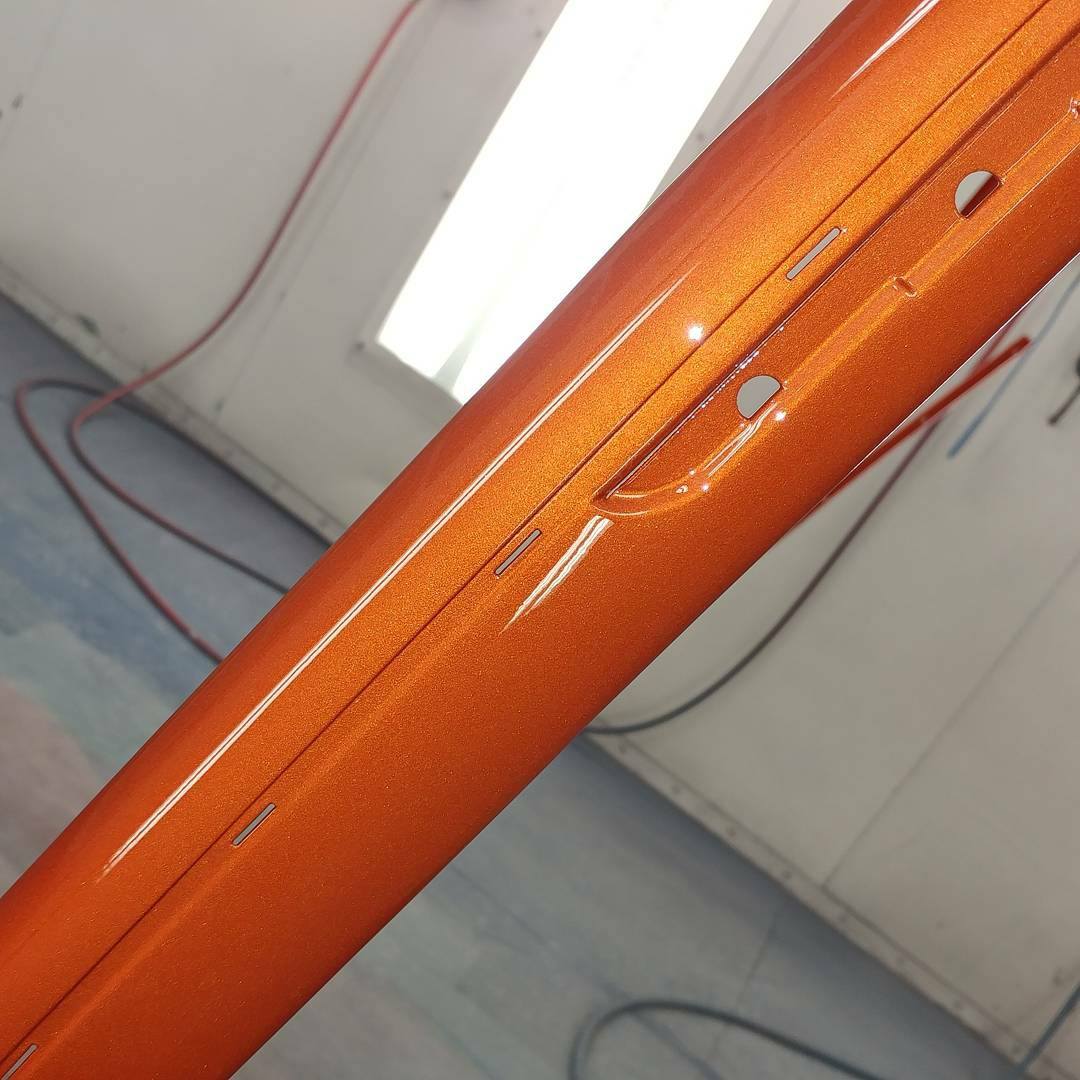
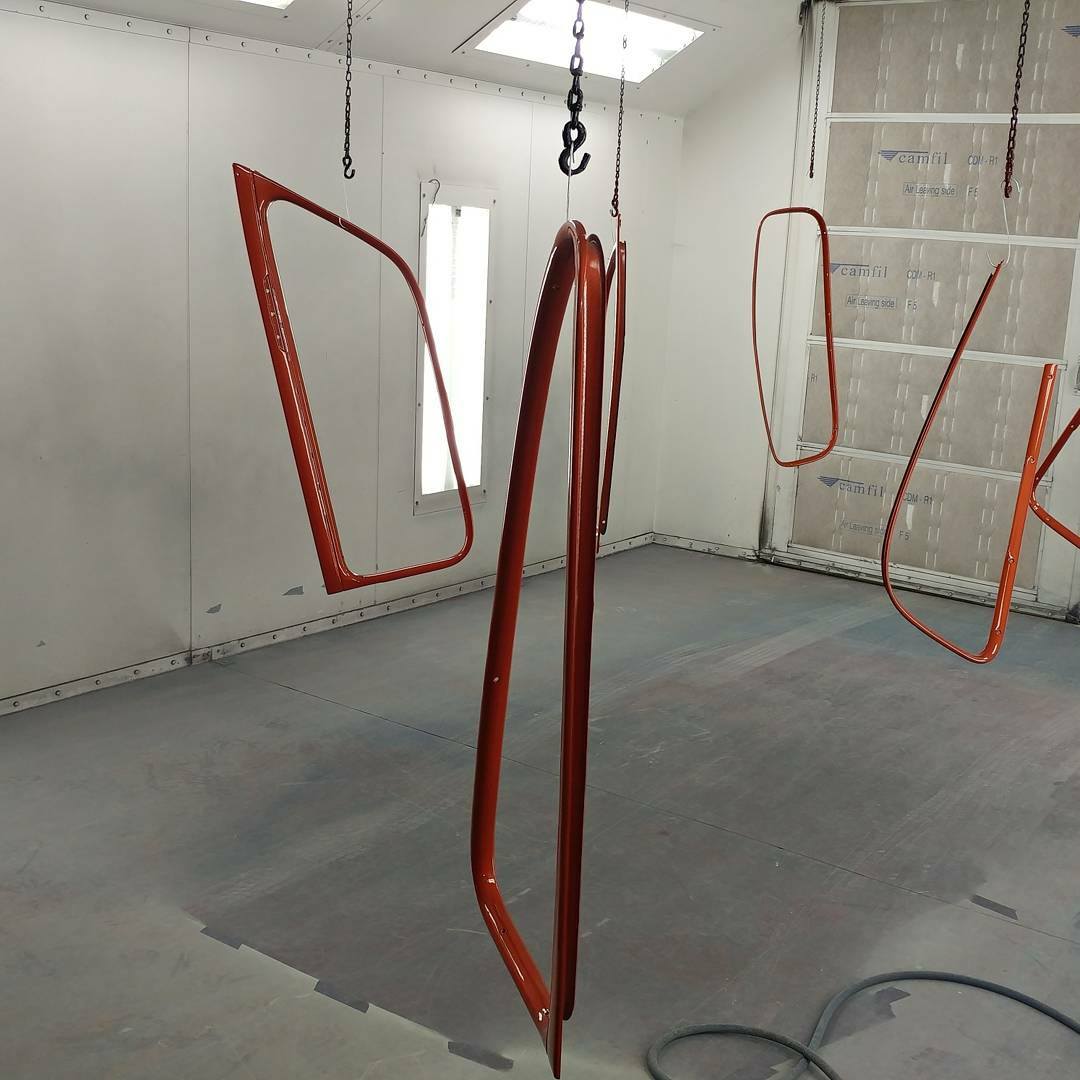
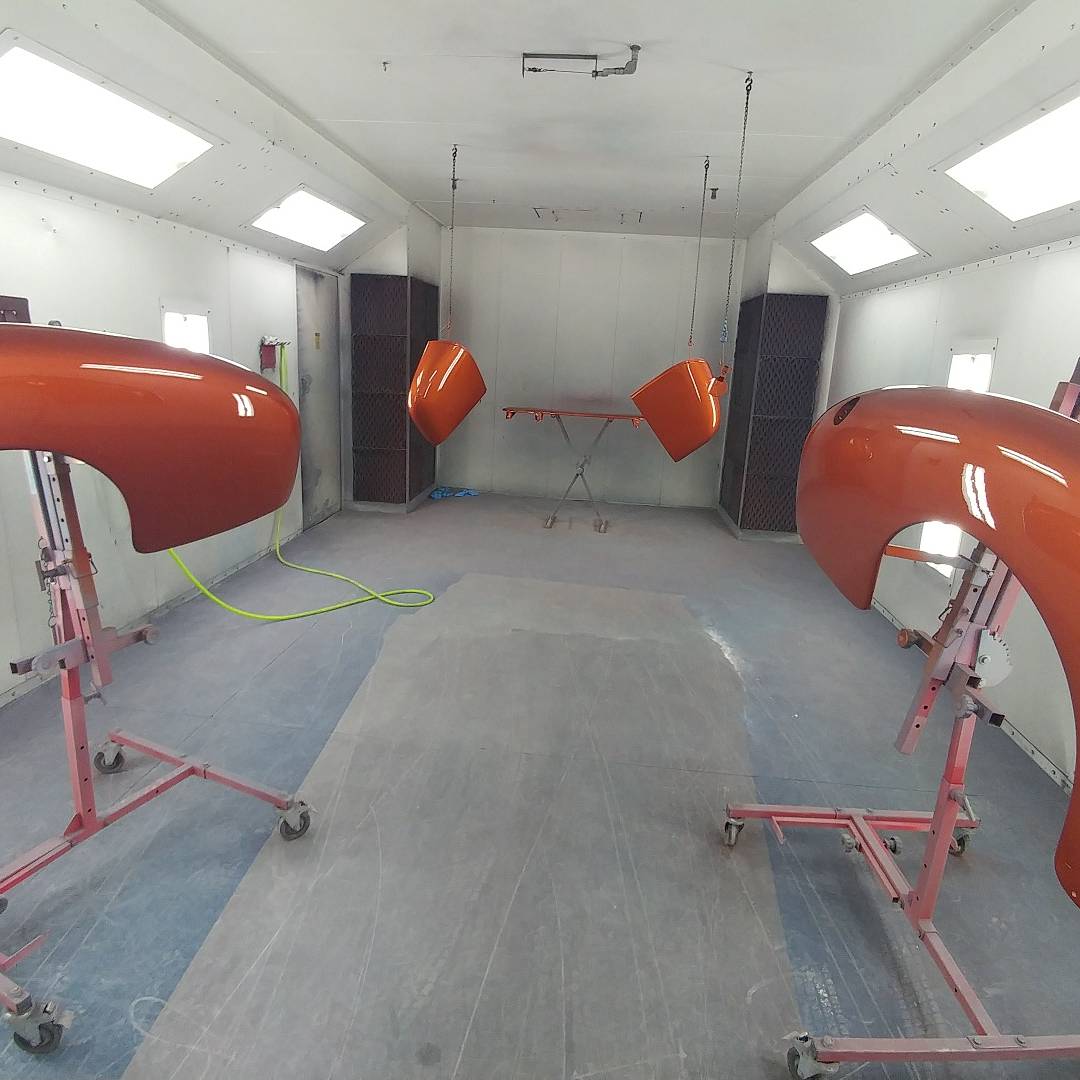
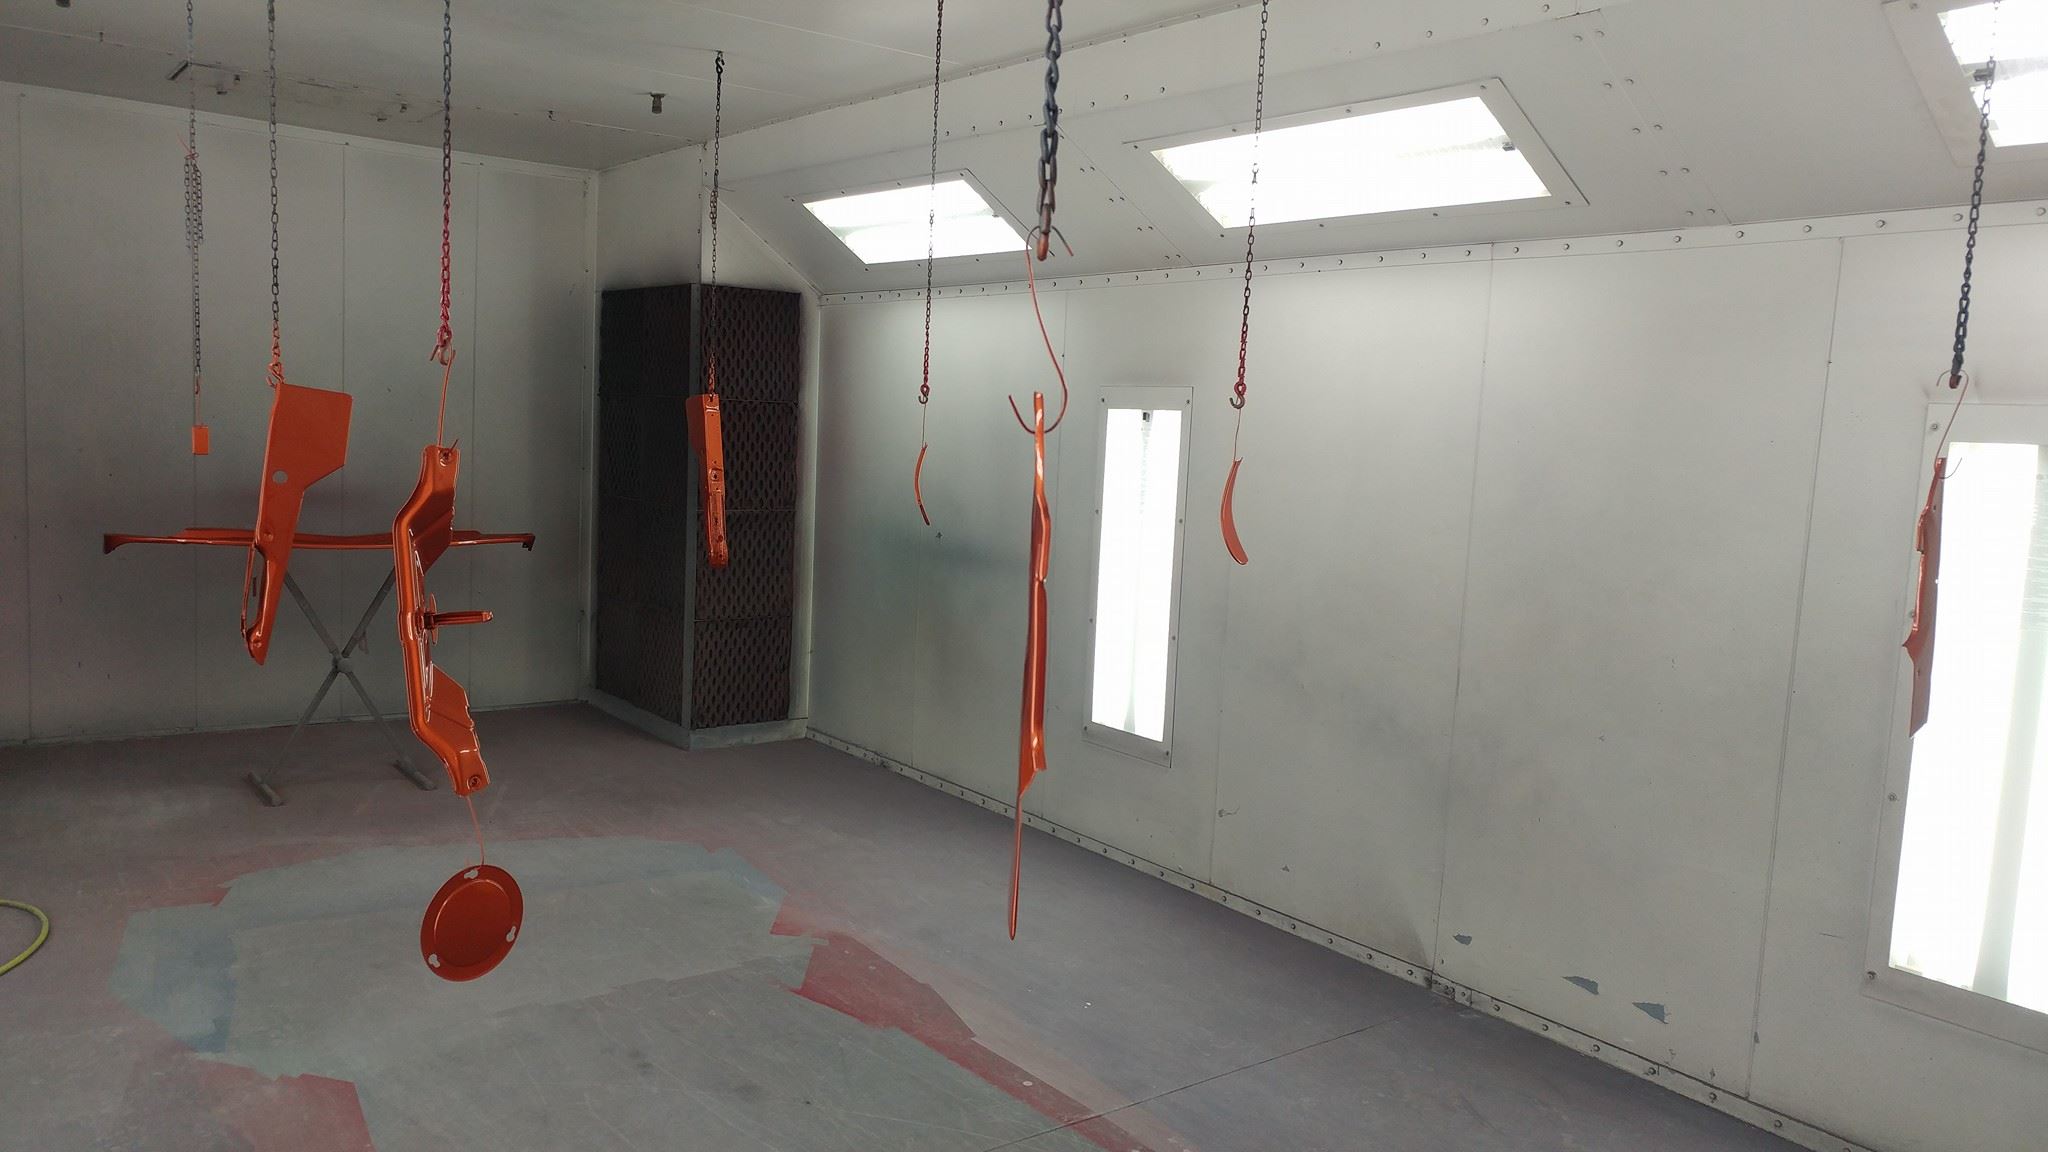
Parts, parts, and more parts. A paint booth full of parts to the 47 chevy.
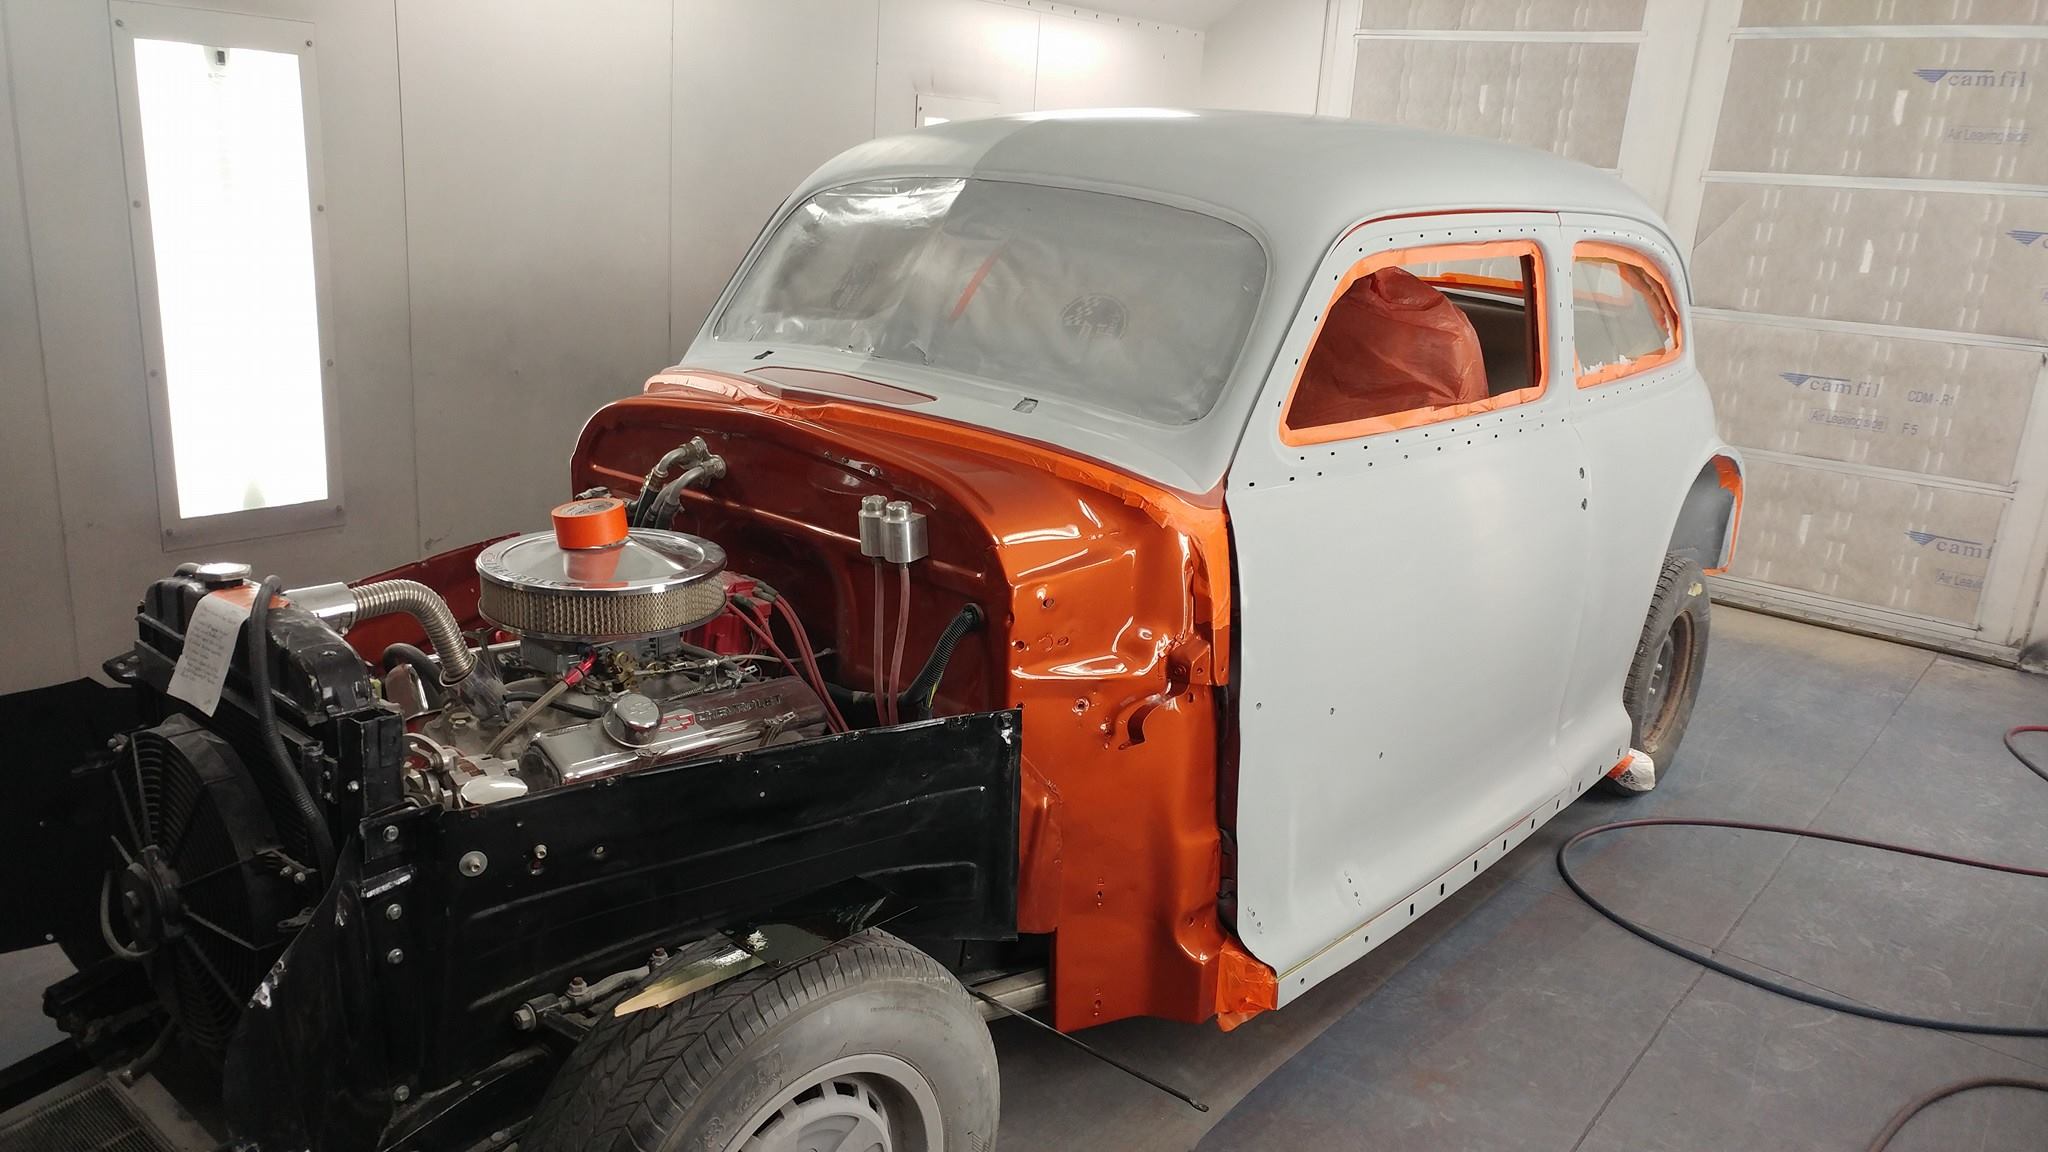
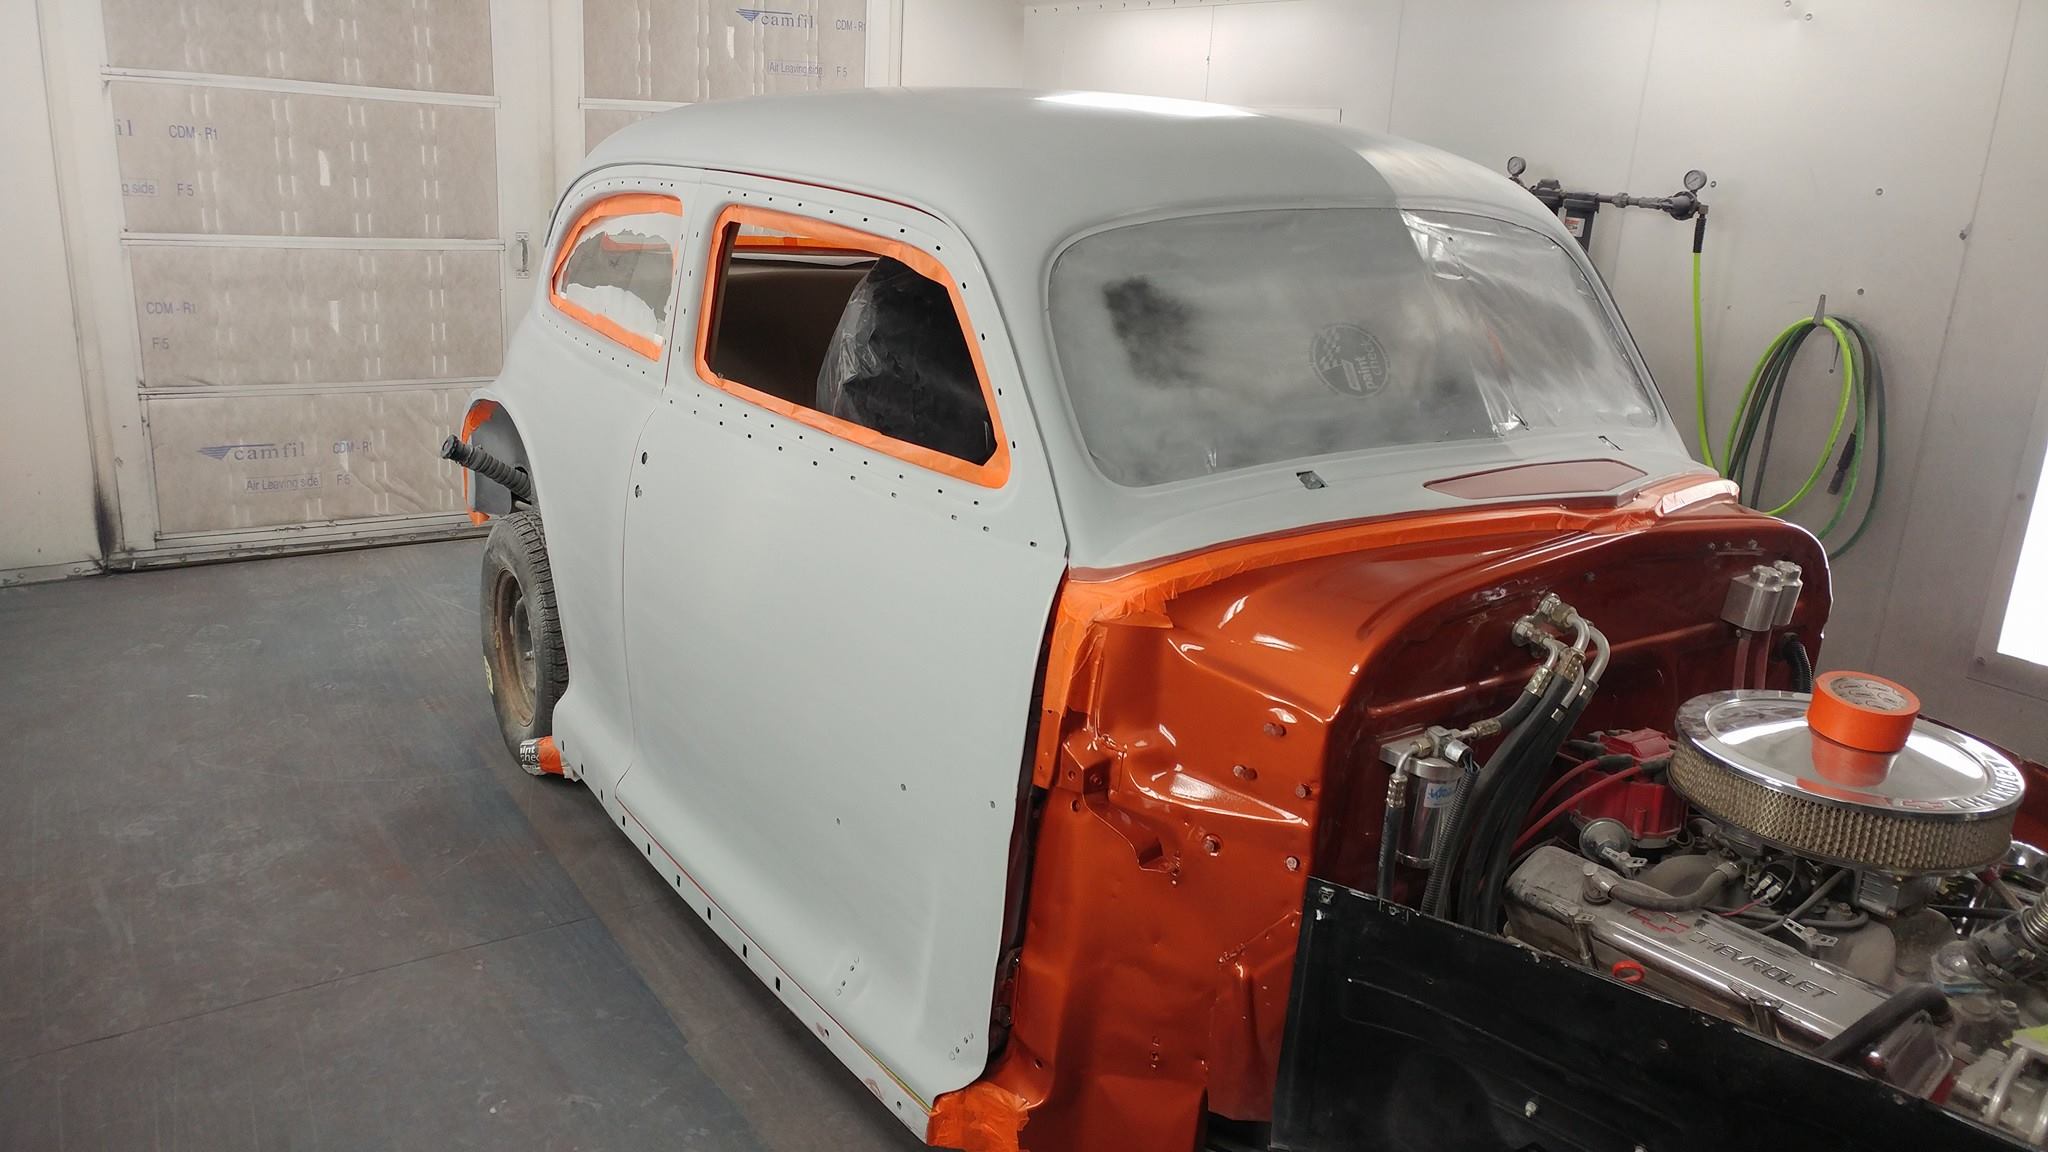
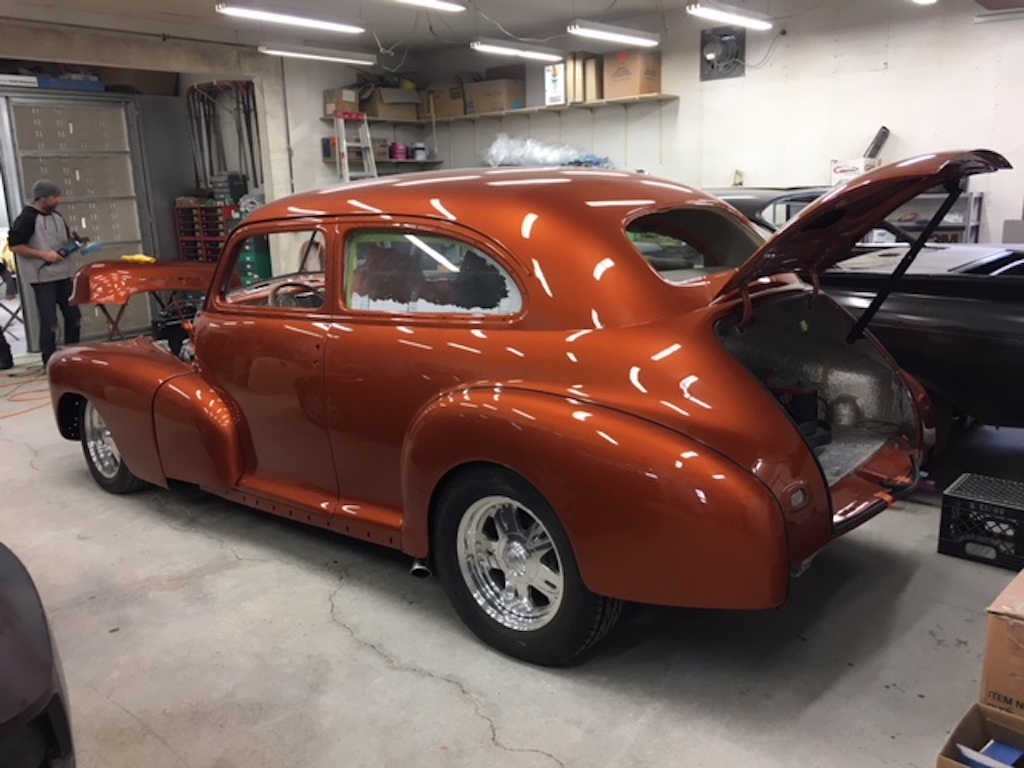
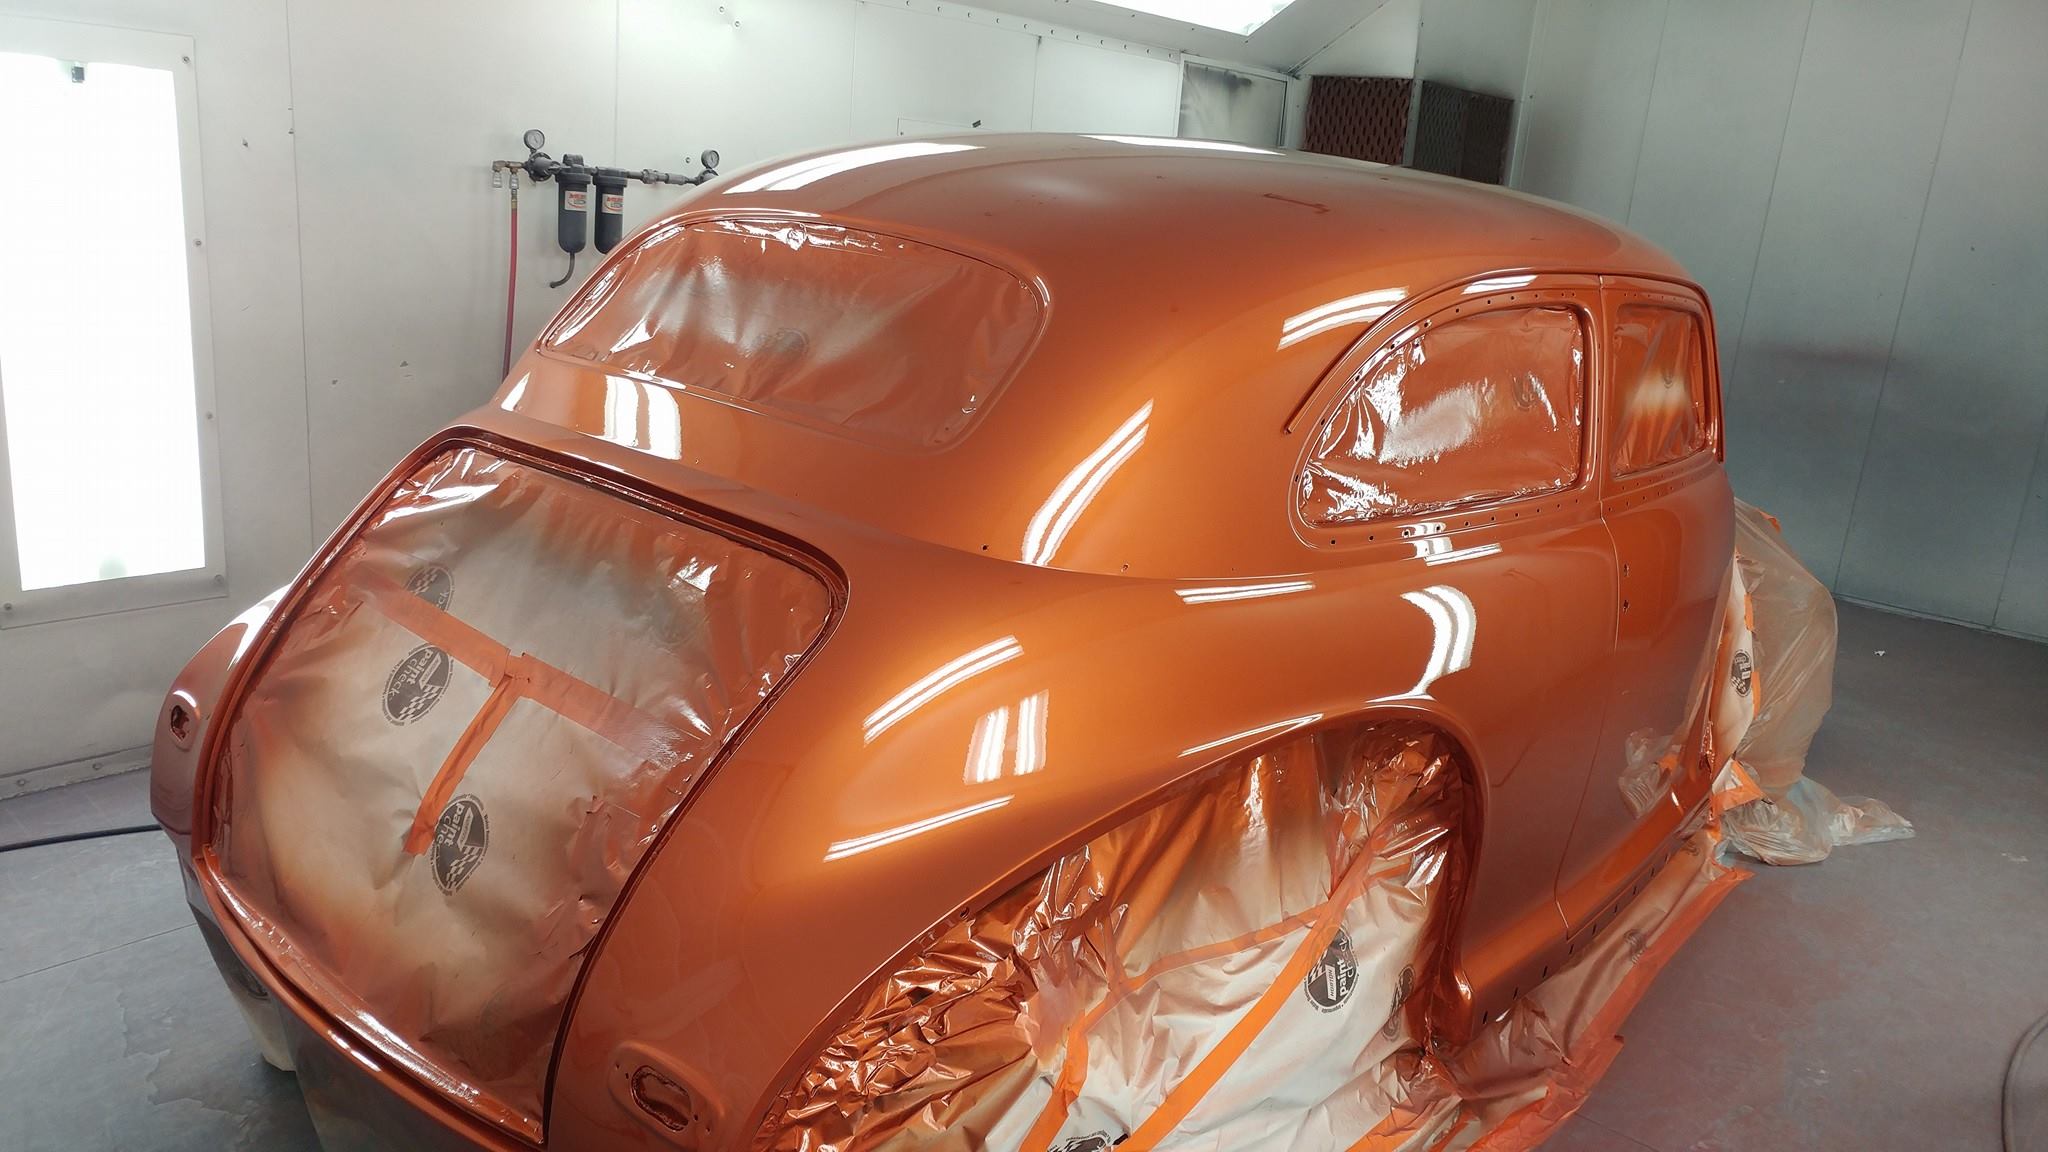
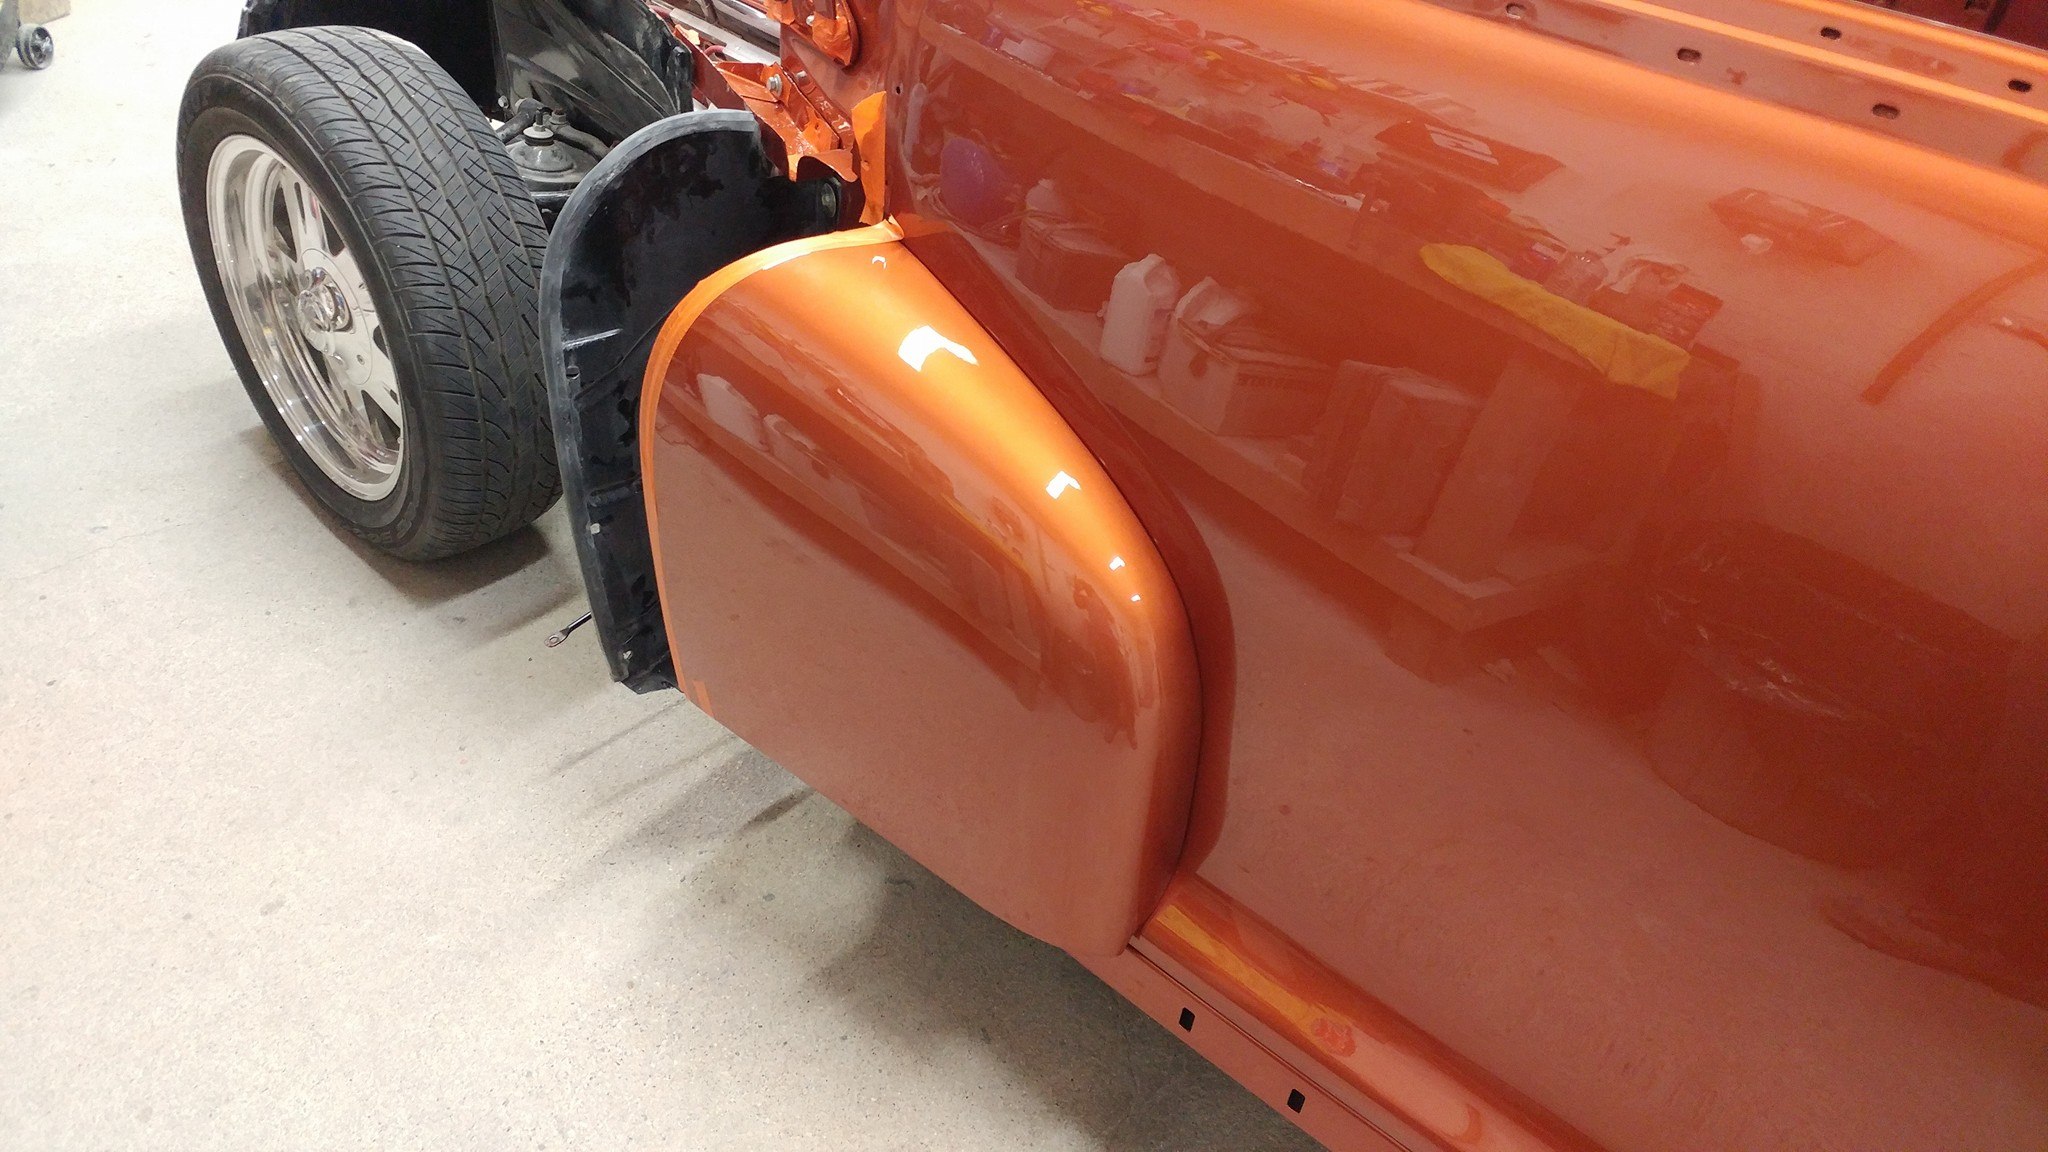
The body of the car is painted! Doug sprayed 3 coats of PPG VC5700 Vibrant clear to a thickness of 7 1/2 mils over the PPG Deltron base coat
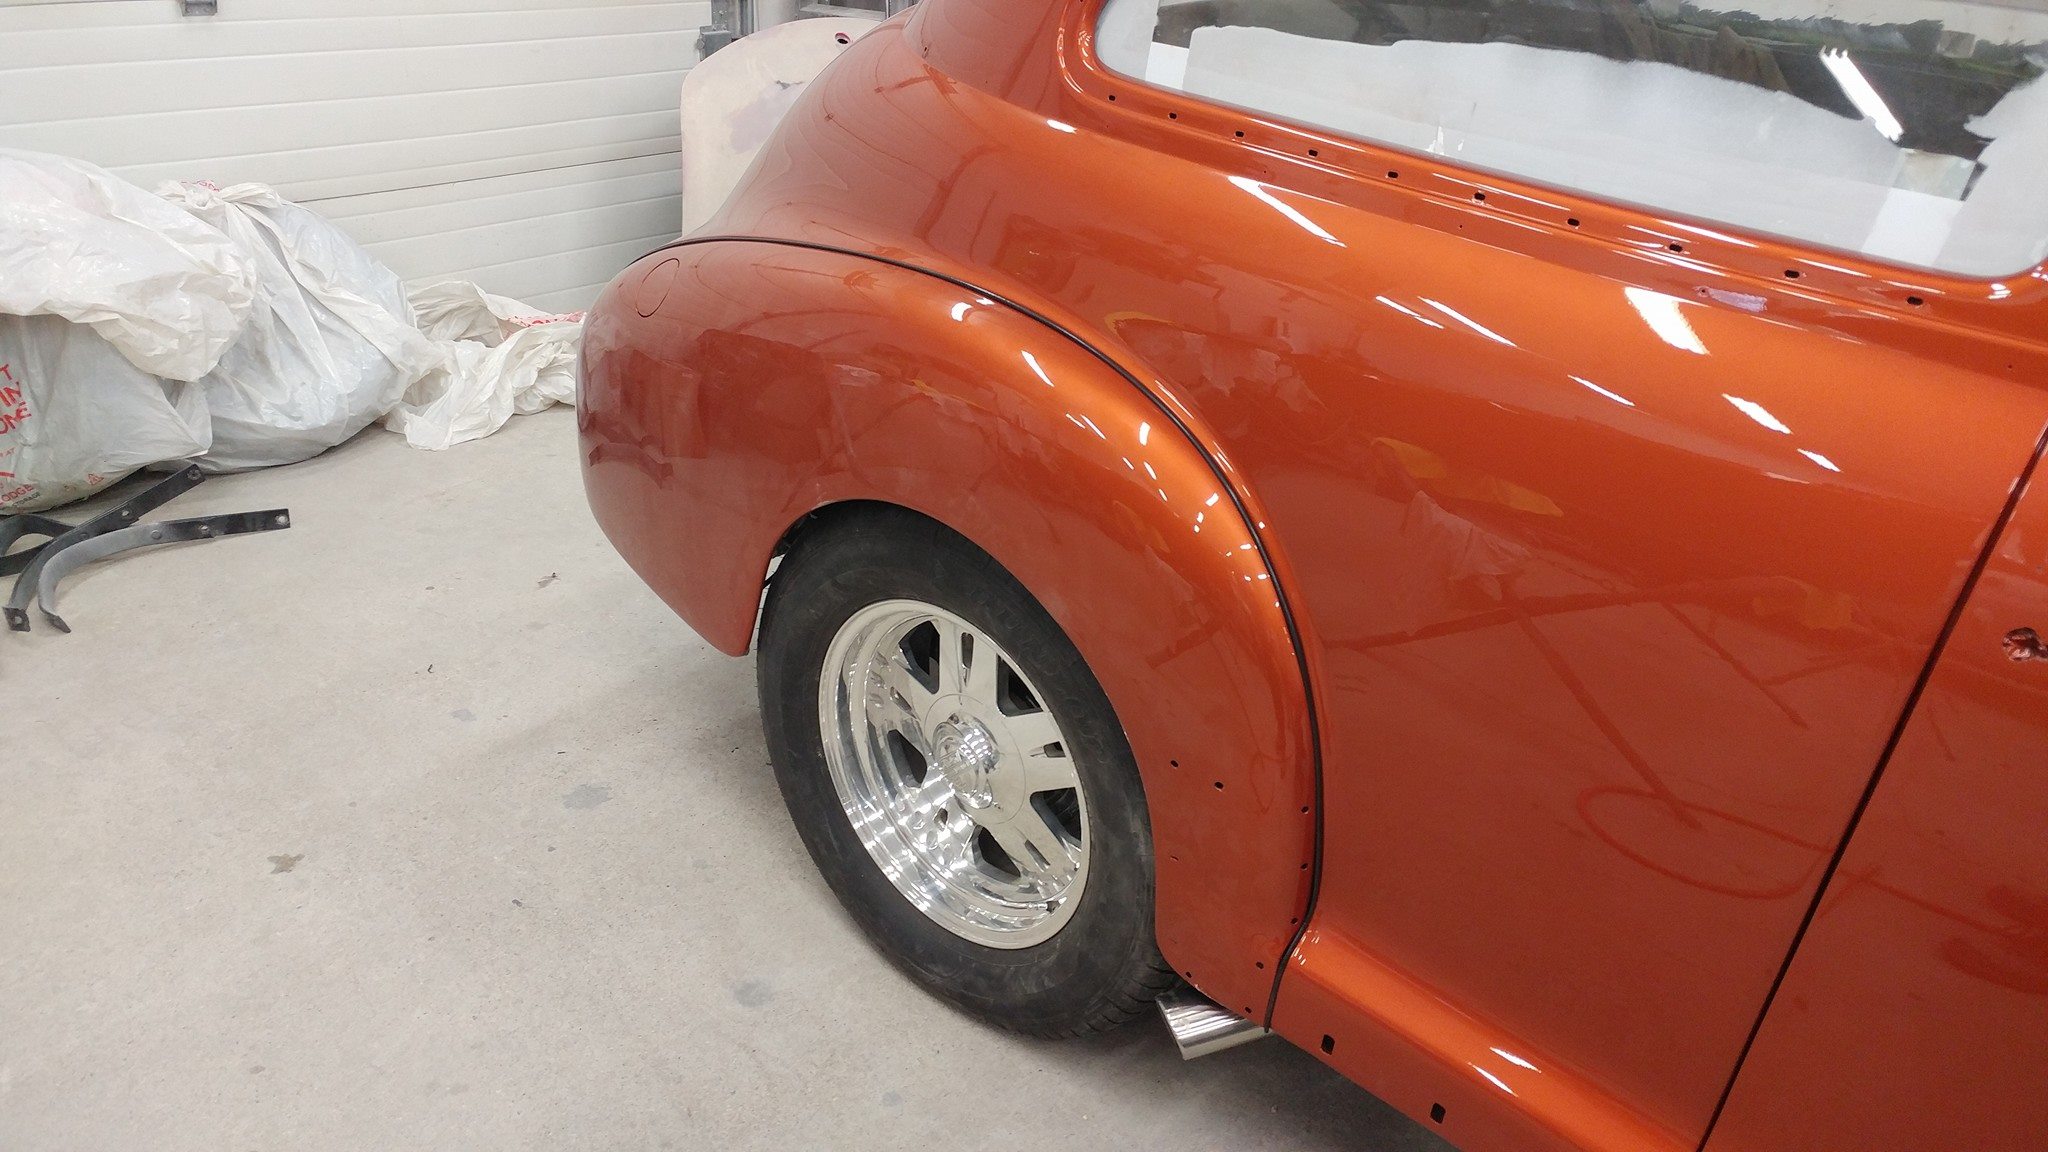
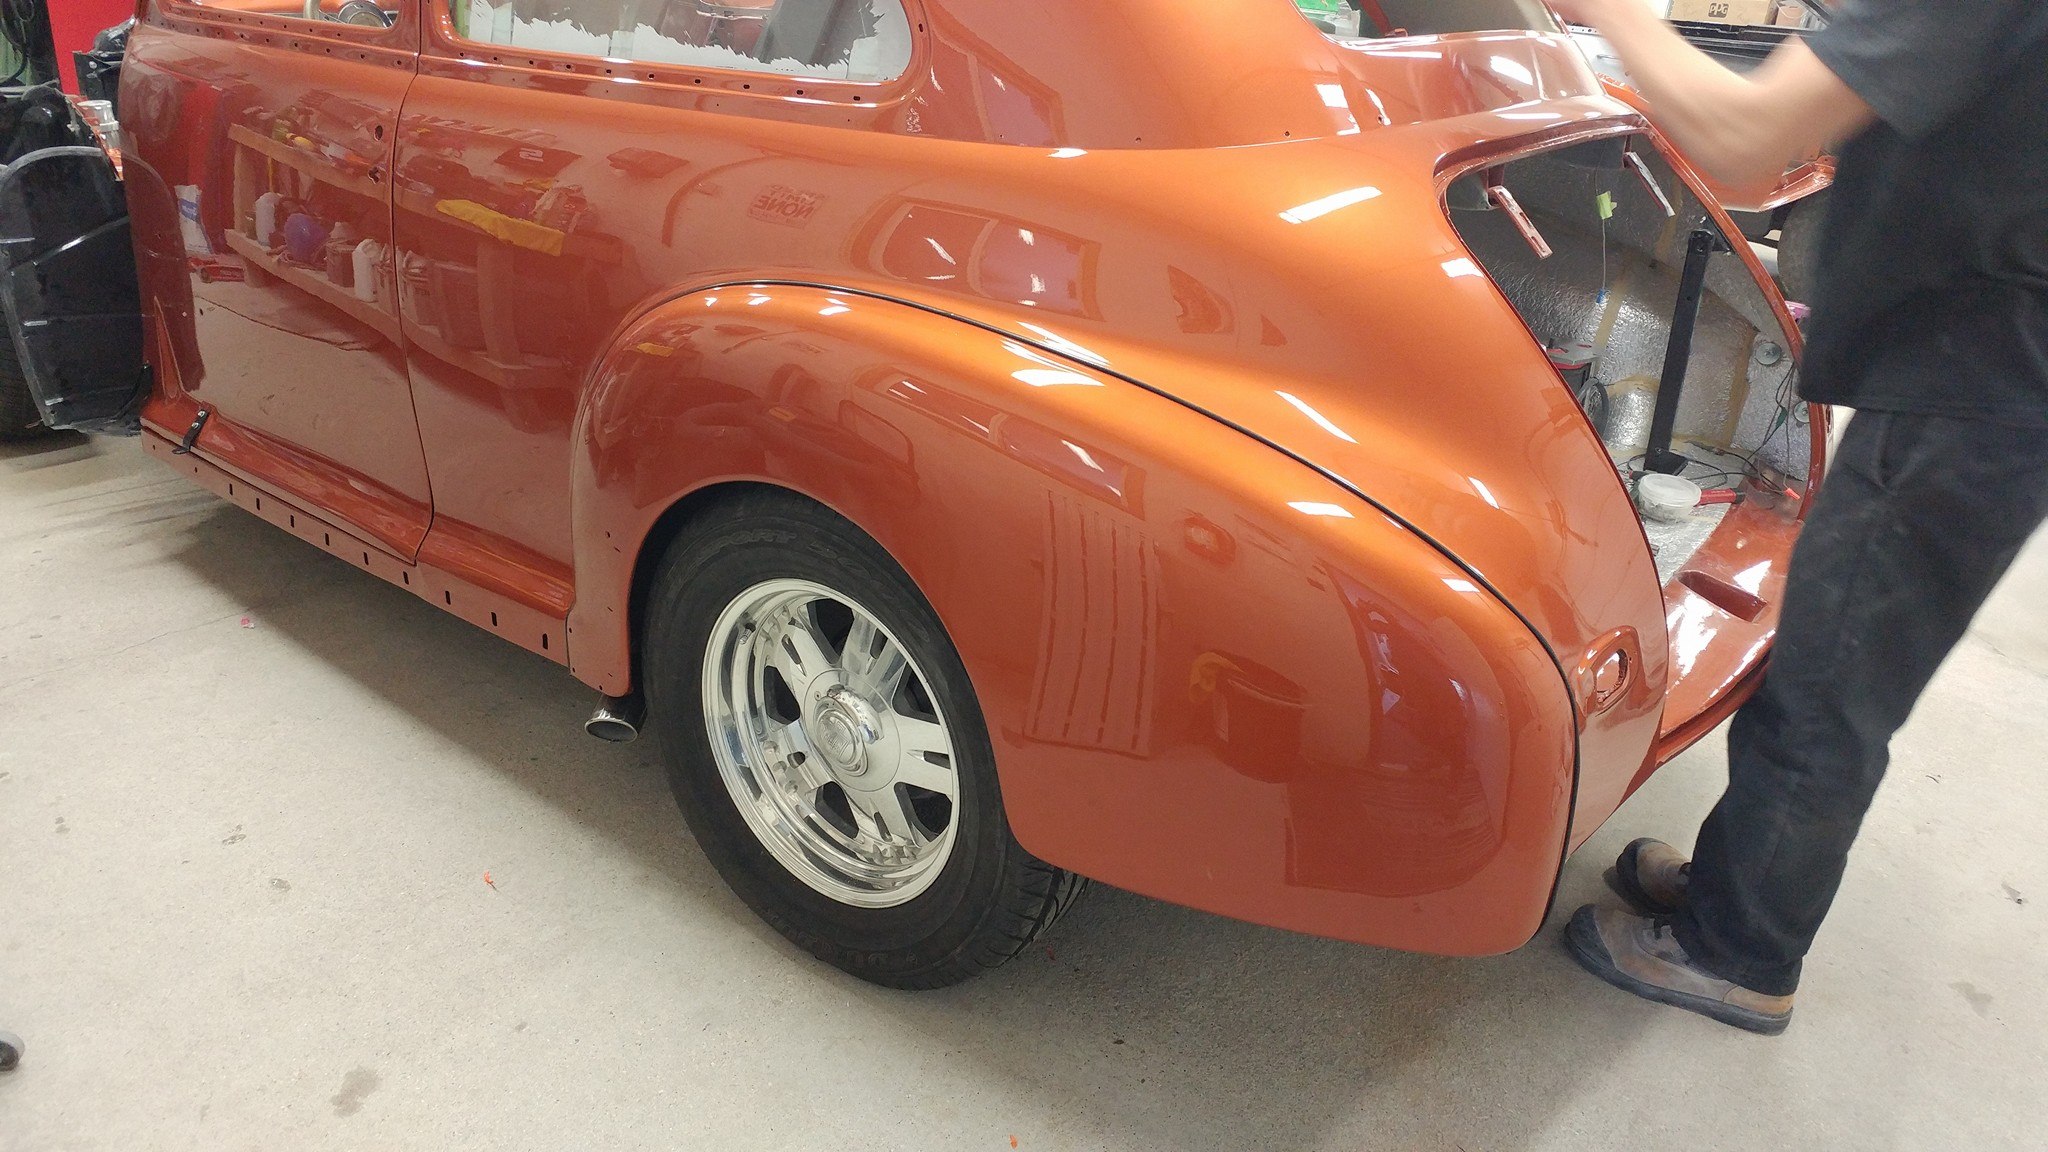
The back fenders are on the car. Also got the good mag wheels back on the car!
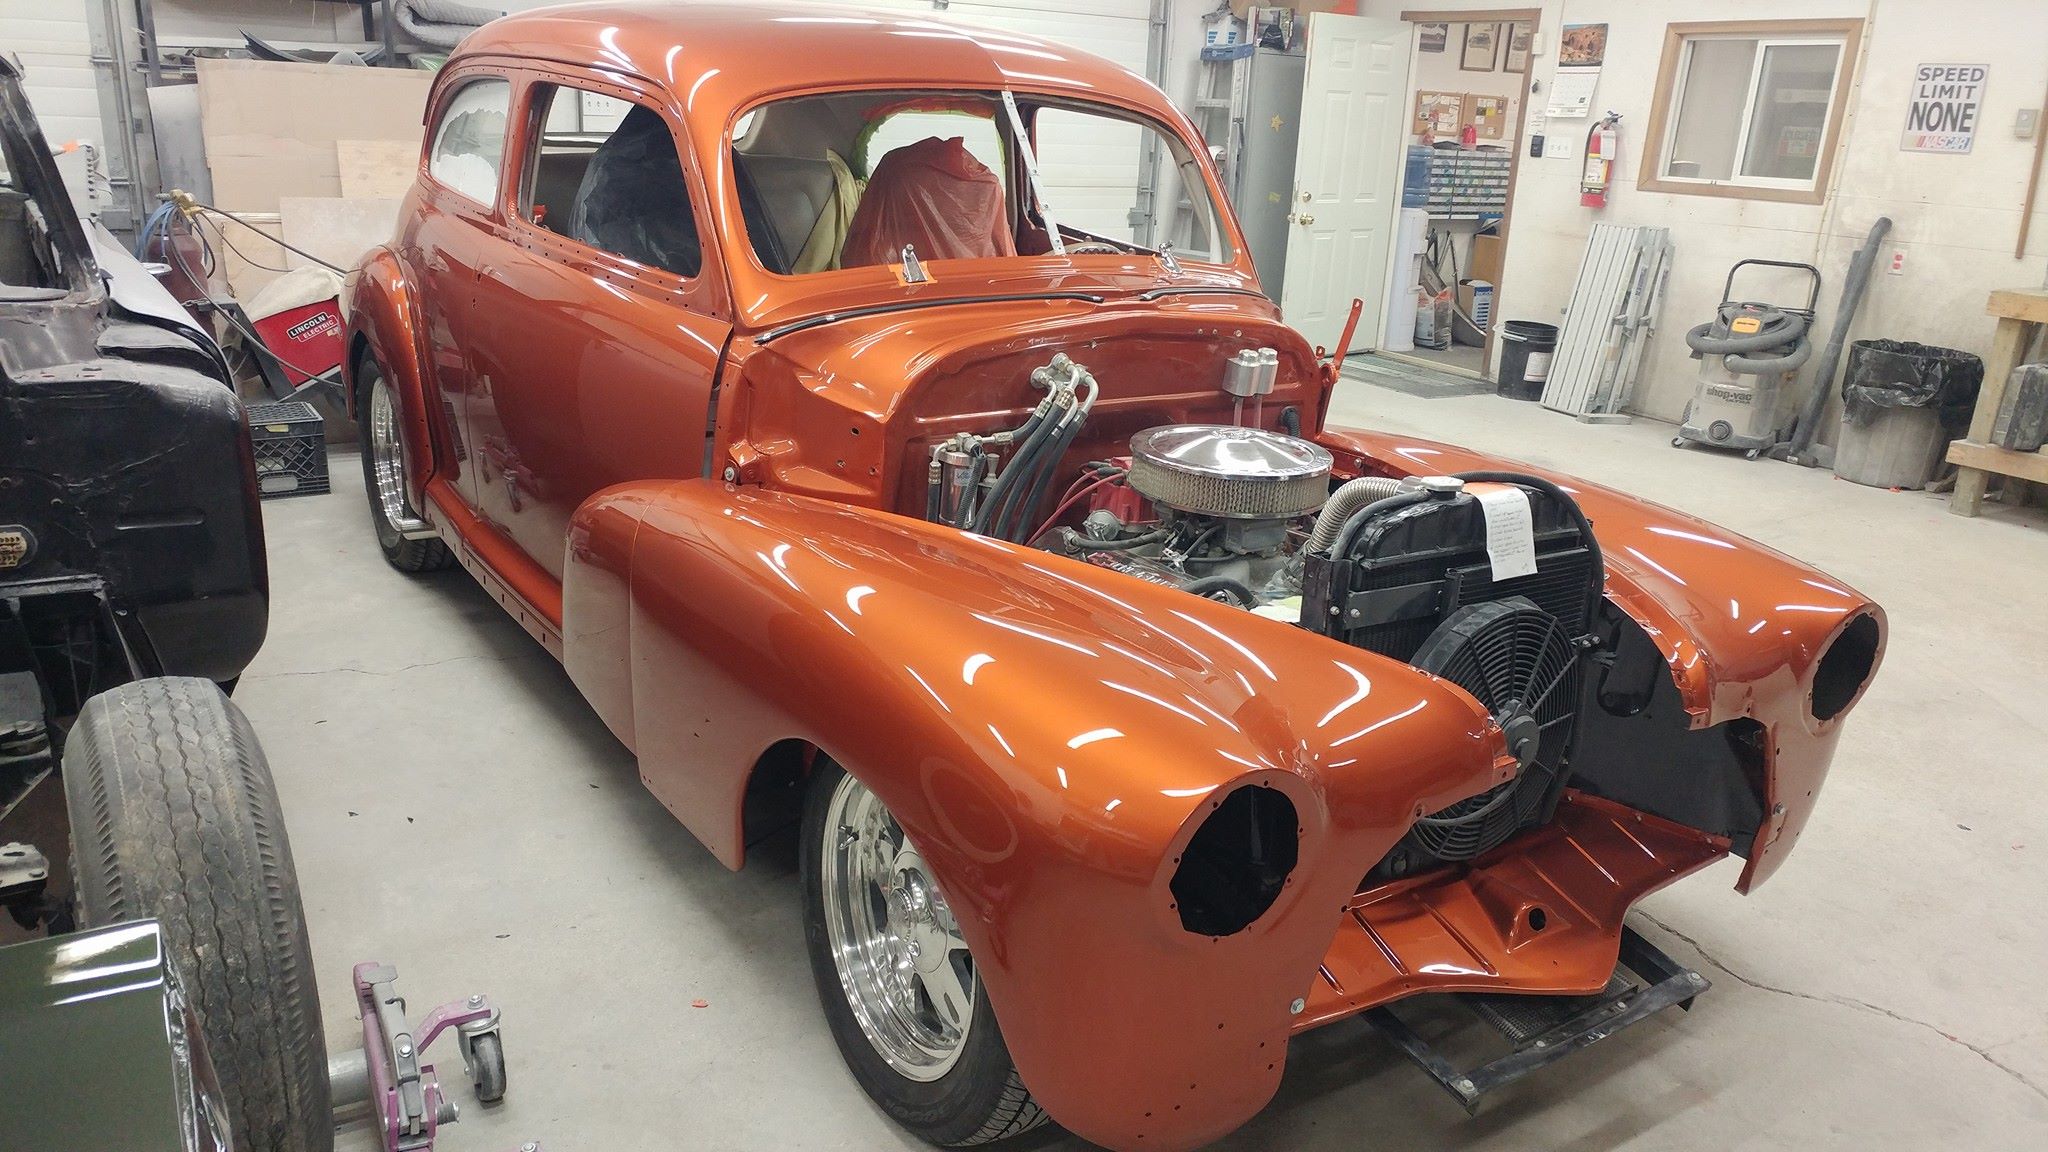
The front fenders are on the car.