Removing the Doors
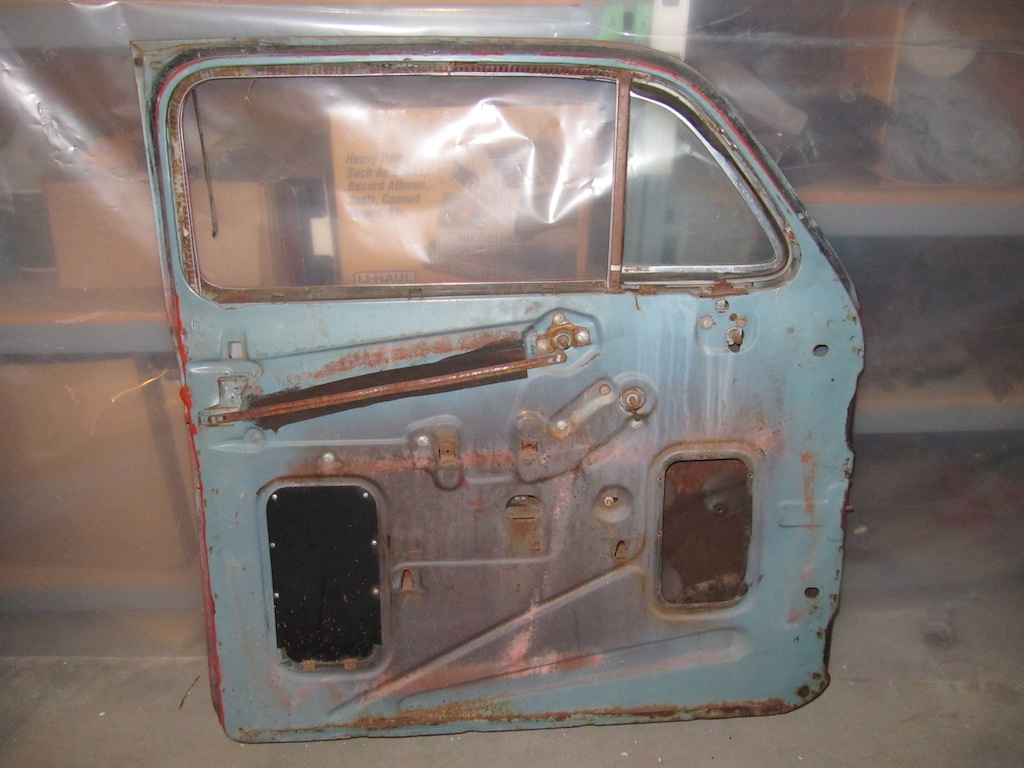
The next task was to remove the doors and trunk lid and take all of them to get sandblasted. I remember trying to remove the doors 25 years ago and gave up. I could not unloosen the door bolts. I ended up breaking my impact tool used for loosing bolts!
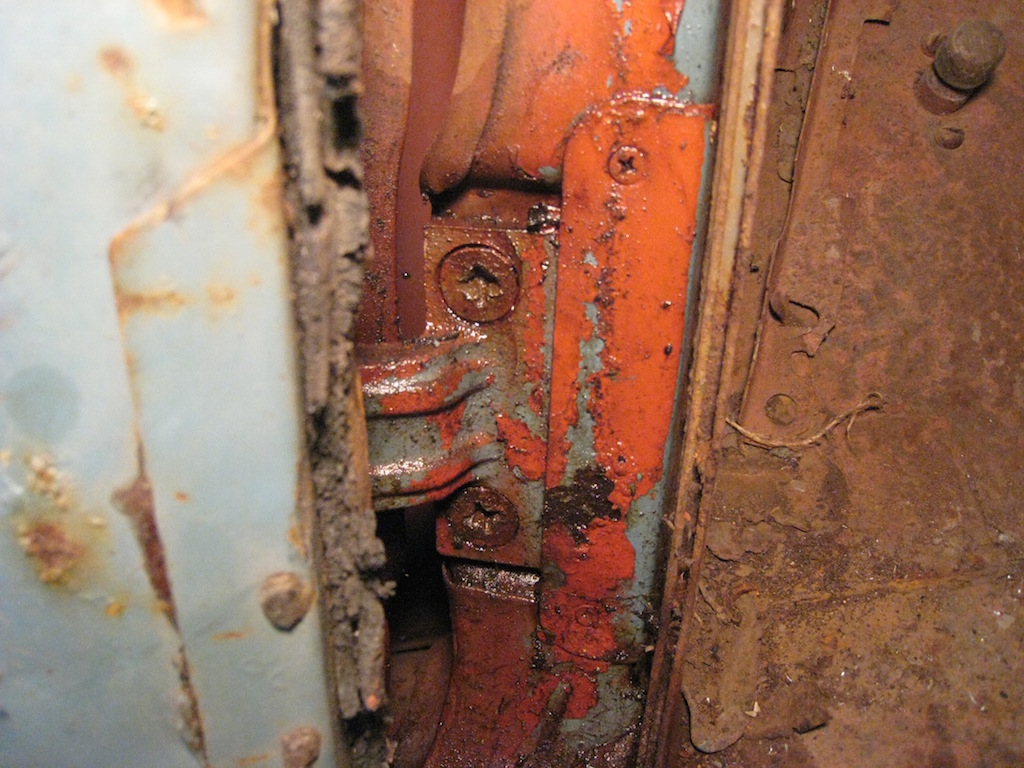
I tried to loosen the large hinge bolts but only managed to successfully remove 3 out of 15 bolts that I wanted to remove. I succeeded in breaking my impact tool in the process. I was only able to remove the other bolts by drilling them out with cobalt bits (I broke about 5 of the bits).
After several years of trying to dislodge rusted bolts, I have since learned that the fastest way to loosen them is to heat them up with a Bernz-O-Matic propane torch until they are red hot. I have yet to find an instance where this has not worked. It is too bad that I never discovered this sooner as it would have saved most of my door bolts and a lot of difficulty trying to re-attach the painted doors.


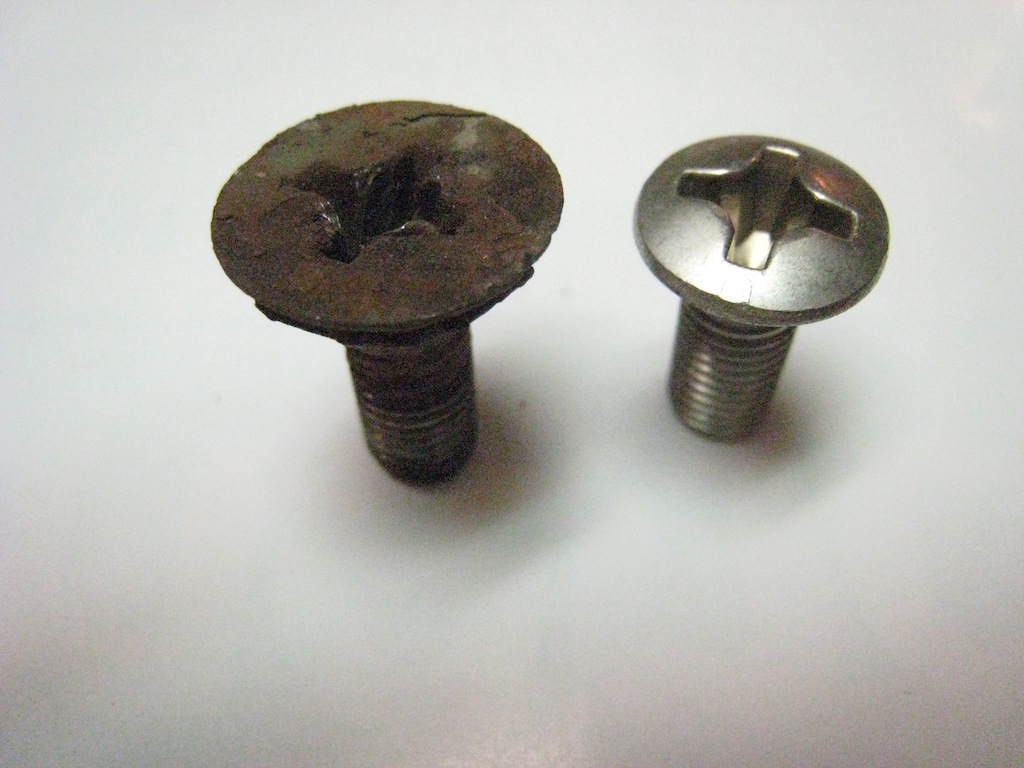
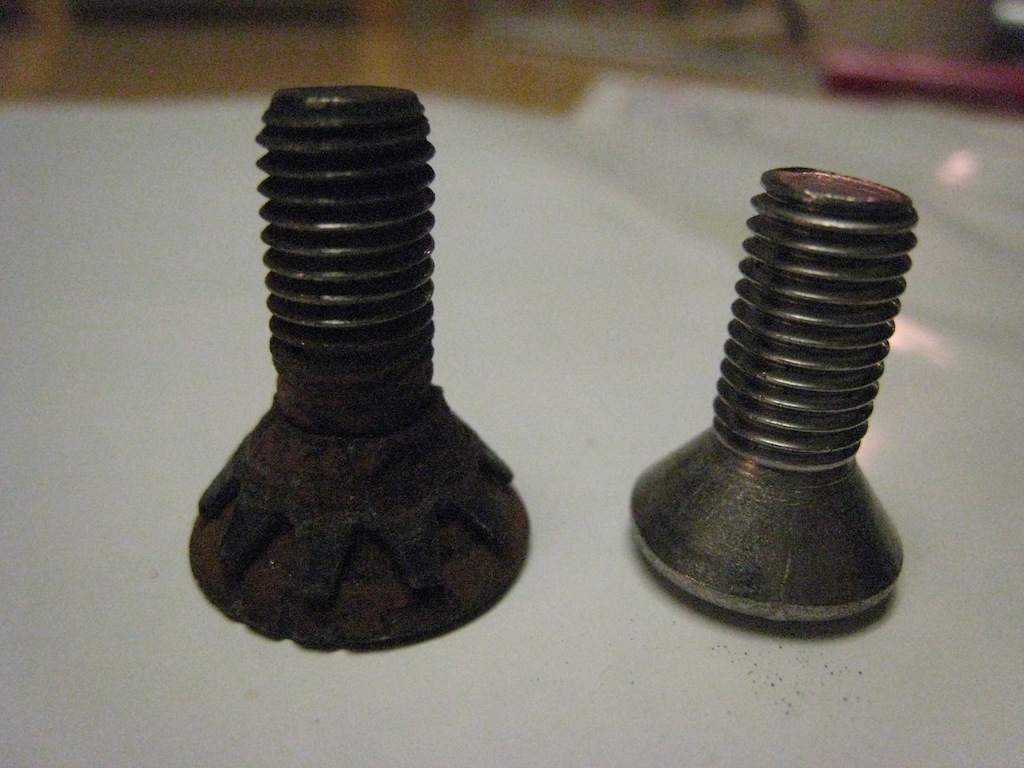
I ordered 15 new bolts from Chevs-of_the_Forties store but the heads were not the same size as shown below.
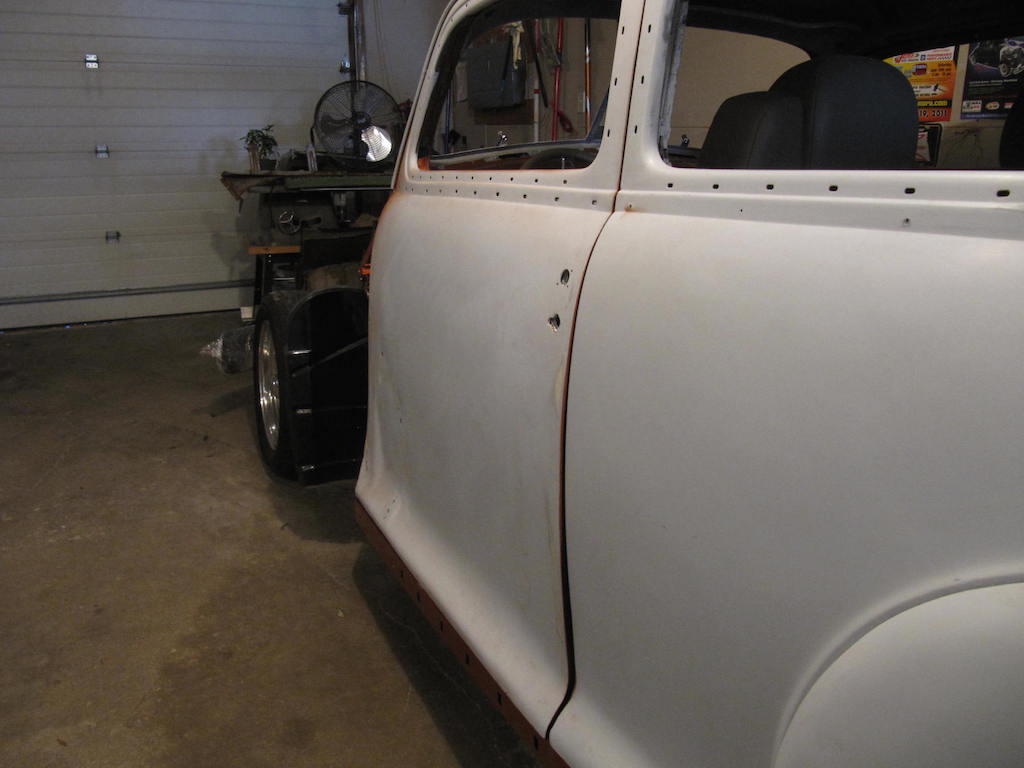
Putting it back together
I put the doors on and then read that it is much easier to glue the weather stripping on if the doors are off of the car.
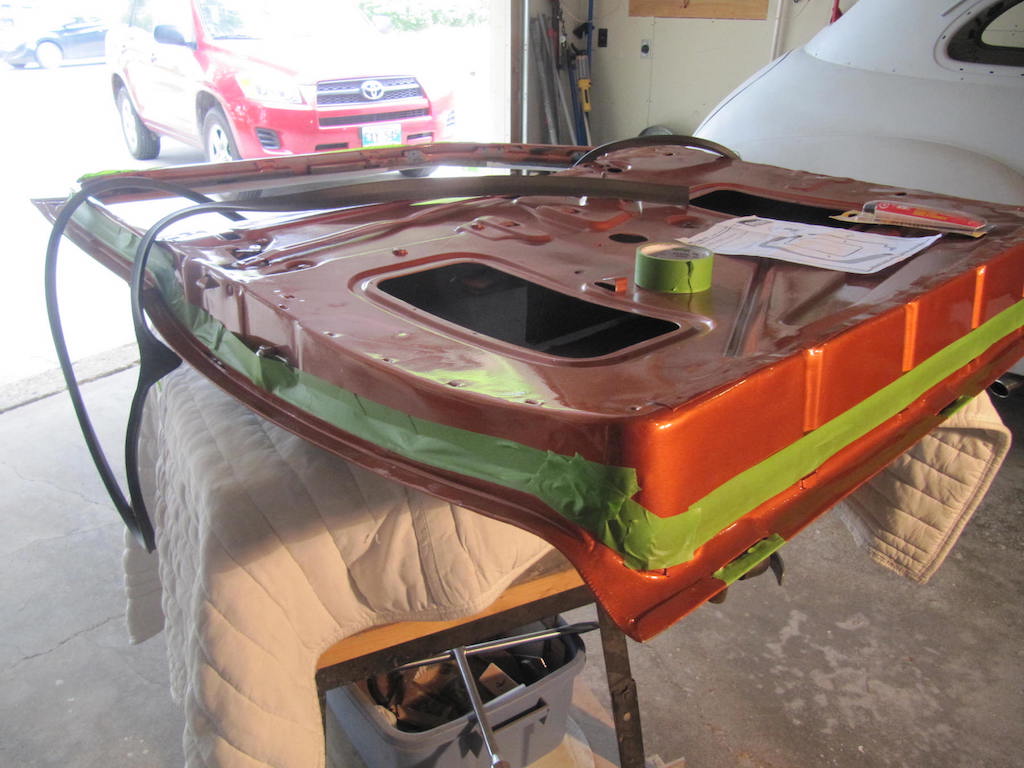
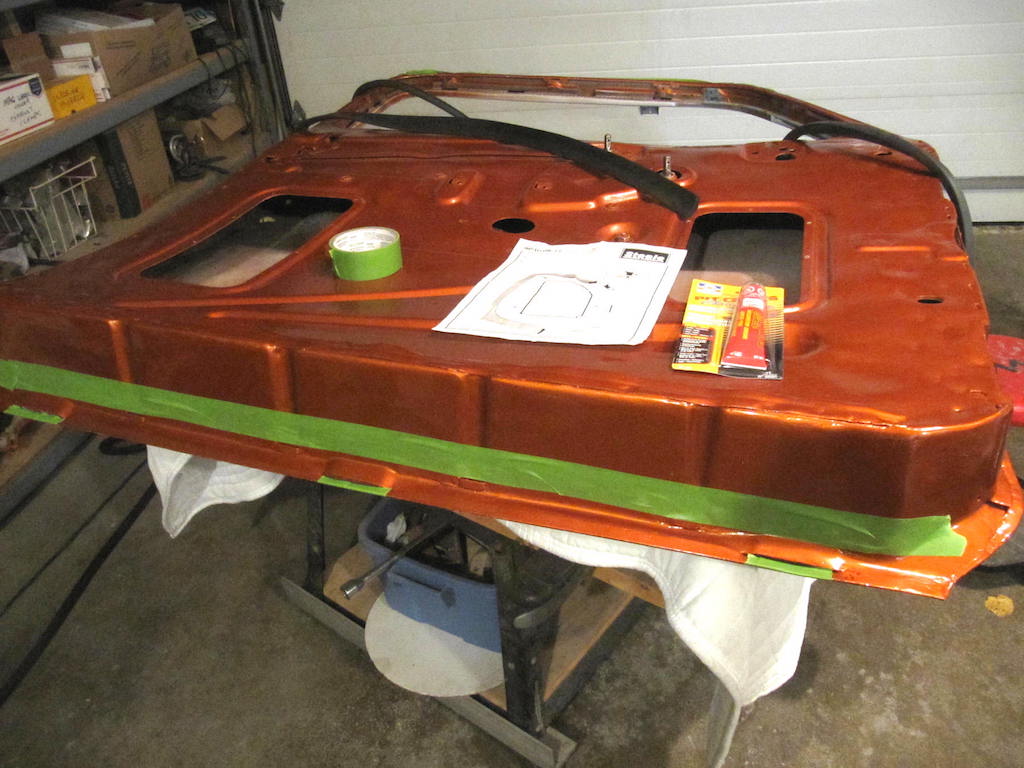
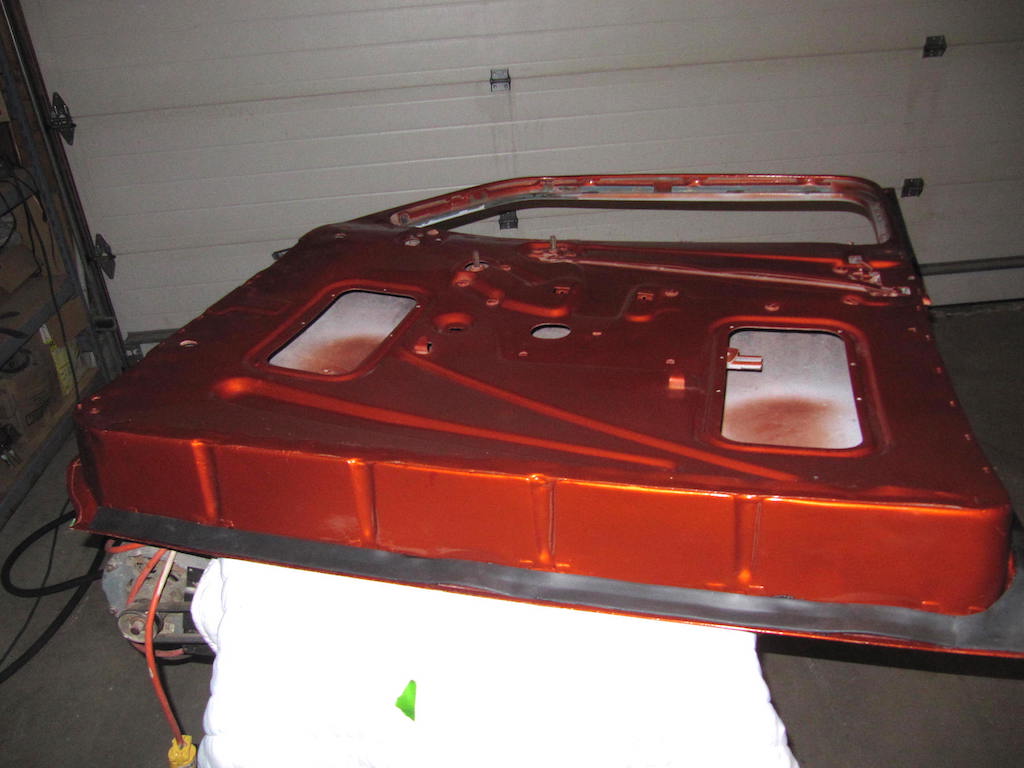
I took the doors off again and started the process of gluing on the weather stripping.
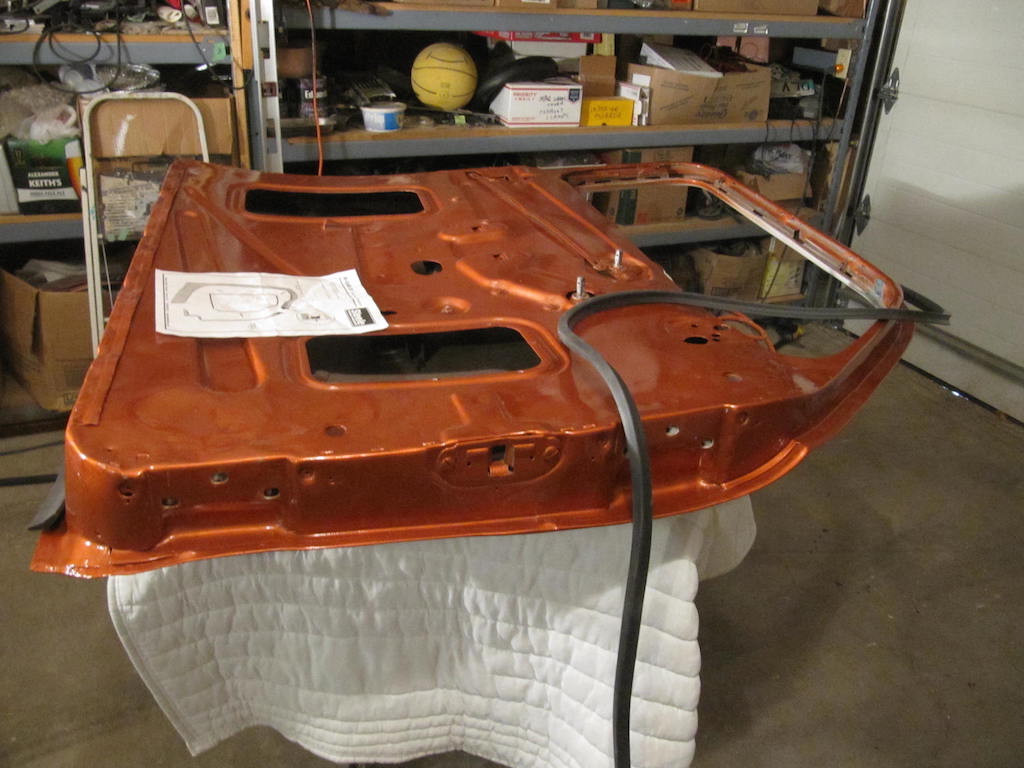
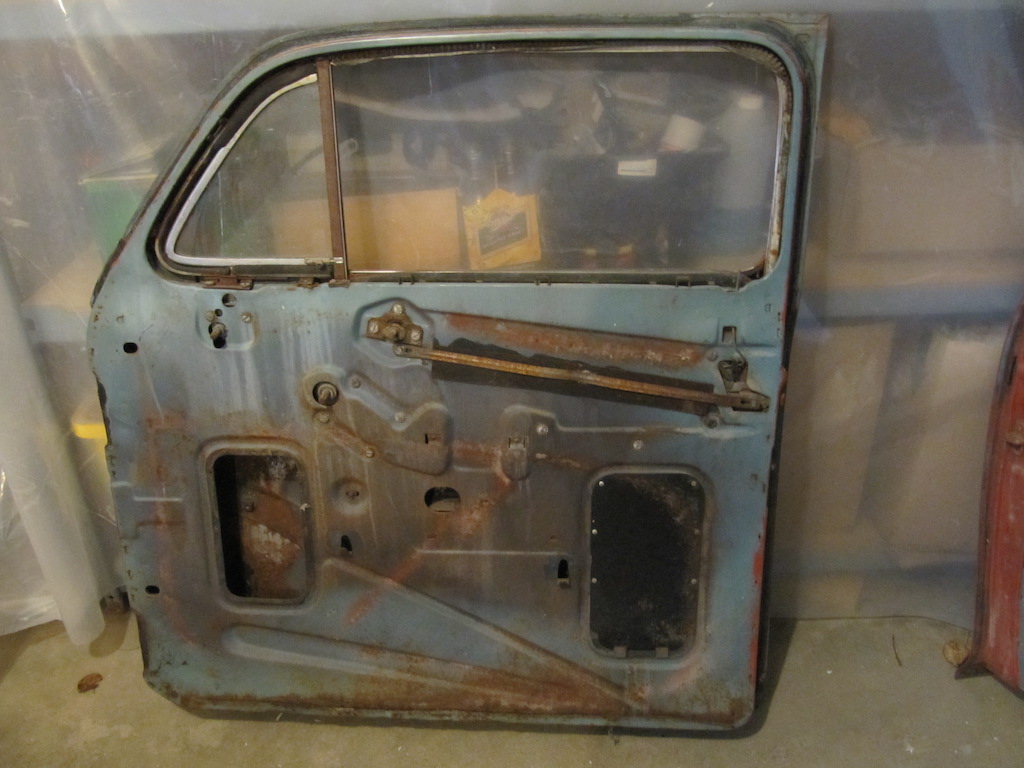
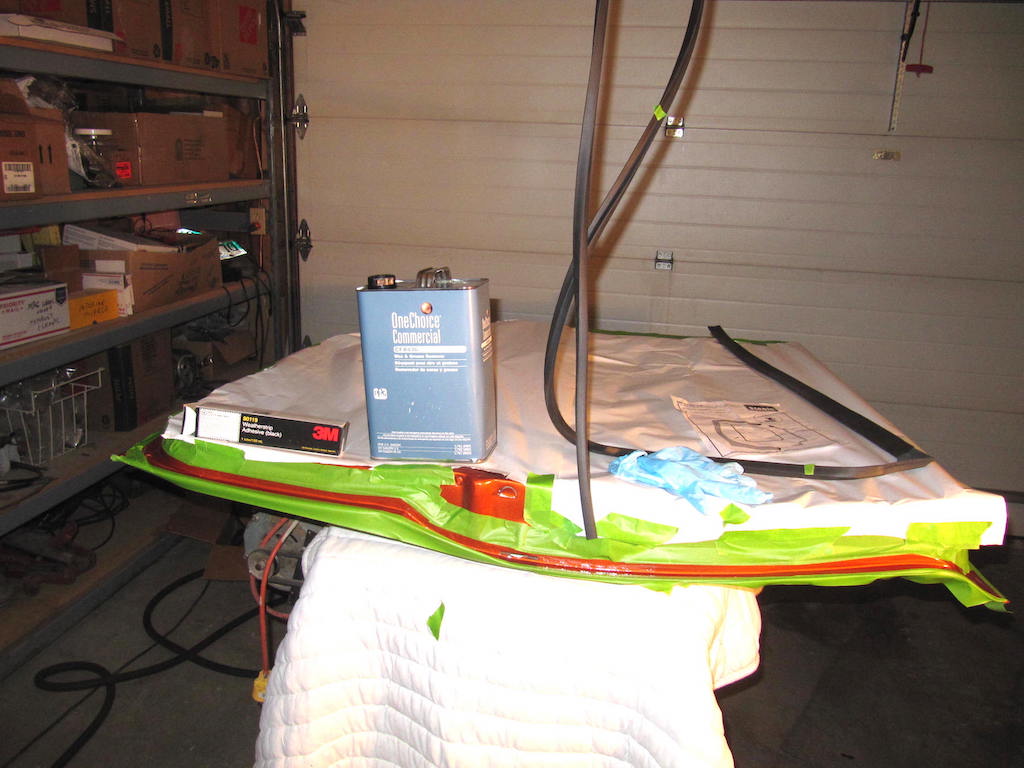
I bought some 3M weather stripping glue (not the glue shown in the picture) to glue the rubber on. I started by masking the door so that I would not get any glue where it was not wanted.
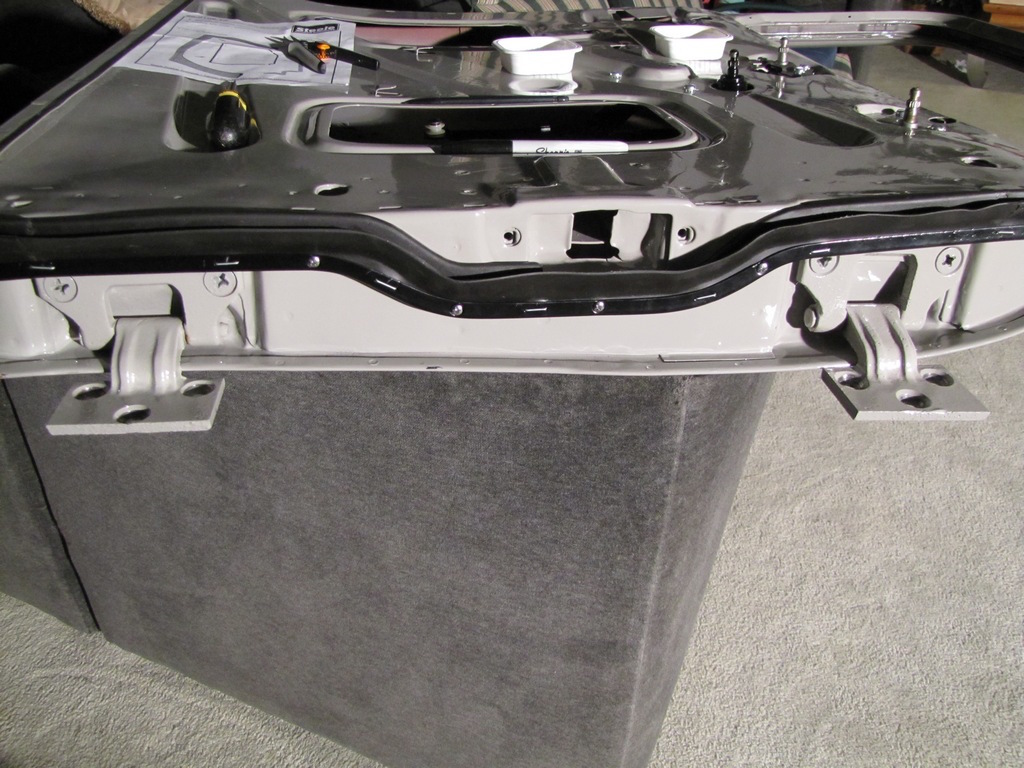
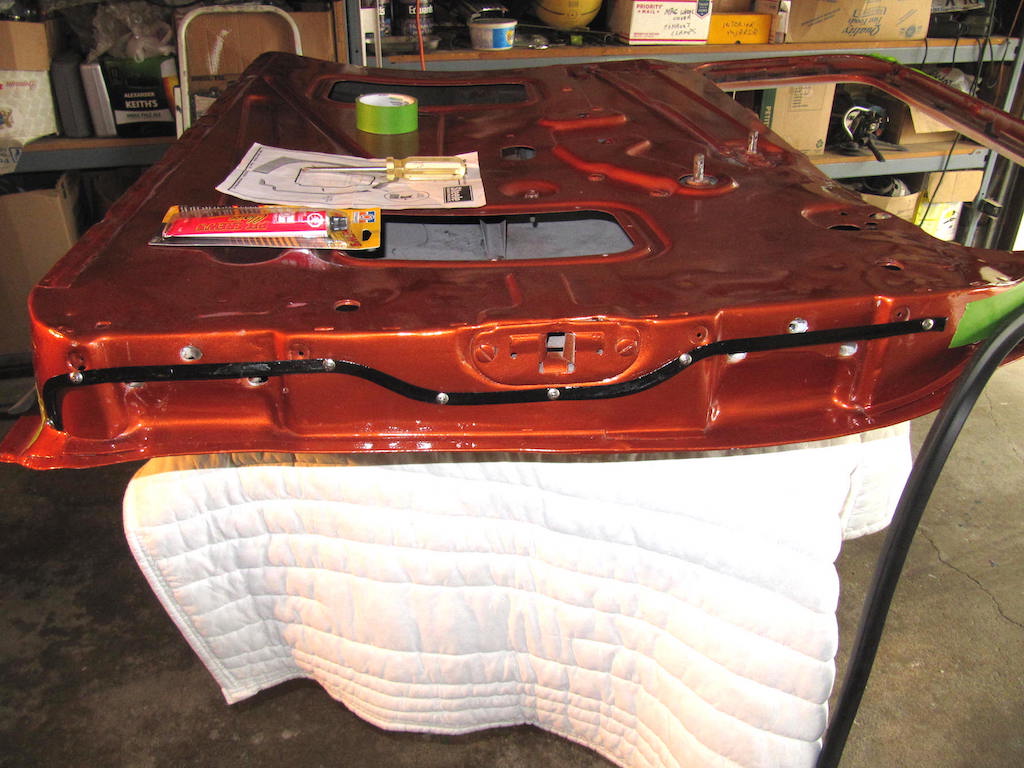
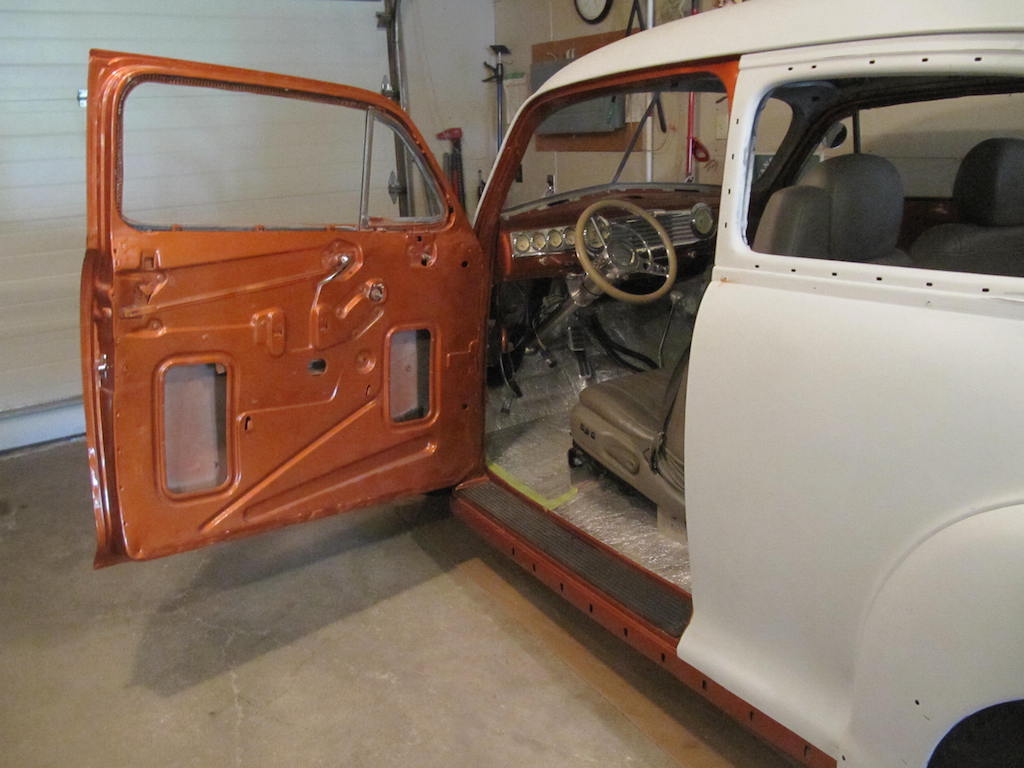
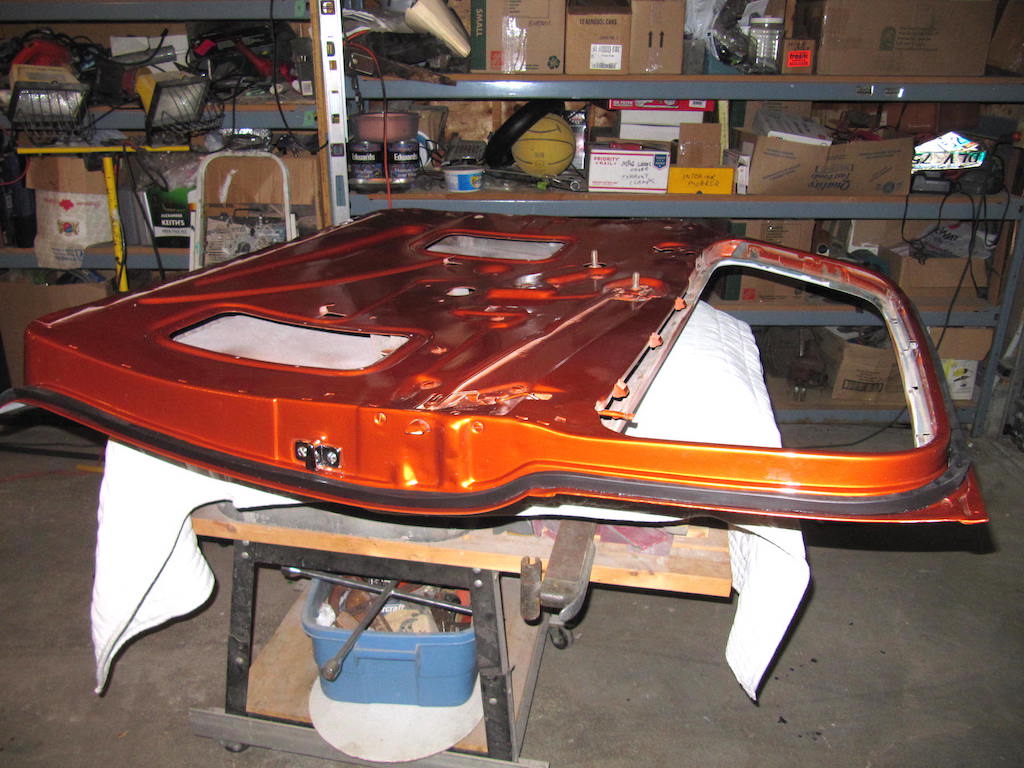
I dug thru my old parts and found the metal brace that goes on the door over the rubber. I painted it and did a test install. I quickly discovered a problem. On my car, I left the hinges on the car body because I couldn't get the hinge screws off. Russel left the hinges on the doors and disconnected them from the body. The rubber and metal brace go over top of the hinge screws, so the door has to be mounted before this part of the rubber can be installed.
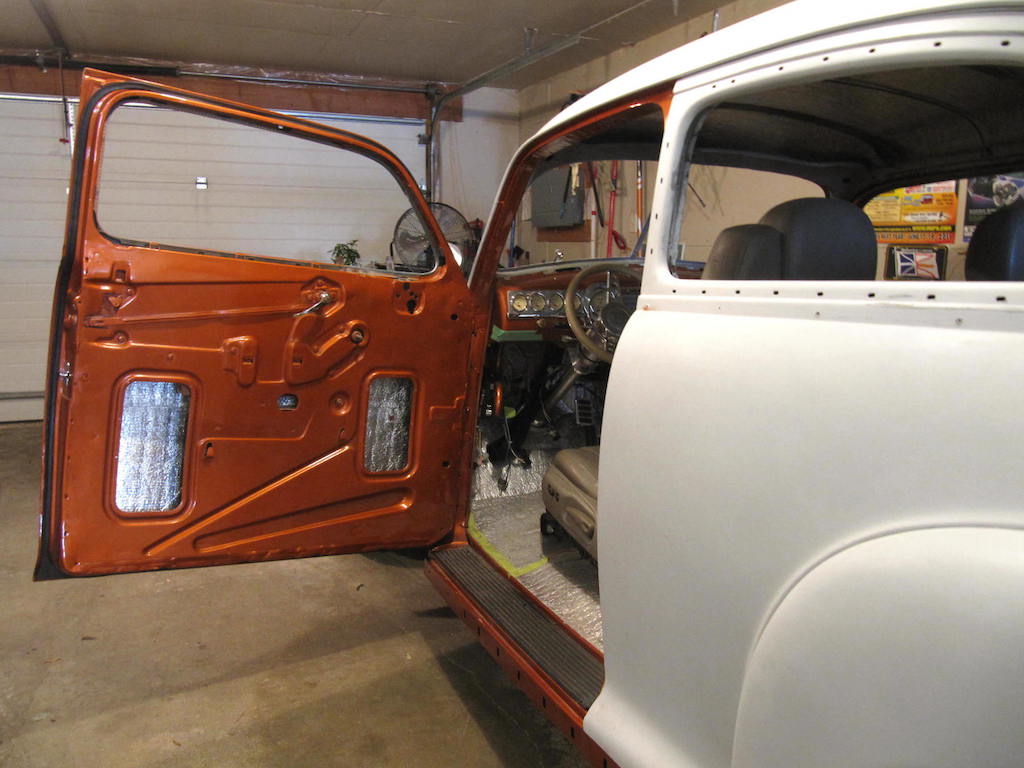
I spent the most of 1 day putting the door back on th car. It is very difficult to do by myself. I never did get it to mount correctly as I did in the picture at the top of this section. I did get the ridges to line up, but the bottom half needs to go in. I may leave it for my painter to fix.