Frame
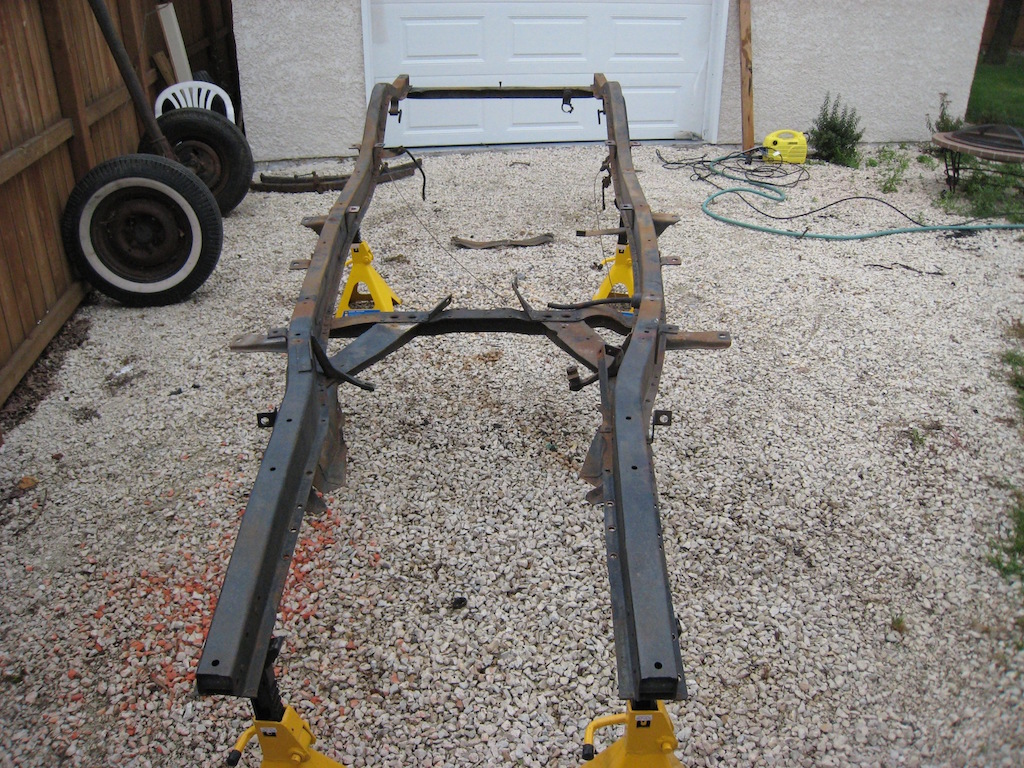
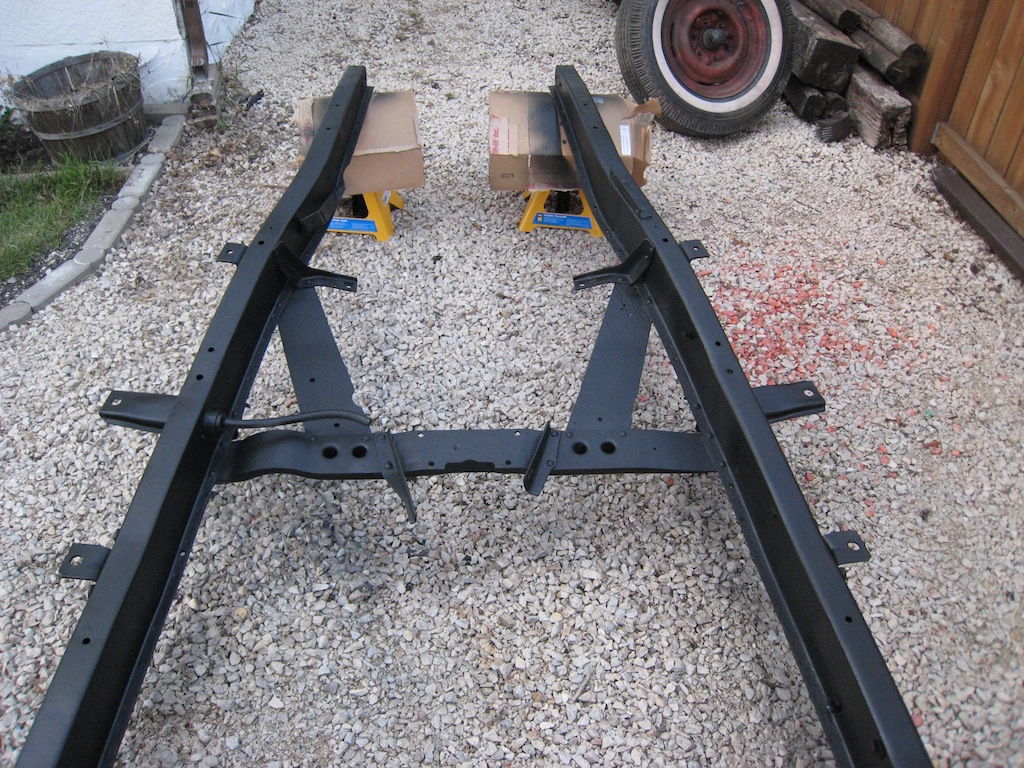
I have never been sure what to call the car deck! It has been called the frame, rolling chassis, and deck. In this page I will simply call it the chassis.
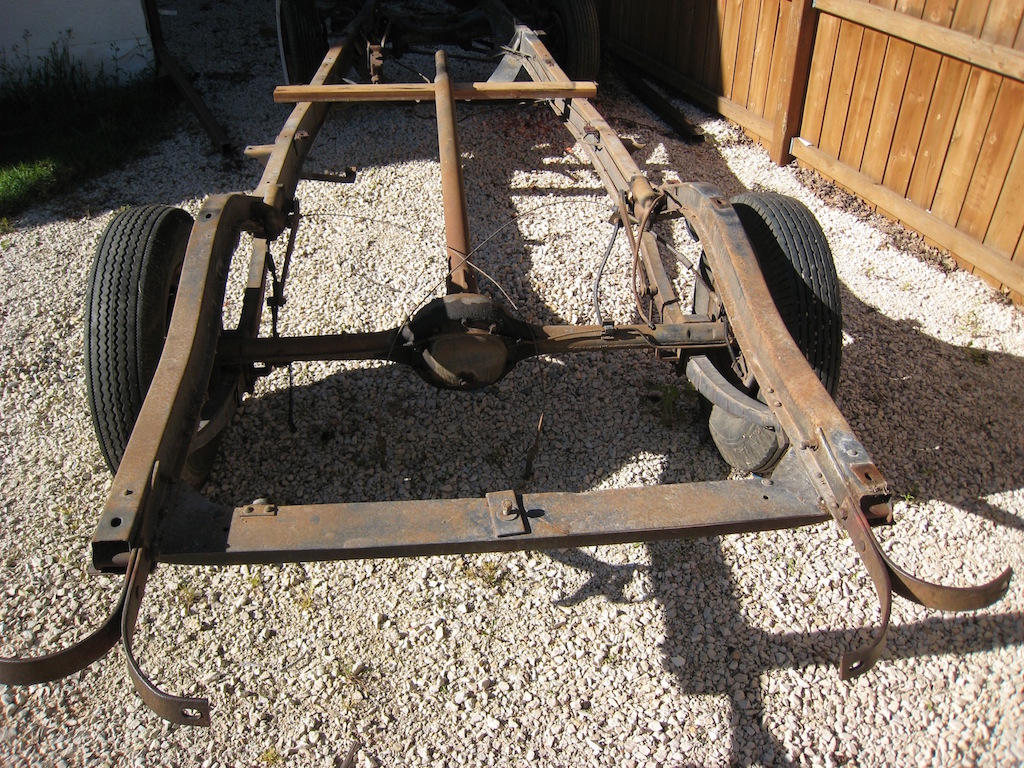
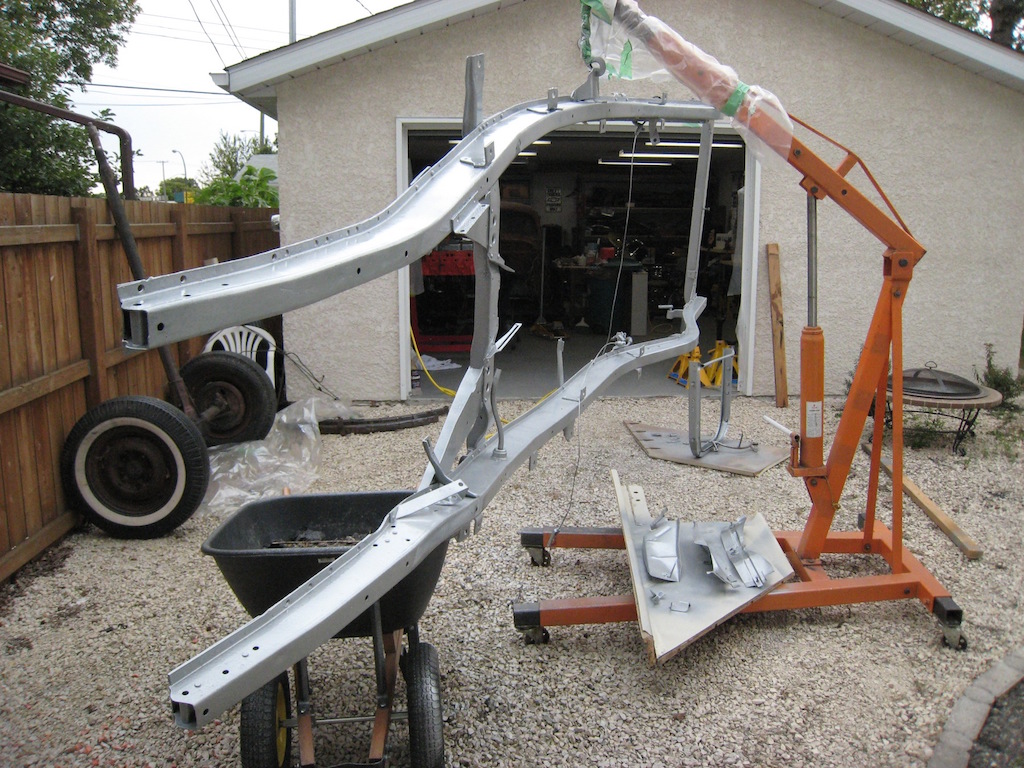
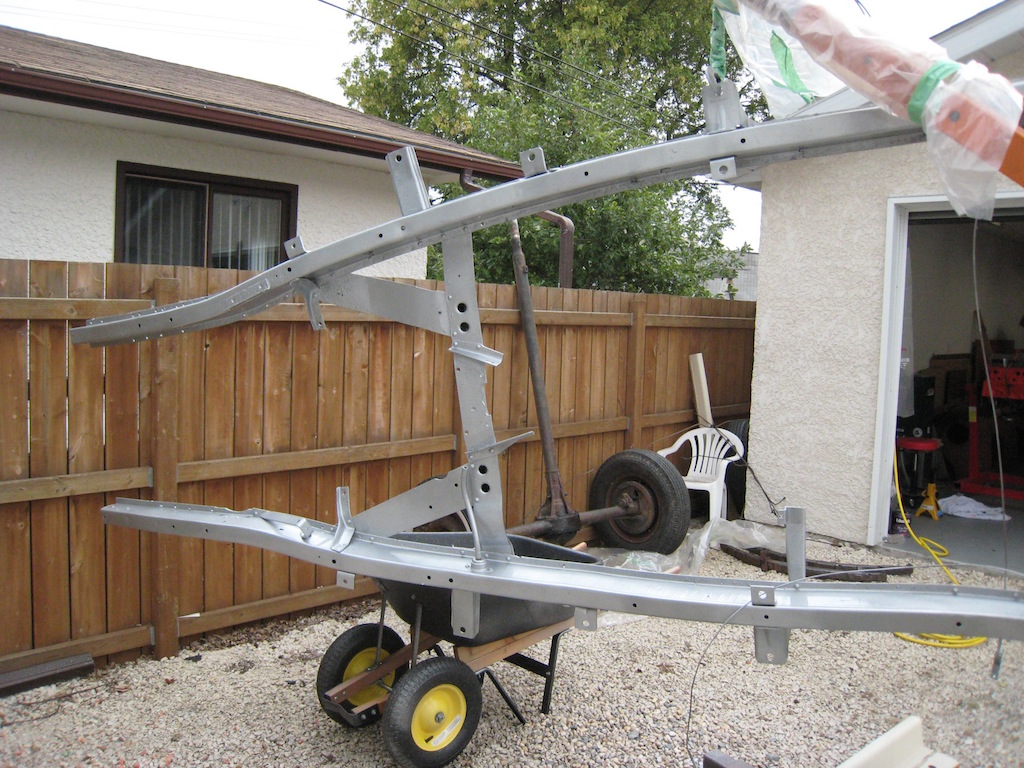
The chassis is not in bad shape. I had it sandblasted and partially painted about 25 years ago.
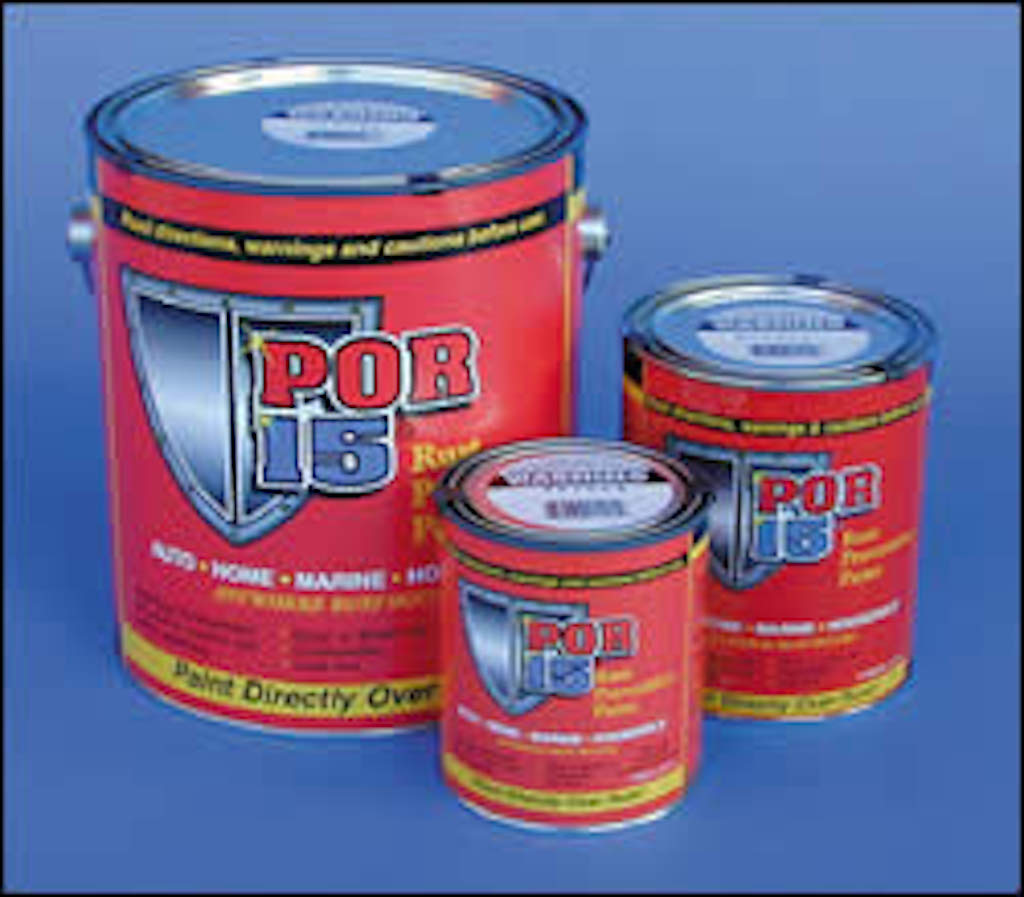
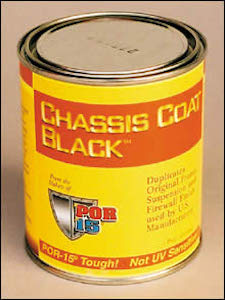
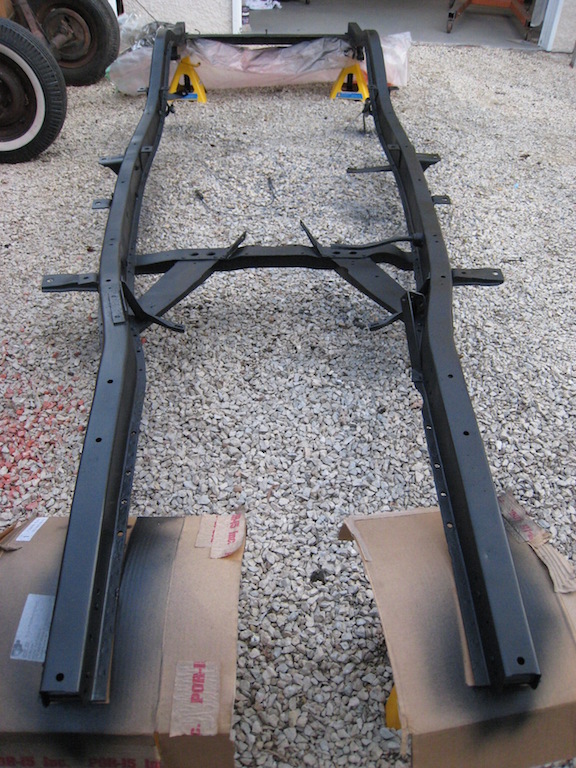
It will be my first attempt at spray painting – ever. The picture with the 3 cans is the POR-15® undercoating which I hope to spray on the chassis, inside the car and underneath the body of the car.
The can with the yellow label is the black topcoat which I will paint over the grey POR-15®. Using it over POR-15® provides the toughest, most permanent protection against rust and corrosion ever developed. It is not sensitive to ultraviolet light like the grey POR-15® although I don't know how much ultraviolet light the chassis will get!.
Putting it Together
In August of 2008, I put the body back on the car using the original front tires and new tires on the rear (tires that would eventually end up on the front). Note: I had done some sanding on the body first.
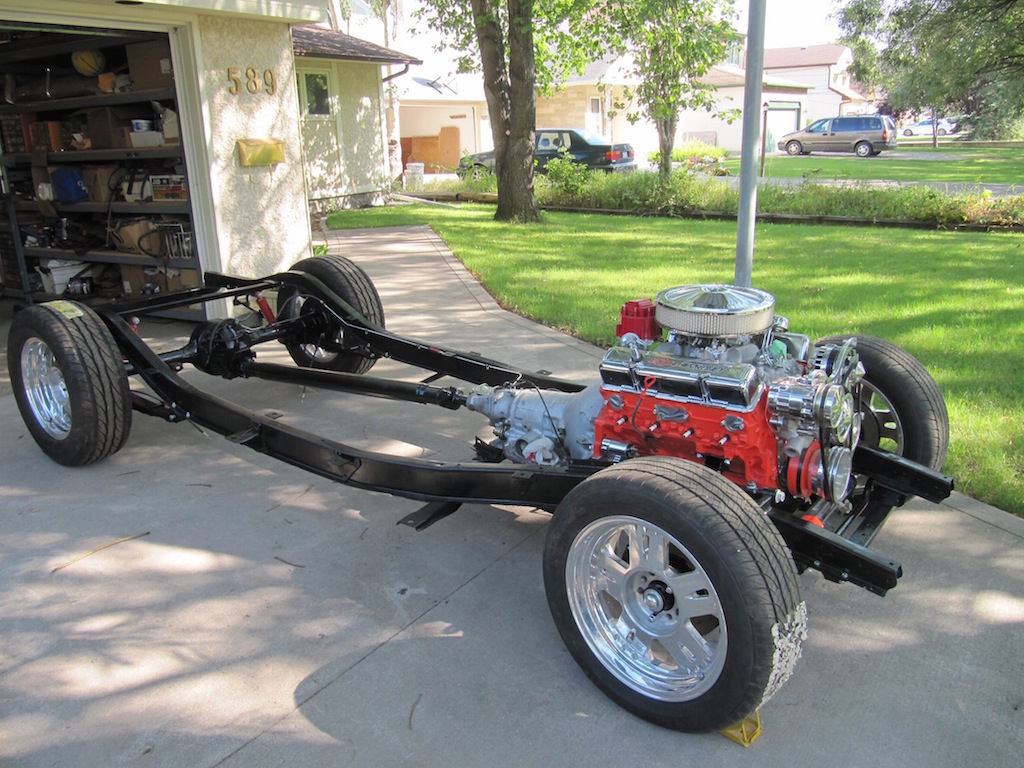
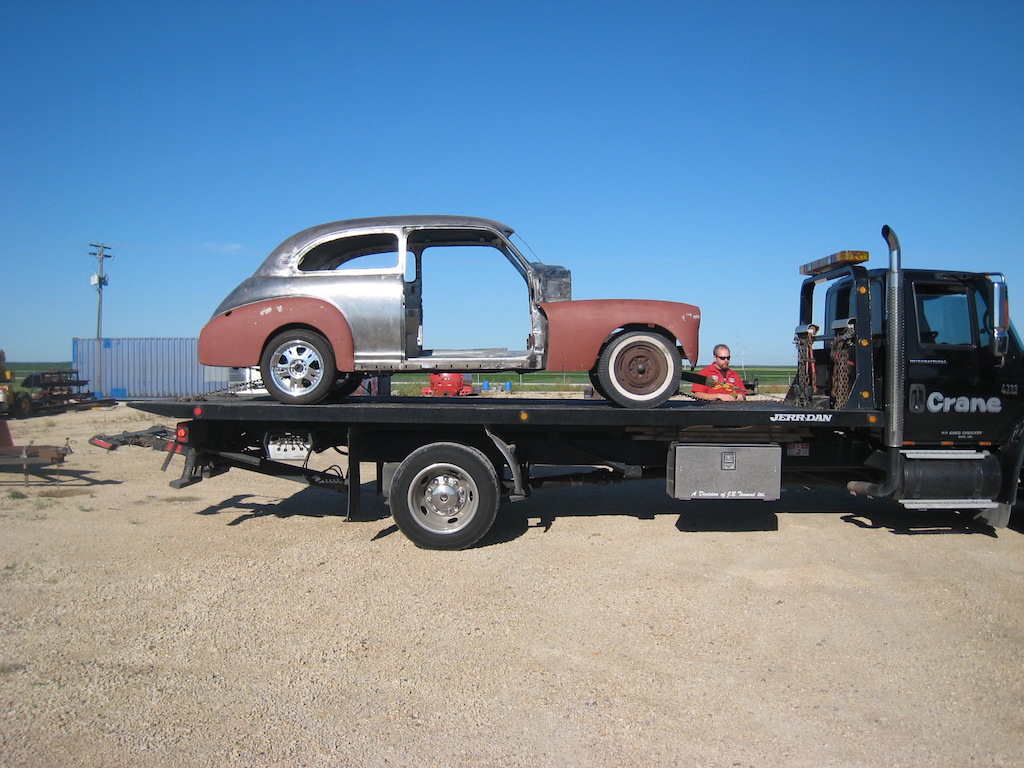
I arranged for Mike and Dale at Sandale Fabrication in Grande Point, Manitoba to install a Heidts Mustang Independent Front End Suspension (IFS) with a 2" dropped spindle. At the same time they would drop in the GM306 motor, GM350 transmission, and Mustang rear end.
The following pictures show the ride to Sandales and the results of the modifications.
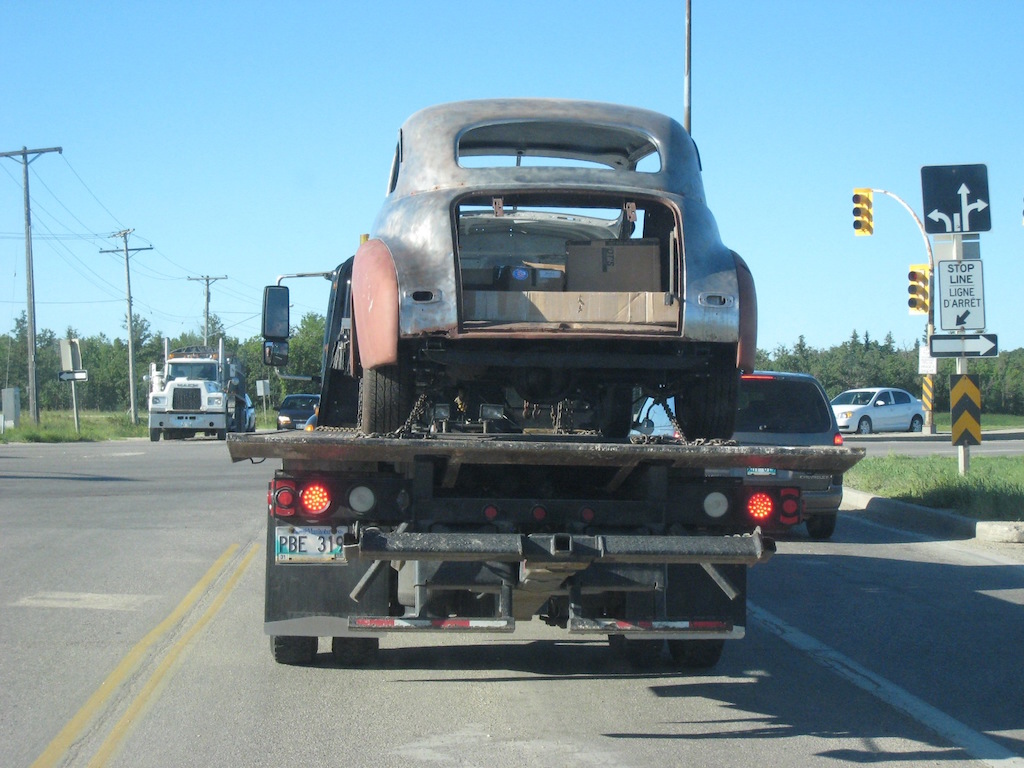
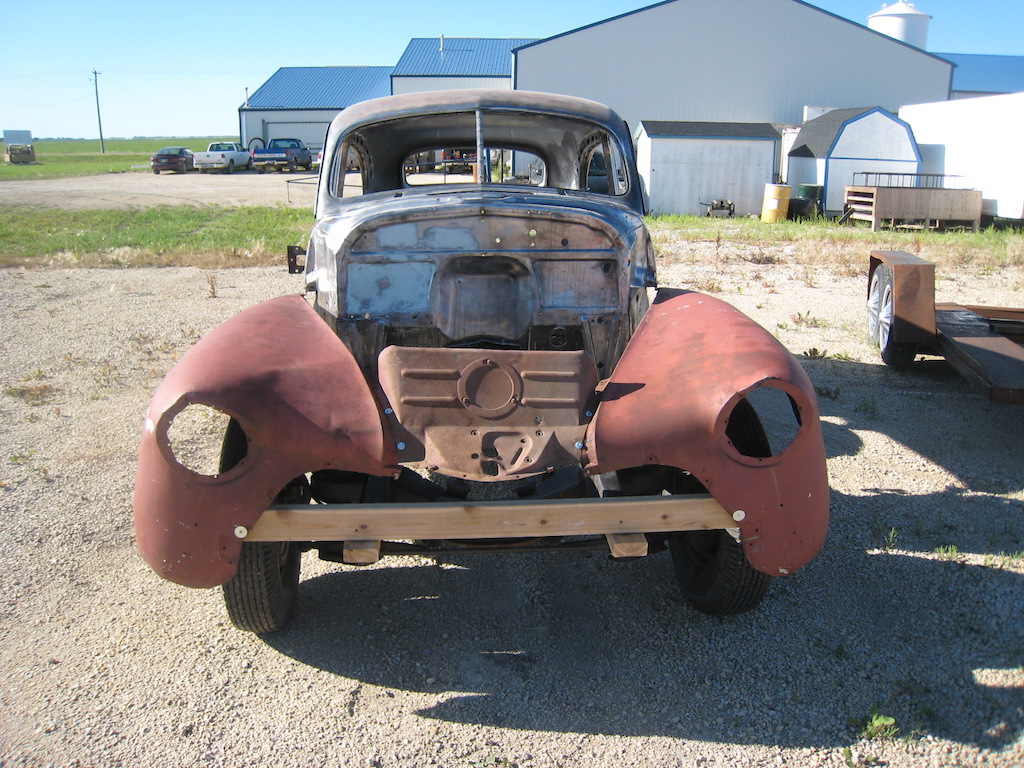
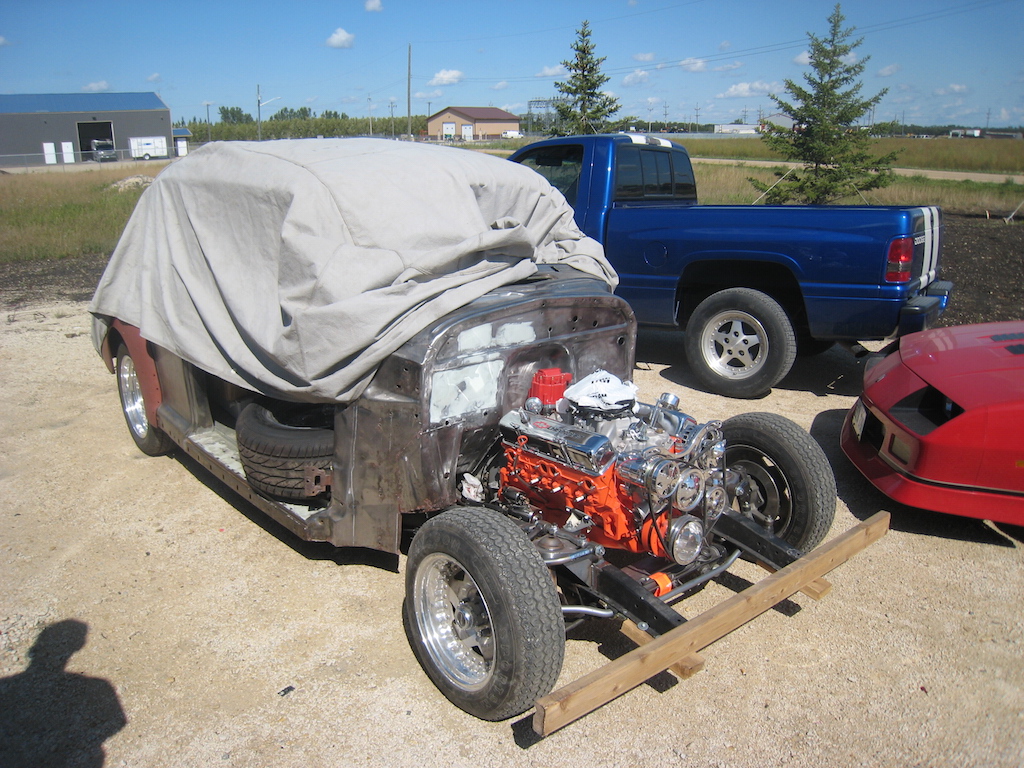
The front tires are temporary tires that Sandales mounted.
When I got the car back to my garage, I removed the body from the chassis and installed it on my car rotisserie. I then continued working on the chassis. The next step was to paint with POR-15 the bare steel parts that Sandale's had installed.
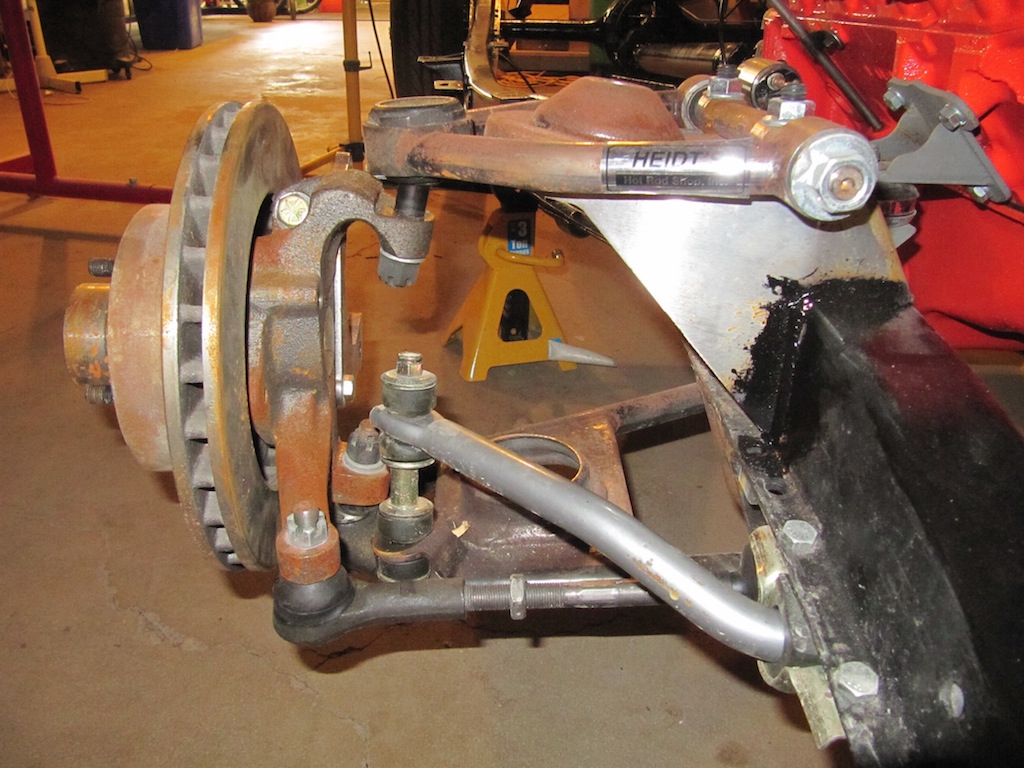

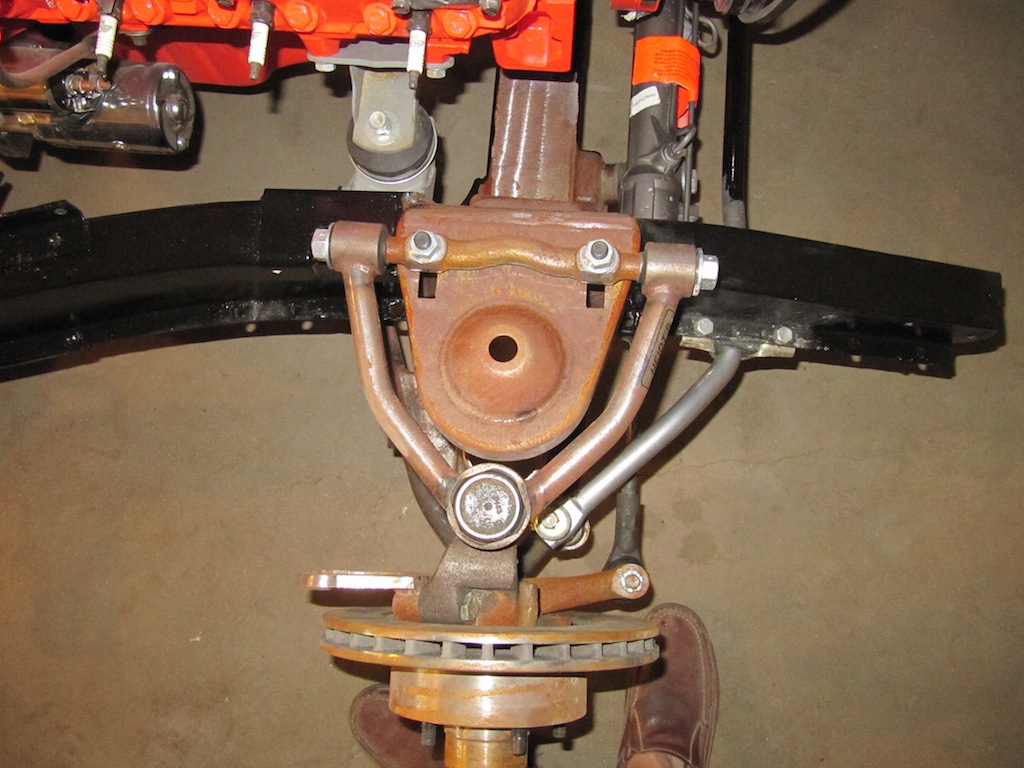
The new IFS was welded to the top of the frame as opposed to the original which was attached to the side of the frame. As a result I had to modify the inner fenders before attaching them back on the car.
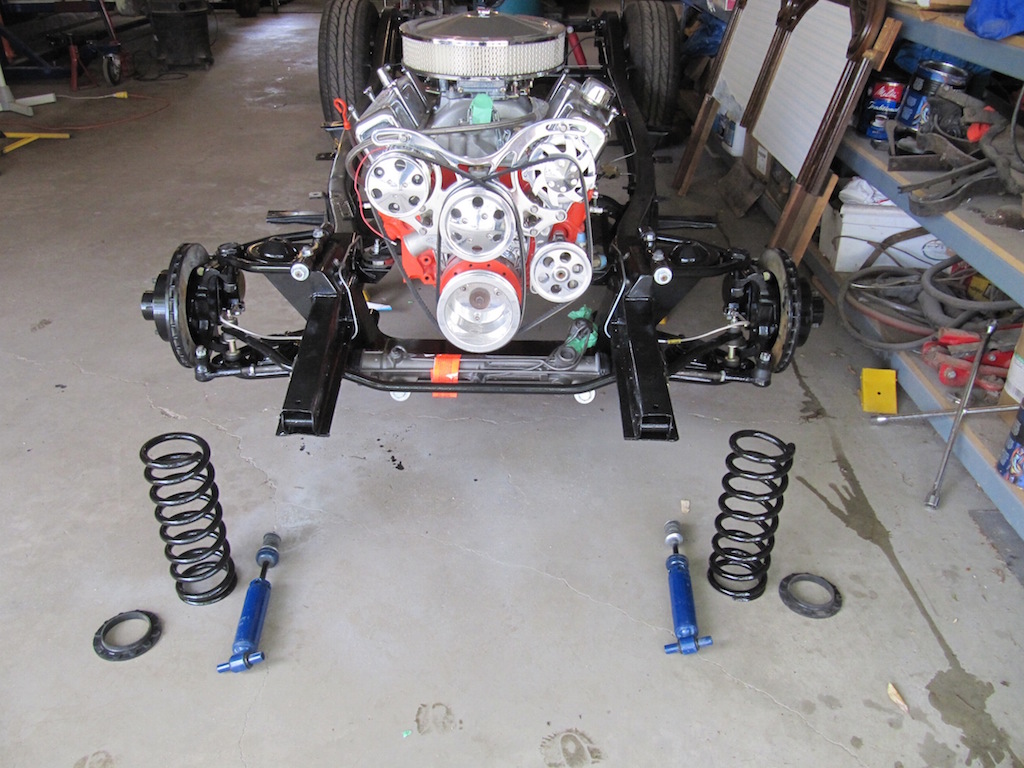
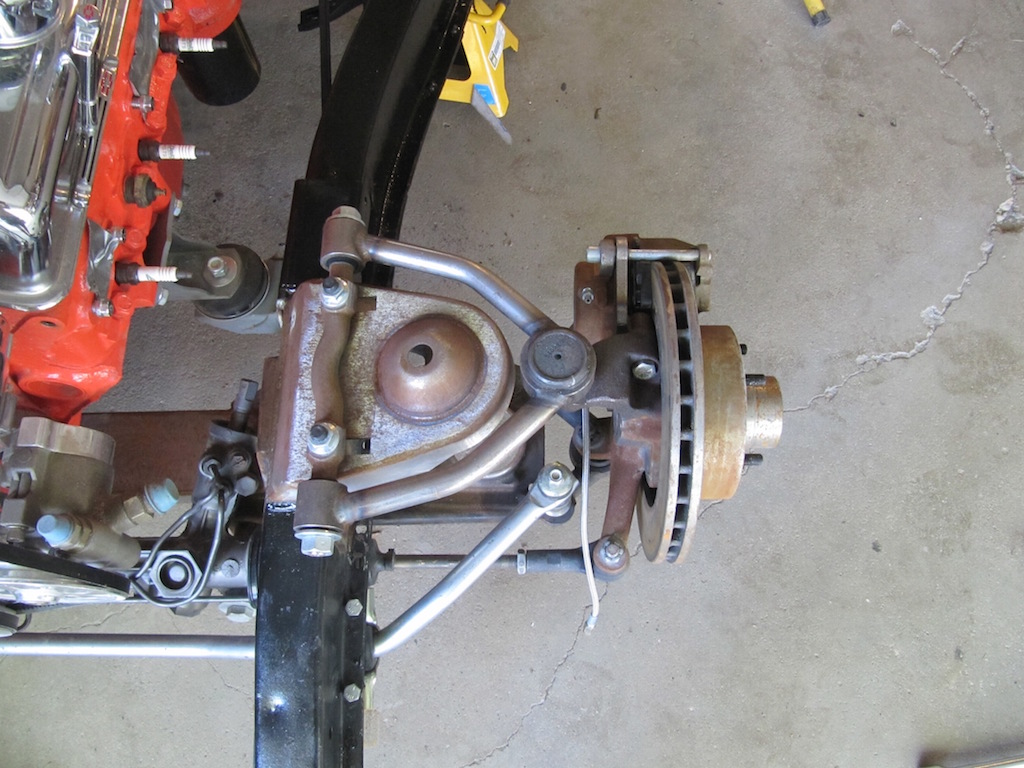
The picture above shows the painted IFS and coil springs. Installing the coil springs was not an easy endeavor even with a spring compressor.
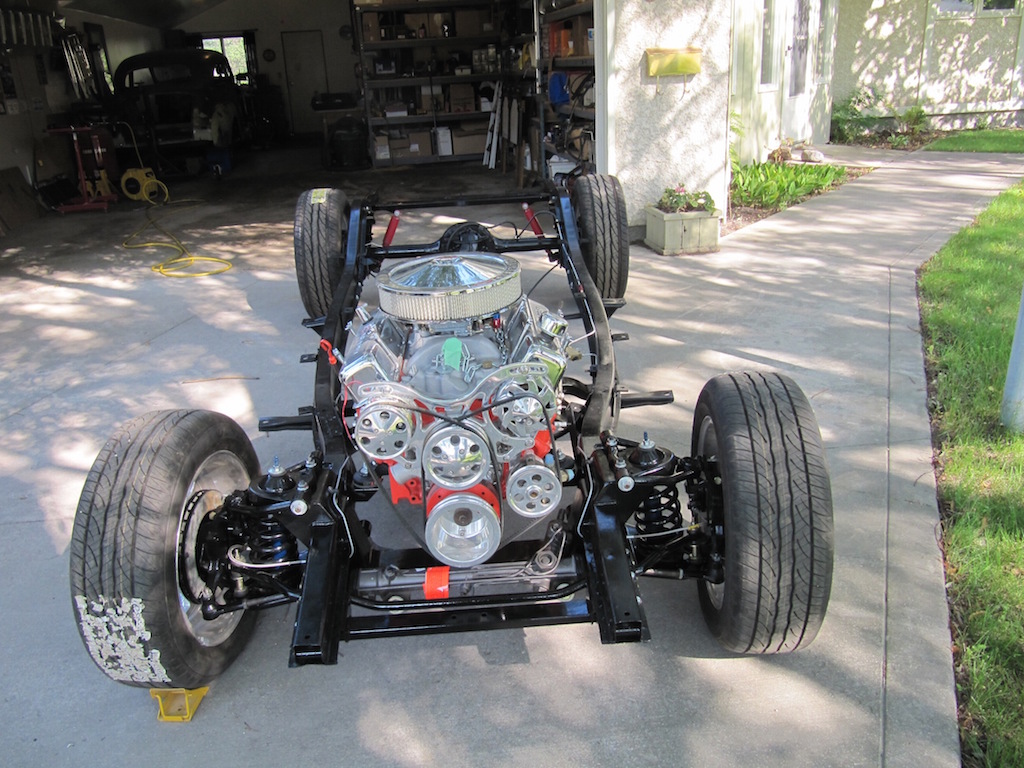
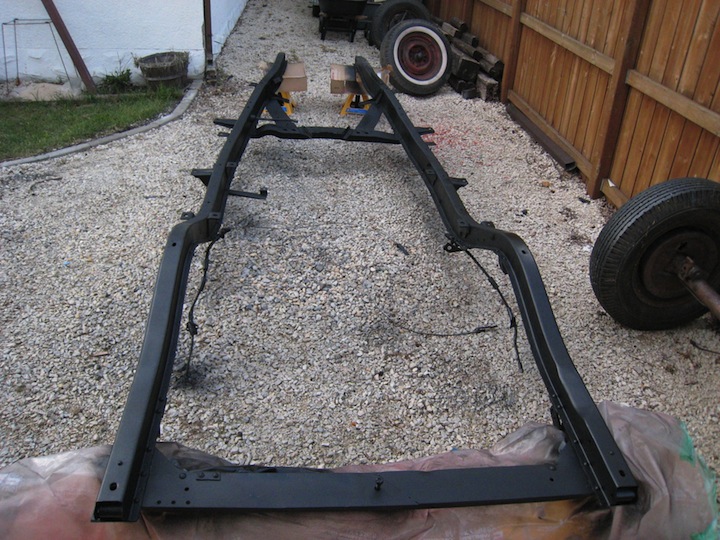
Front view of the rolling chassis above and side view below.