Re-construction of the inside of the car
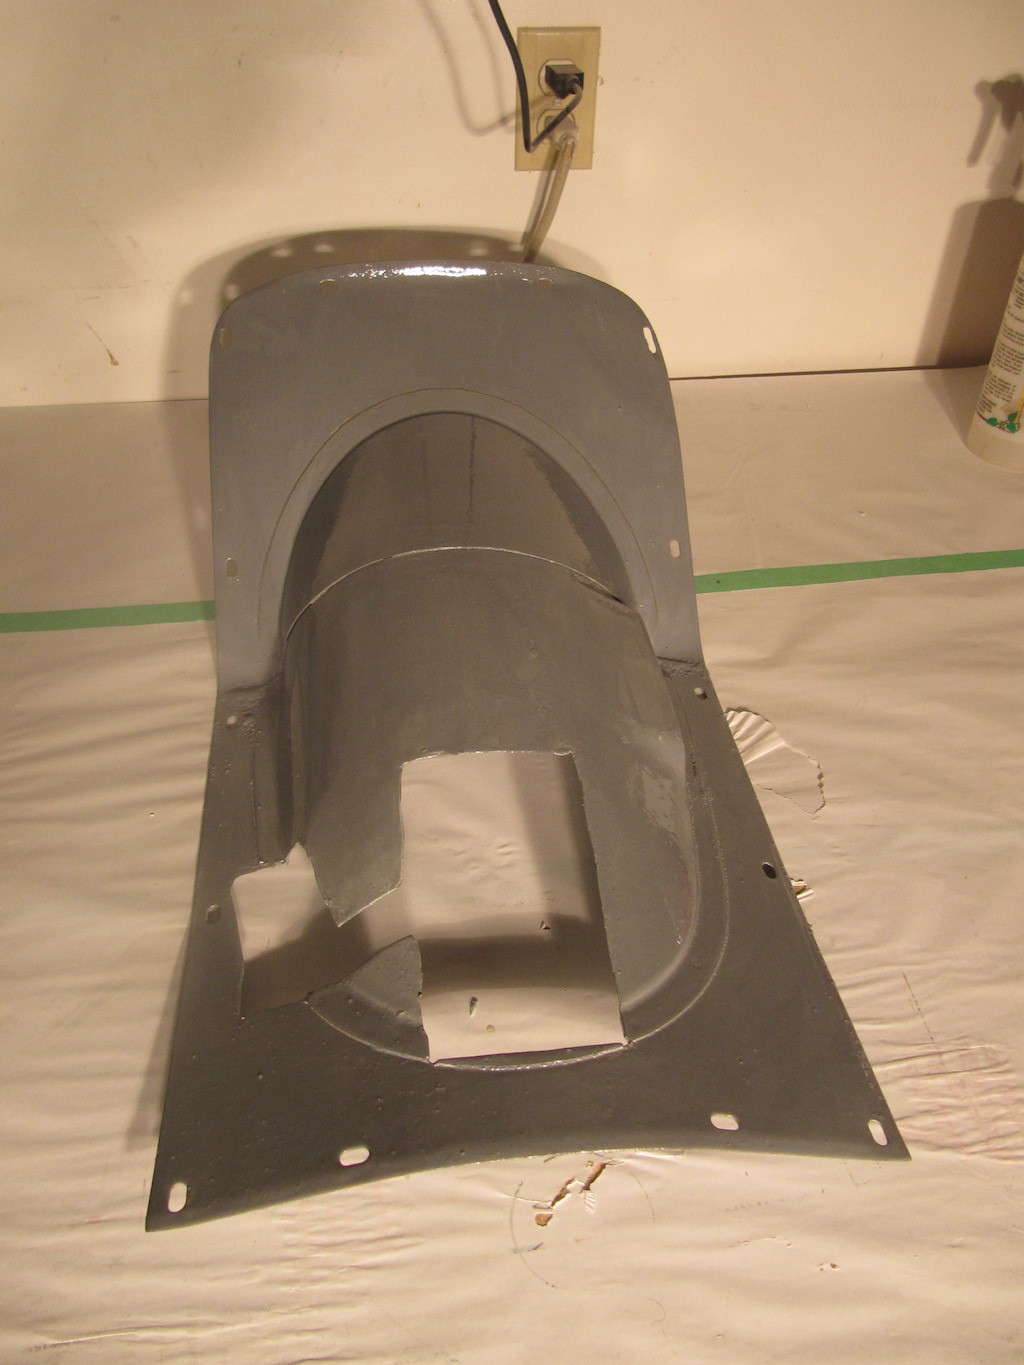
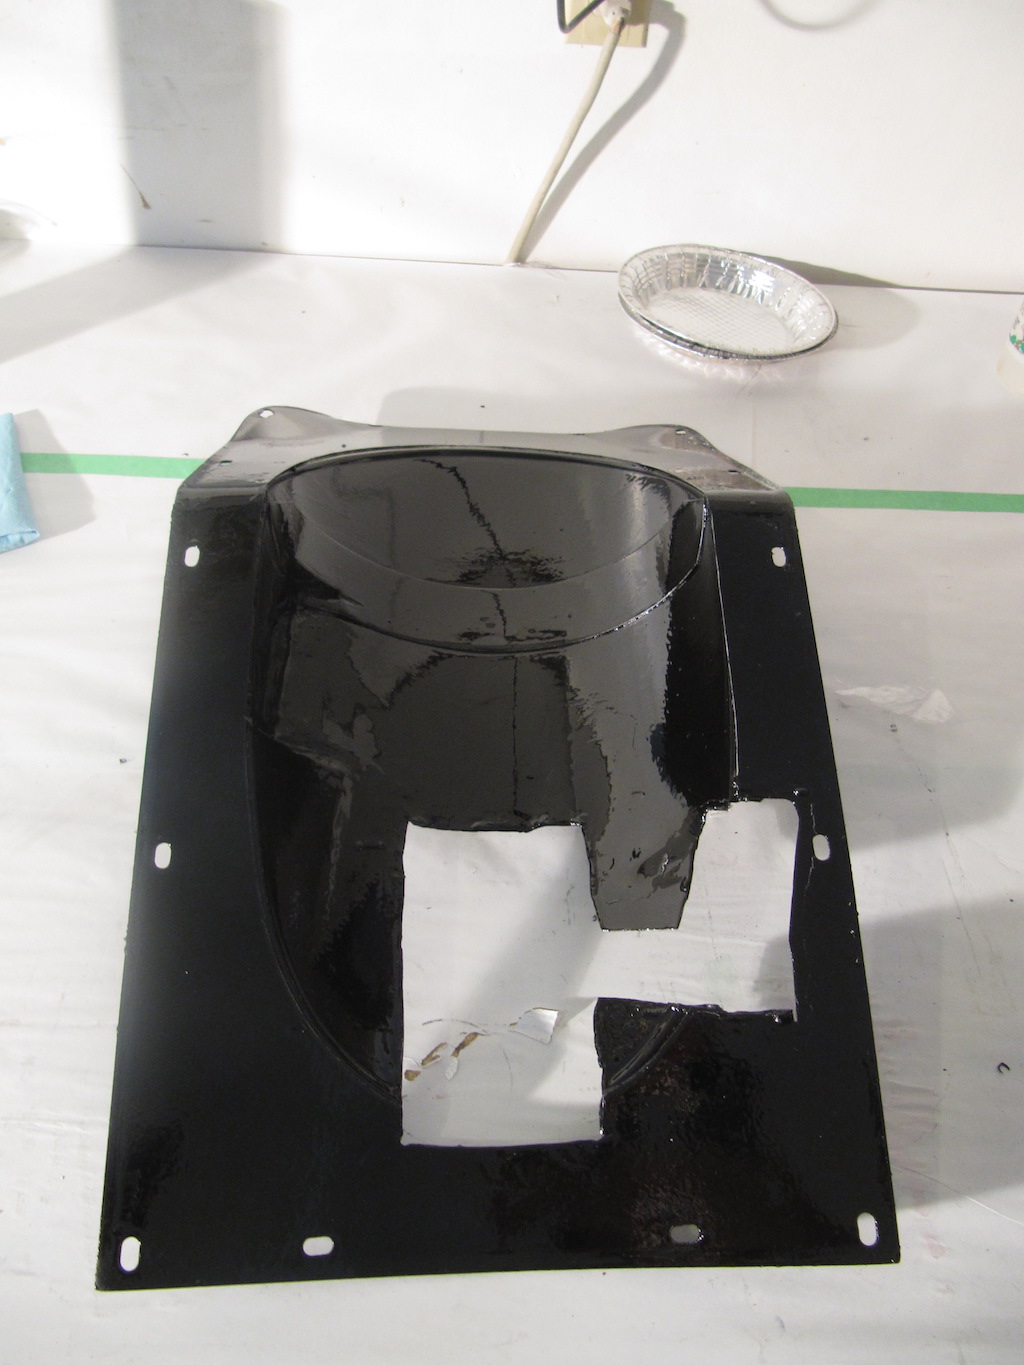
Insulation
Early on I had decided that I would be installing an air conditioning system in the car so I needed to add some insulating material to keep the heat and noise out. I found a source on EBAY for the material who agreed to sell me about 80 feet (by 5 feet) which was much more than I required, but the price was great. He was using it to insulate a number of Corvettes and the 2 rolls he sold to me was left over material.
I used a double side carpet tape to install the material.
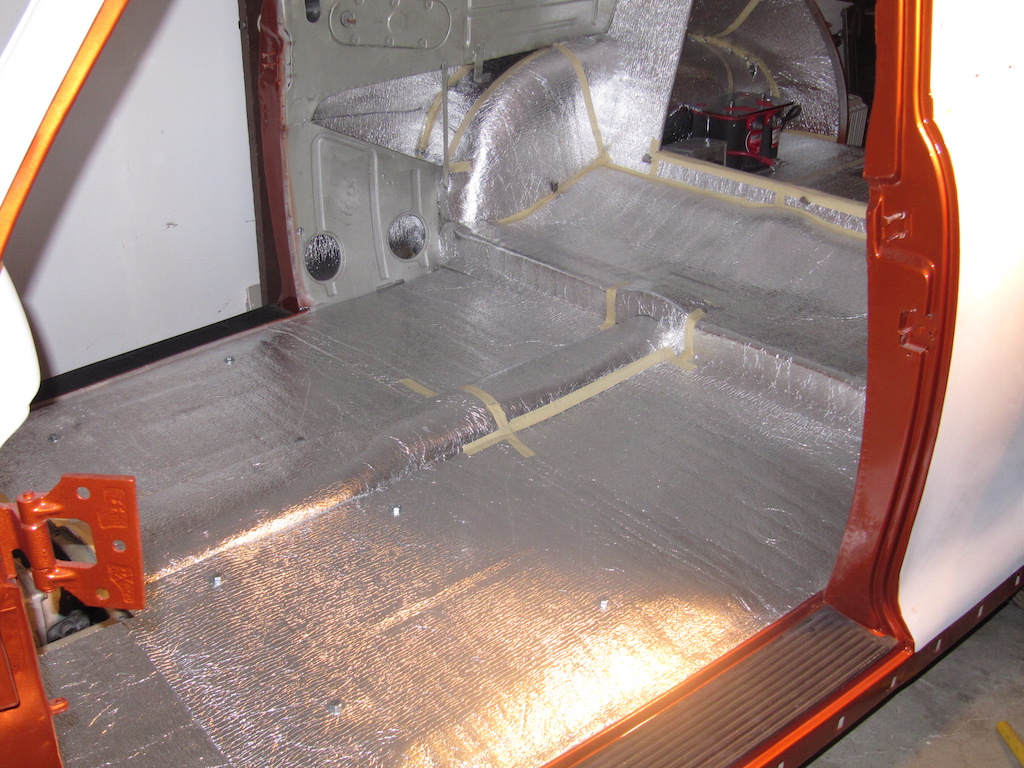
The floor in the picture above, the ceiling in the pictures below. I forgot to take pictures of the painted roof before I put the insulation on. The bolts in the floor are for the bucket seats.
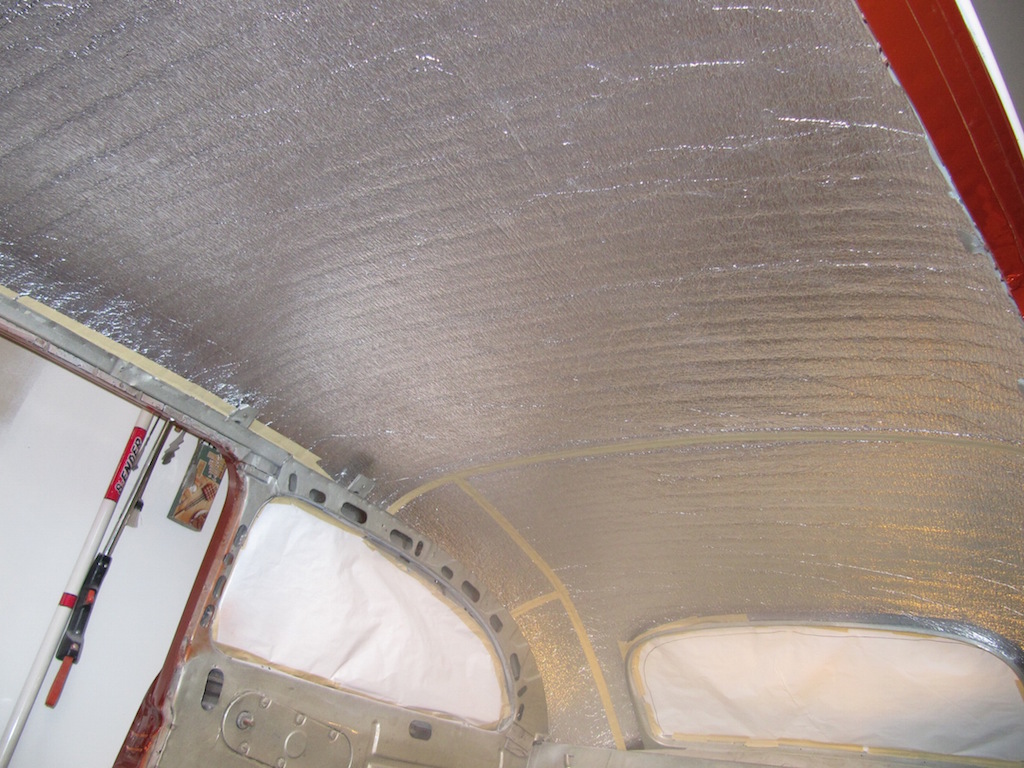
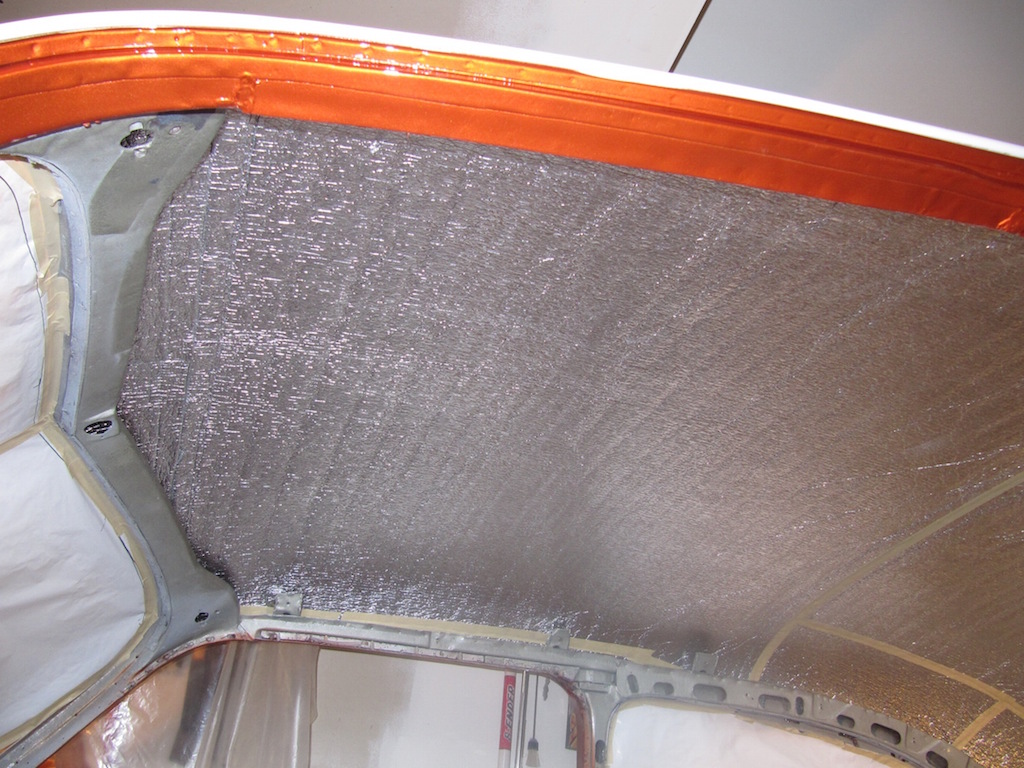
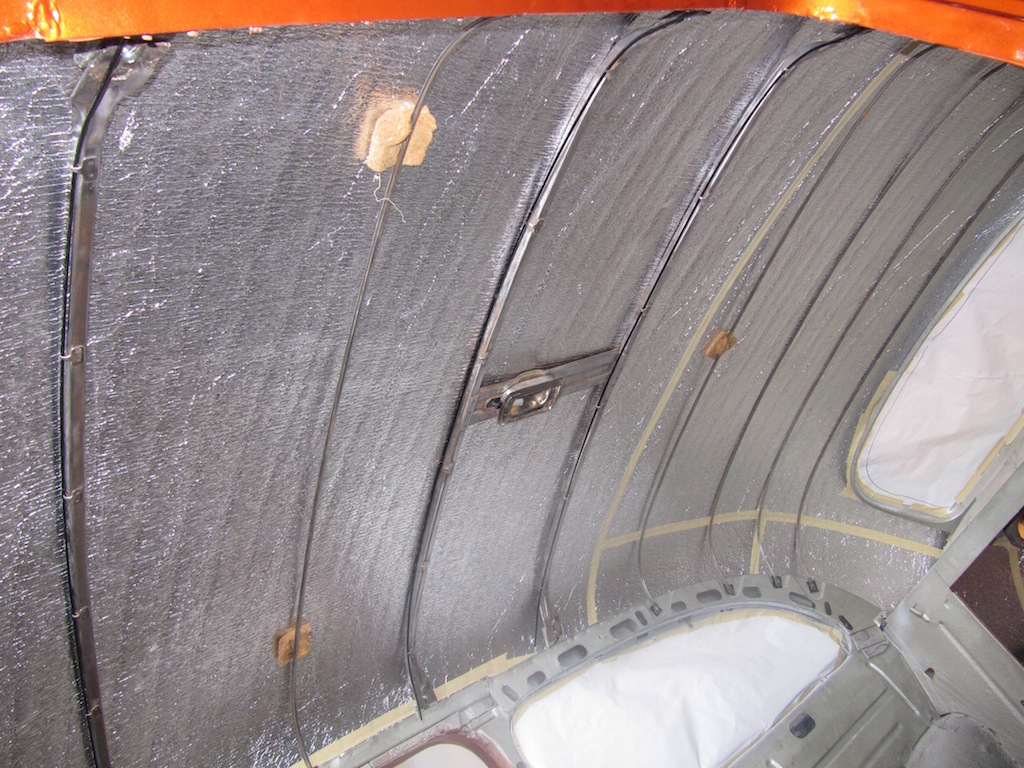
This picture shows the ceiling with the ribbing for the headliner installed.
Trunk
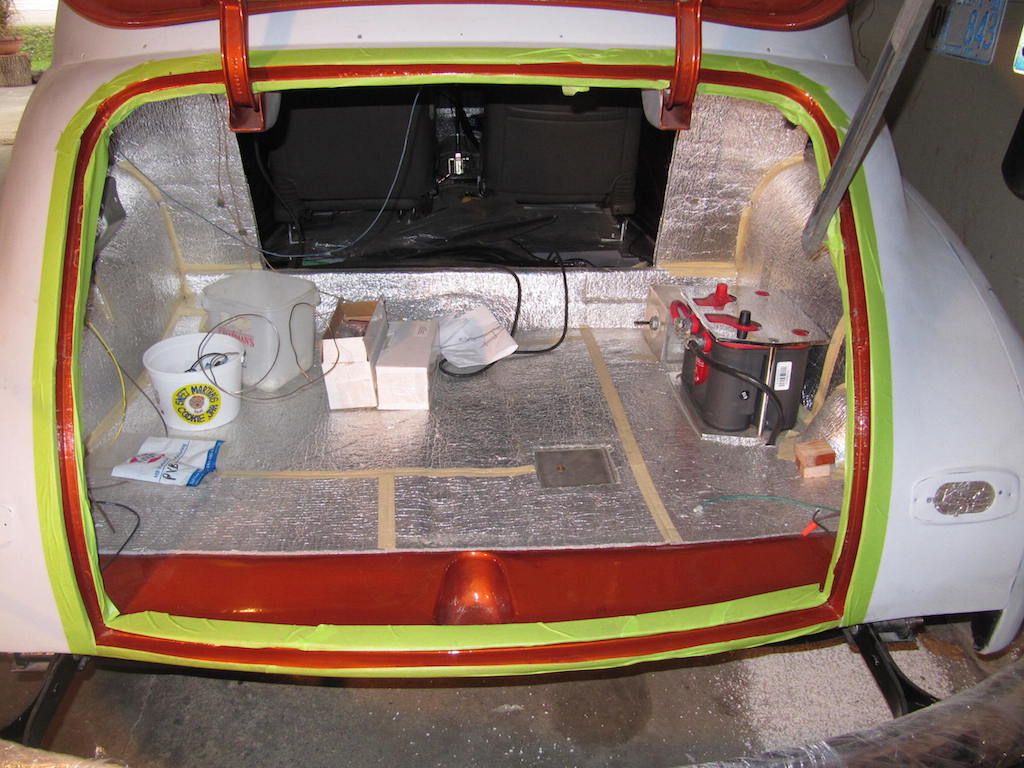
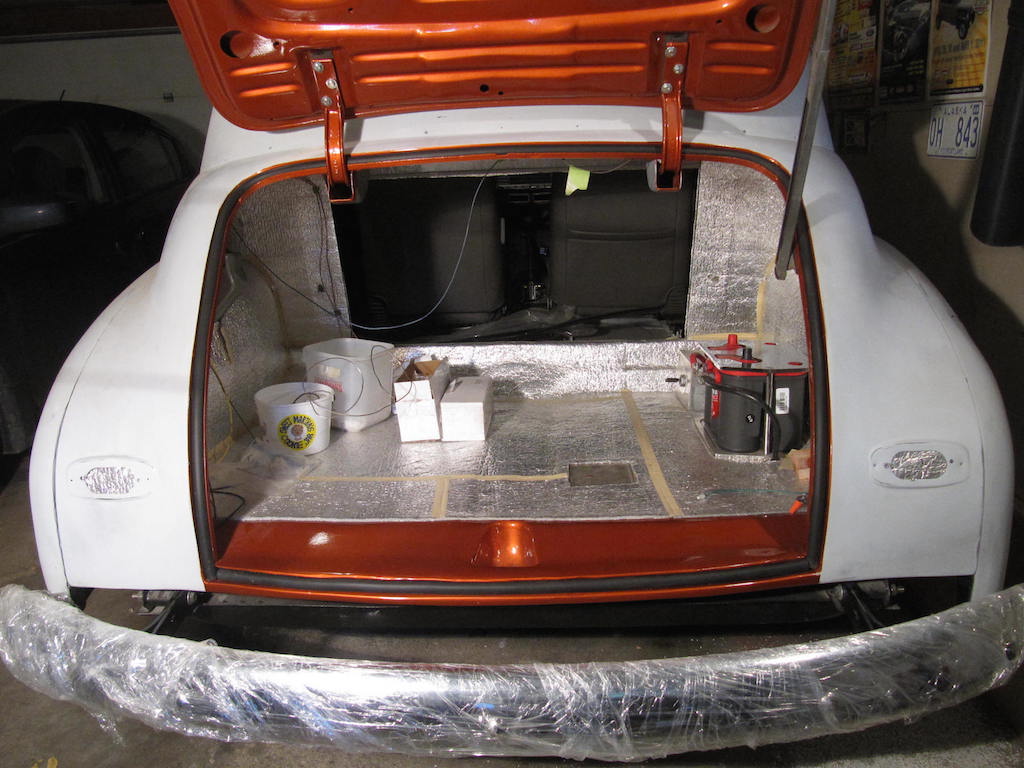
A picture of the trunk below showing the Optima battery, battery disconnect switch and box (behind the battery) and the gas tank access door.
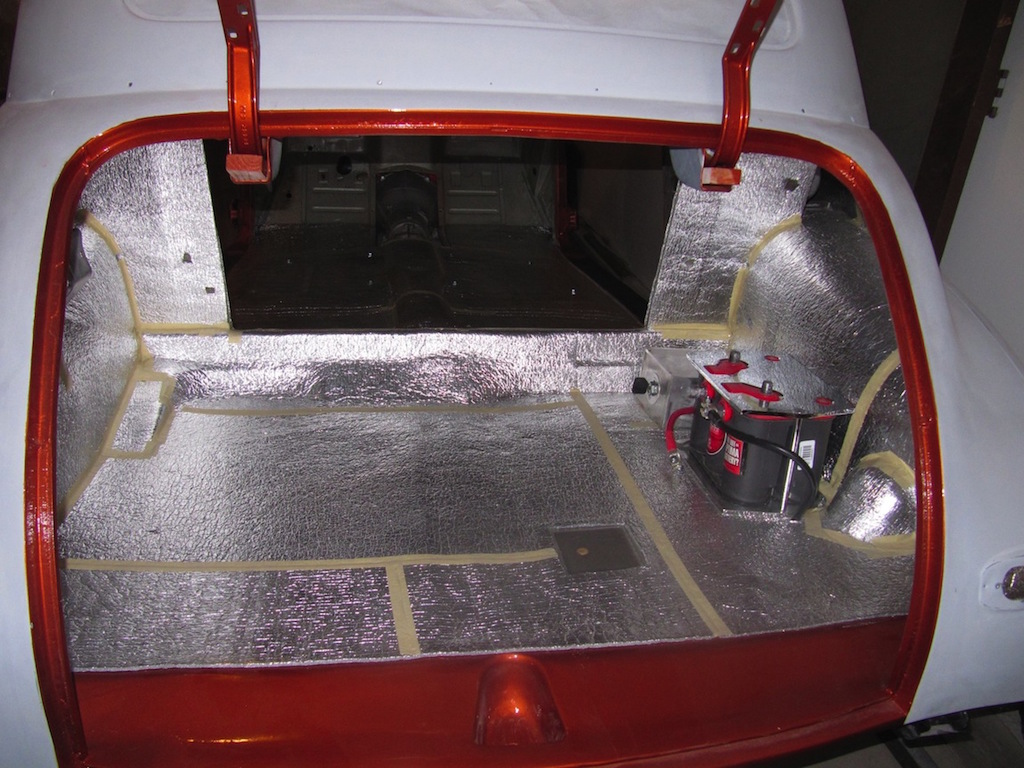
I got the aluminum disconnect box welded by a local high school student who was enrolled in a welding class. It worked out great!
One of the problems that I encountered was connecting the gas tank straps and battery holder bolts (underneath the weatherstripping).
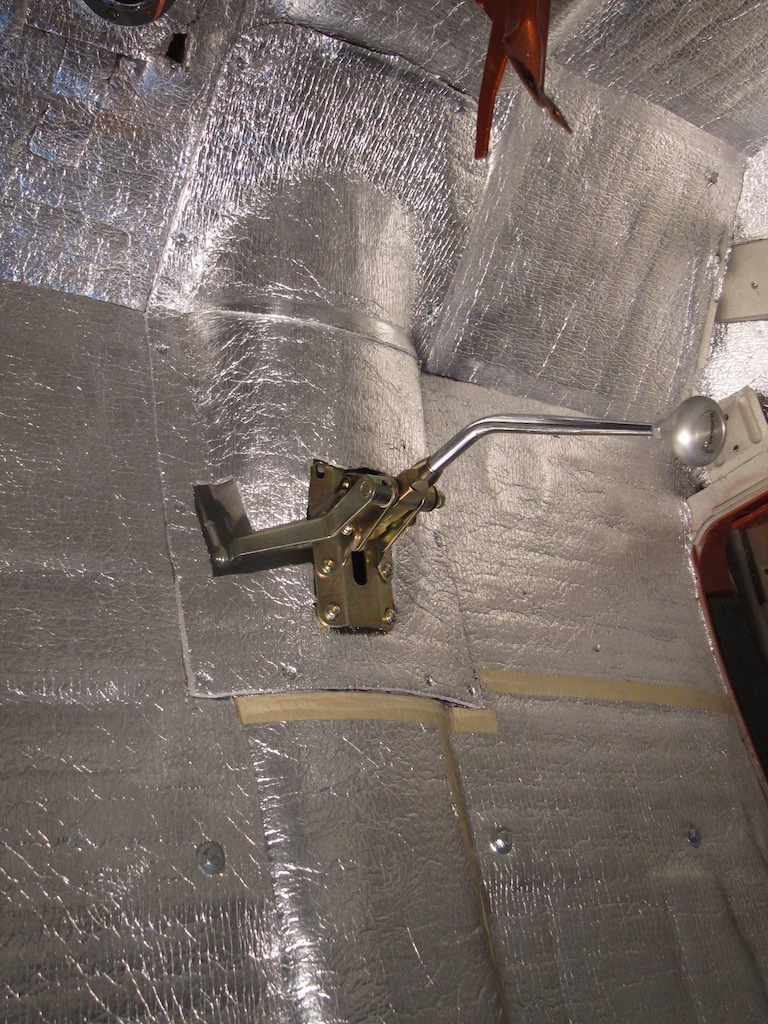
Stick Shift
I purchased a Lokar floor mount automatic transmission shifter model TH350 ATS6350CM from GearheadWorld. I also purchased a new transmission cover from Chevs-of-the-forties because the old one would not fit with the new motor and transmission. My first task was to cut a hole in the transmission cover to allow the installation of the shifter.
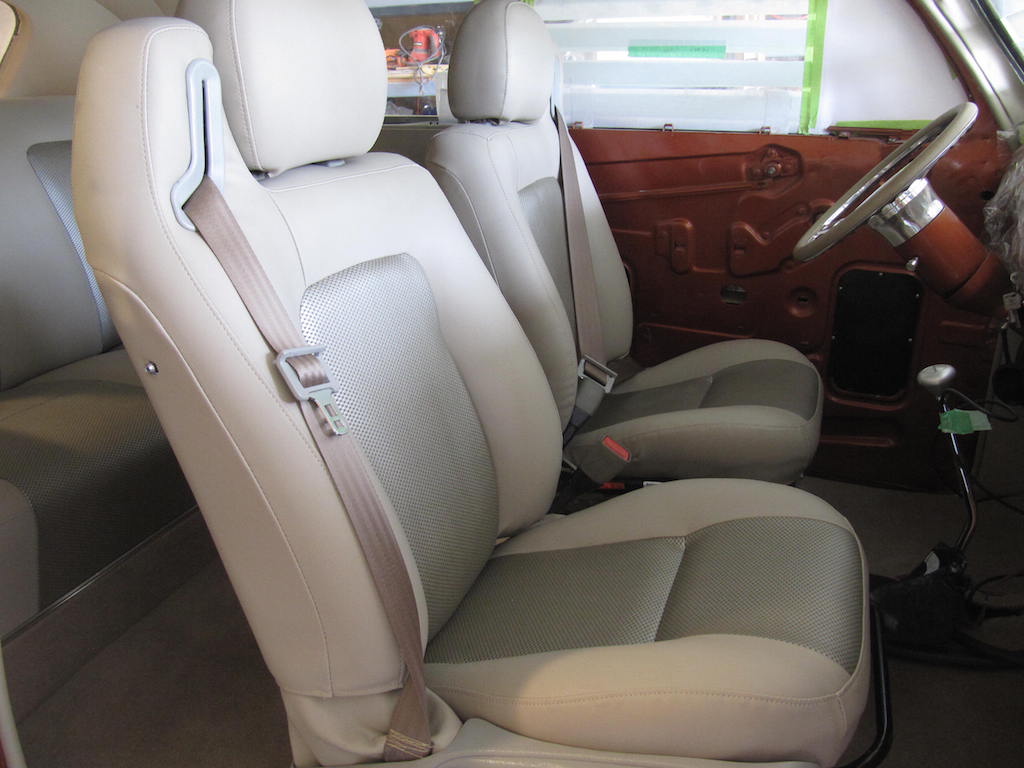
Upholstery
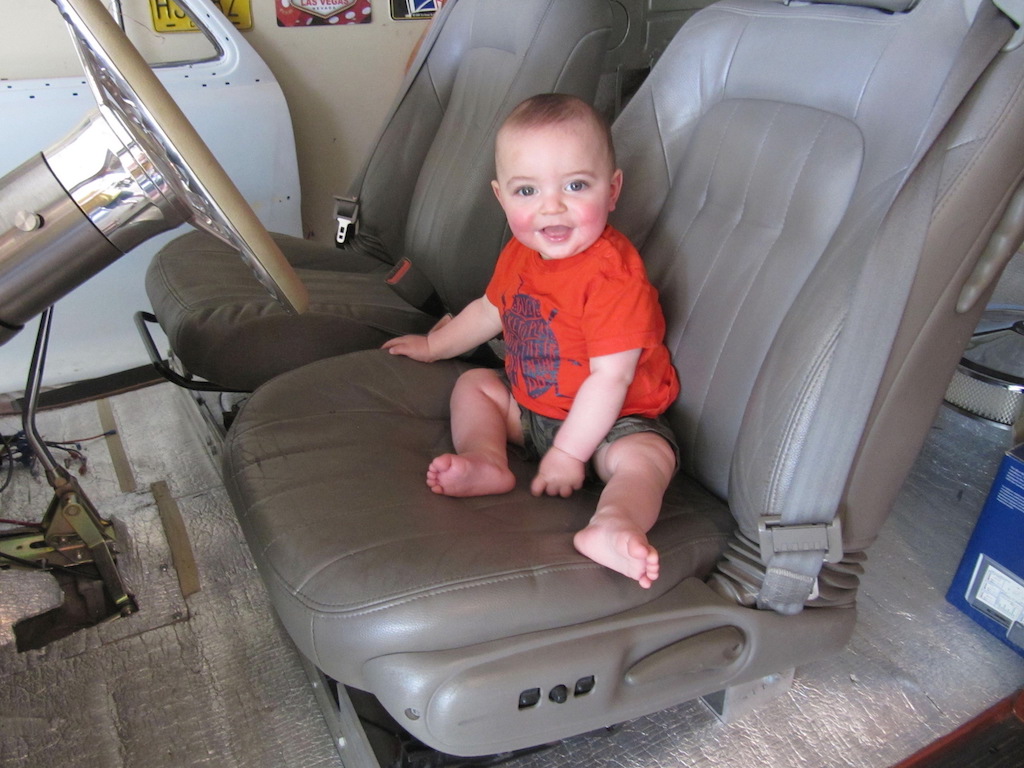
I purchased these bucket seats from a salvage company in Florida. They cost me $150.00 USD for the pair and $160.00 USD to ship to Pembina,ND.
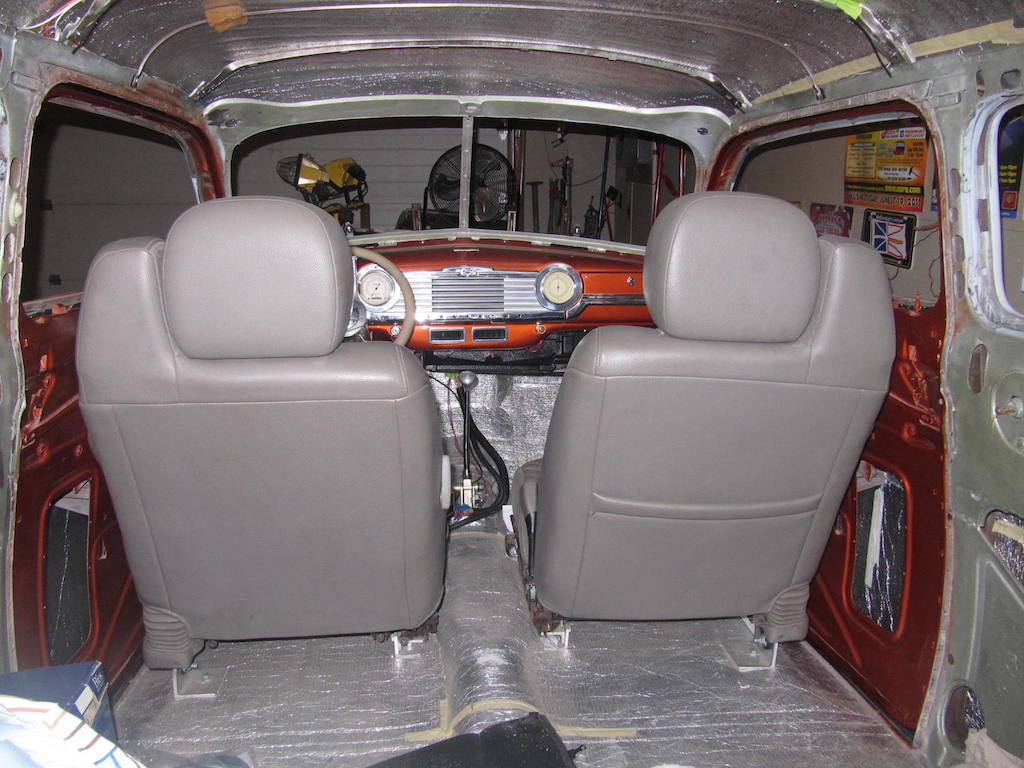

I decided to get the seats re-done in a vinyl that would better match the outside color.
February 12, 2015
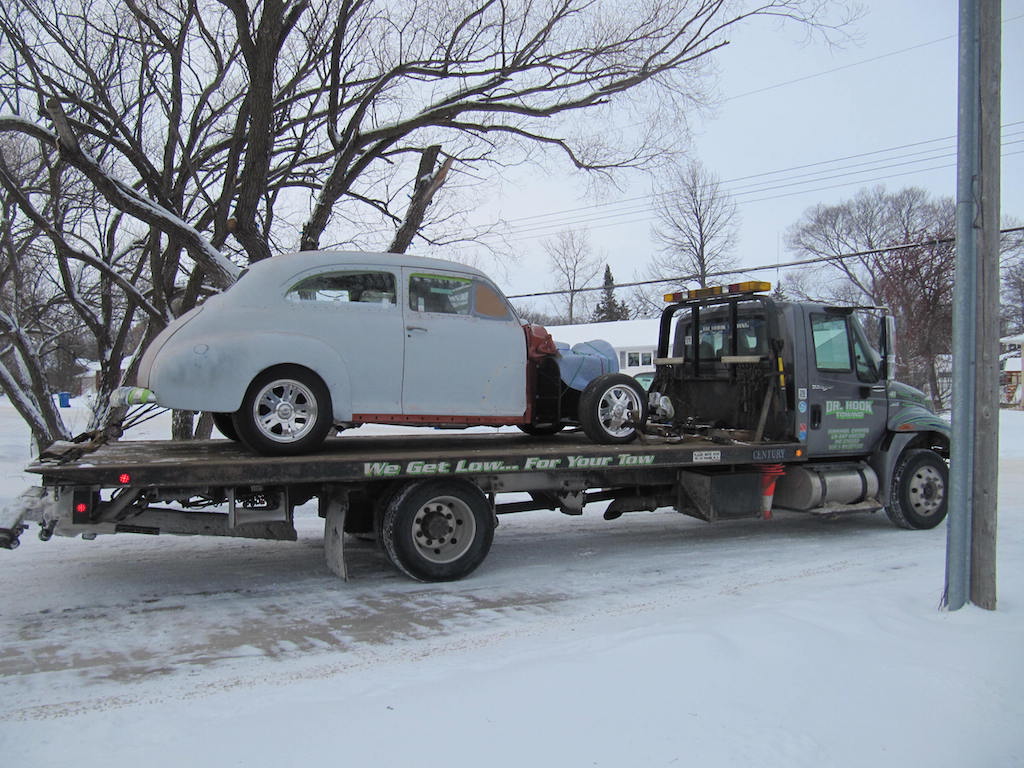
I finally got an opening with my upholsterer in February in Fannystelle, Manitoba. I used Dr. Hook to get the car out there. I did not want to trailer it out there myself because I would not have any public liability insurance. It will cost me $200.00 each way.
I would have preferred to get the car painted first, but I got a slot with the my upholsterer before my painter.

The car sitting in Omer's shop in Fannystelle. I put the old windows back in for the road trip. I put the windshield glass on from the outside (it is normally installed from the inside). This glass was cracked in several places. I have all new tinted glass except for the rear window. I will install them after the car is painted.
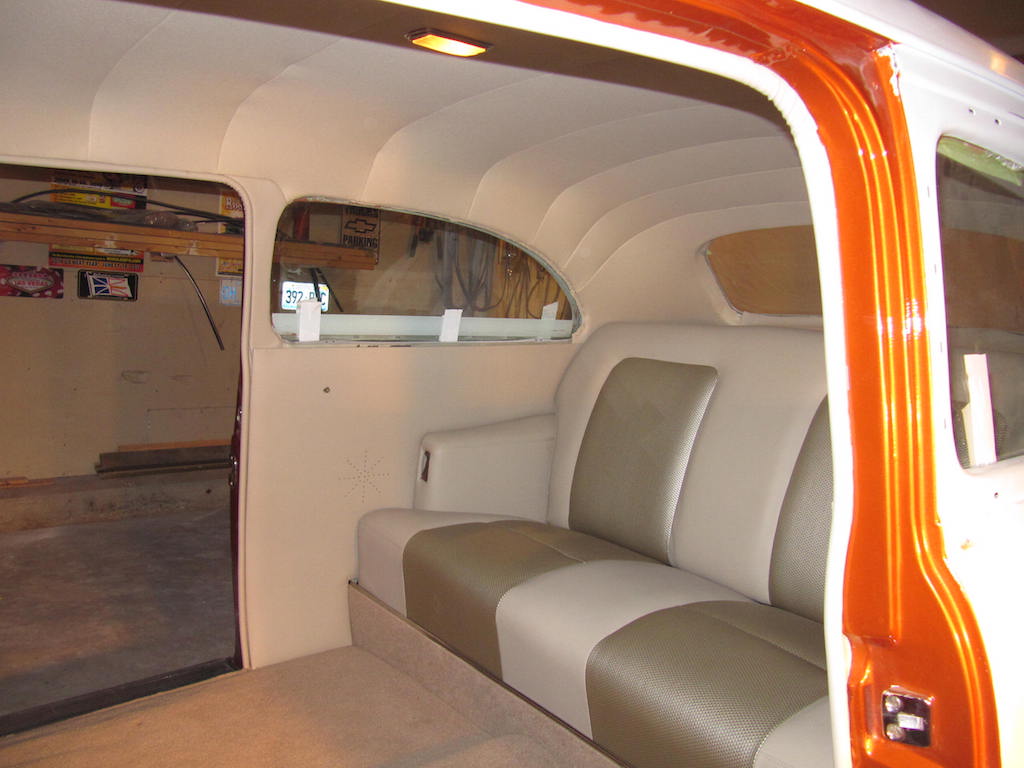
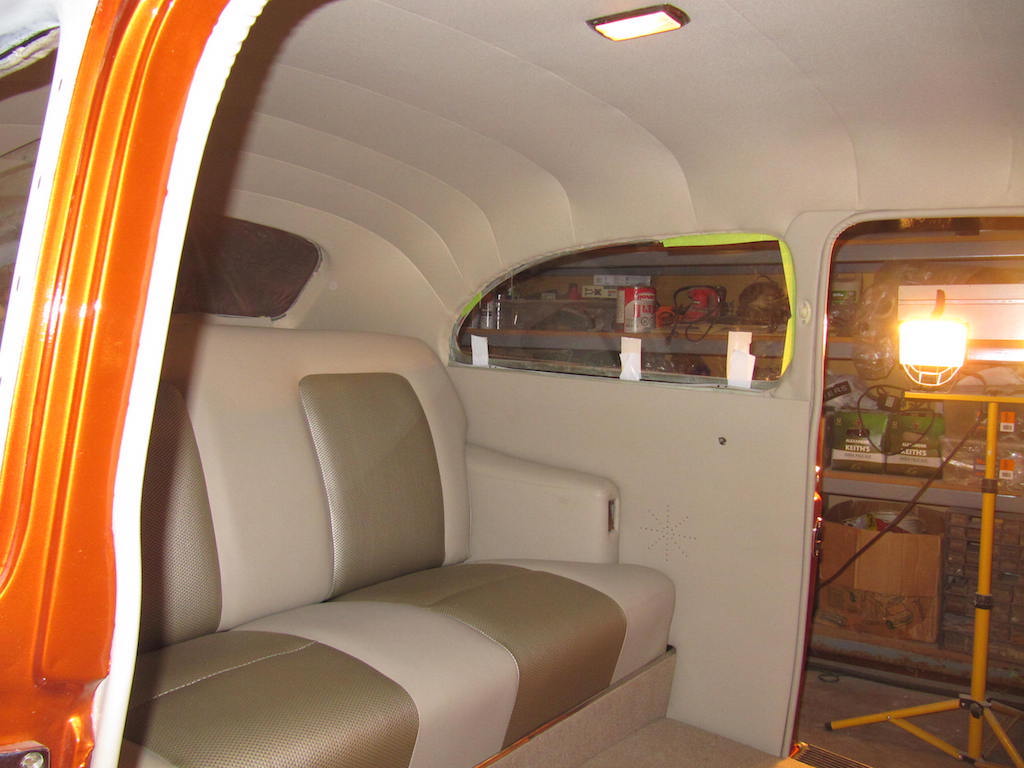
I got my car back from Omer in the first week of October. The interior is about 90% done, but he wanted me to get the car back because he is going to be laid up for a month. He will come to my place to finish up the interior. These include panels for the trunk, a battery box, sun-visor, and inside door panels.
In the meantime, I will try to get the car in to my painter in Portage La Prairie.
I ended up getting a swatch sample of my vinyl from Omer and sending it to SEM in the US. for a quart of SEM Color Coat™.
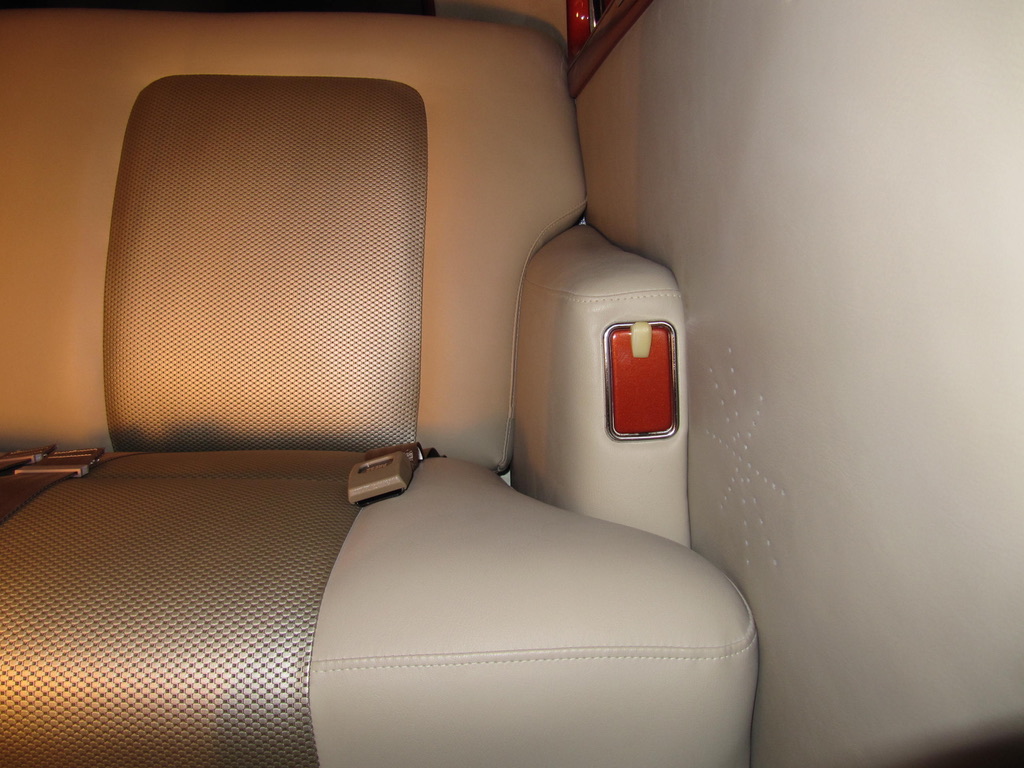
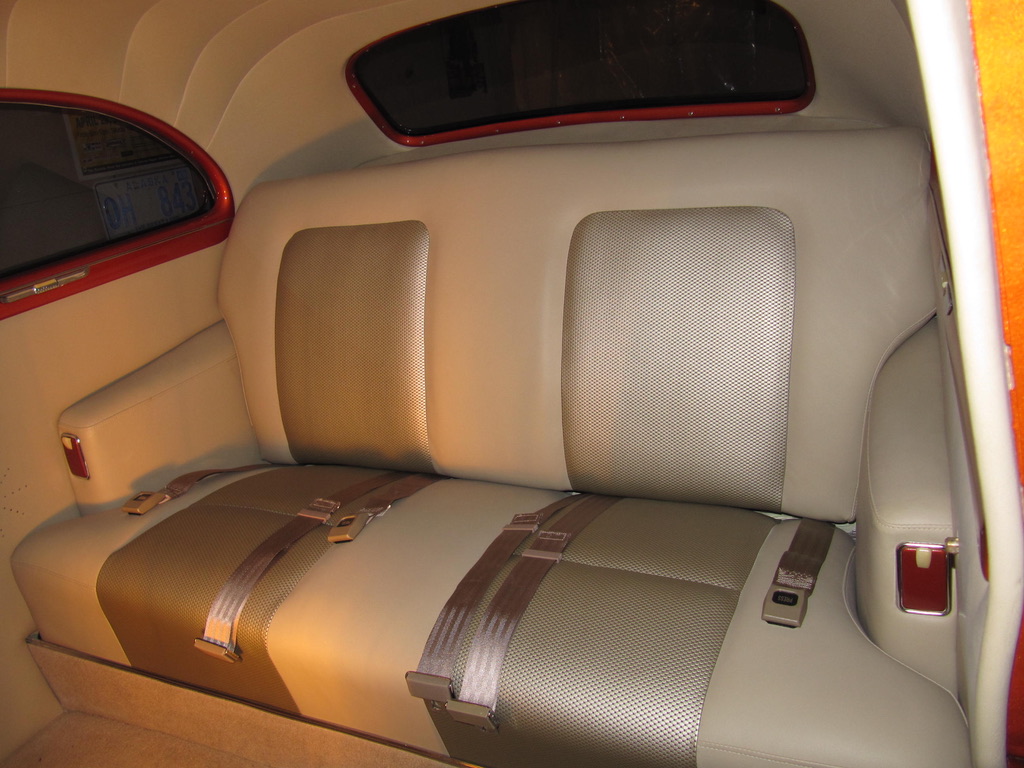
The picture below shows the rear seat with the ashtrays installed. It also shows 3 sets of seat belts that I installed.