Building a Center Console
I decided to try my hand at building a center console to house my air conditioner control module, radio, and most important my Tim's mug holder. If the project does not work out I would have to attach my A/C control module to the bottom of the dash and skip my radio and cup holders. I scoured the internet to find my options:
• Buy a complete fiberglass console from "Classic TruckConsoles" for about $300 and hollow out the various holes required.
• Buy large pieces of Styrofoam, glue them together until the required dimensions are achieved, then hollow out the holes.
• Built it from scratch
I decided to proceed with the third option.
Version 1 (March 2012)
I started by taking a very heavy soldering wire and laying it on the floor of the car, bending it to match the curvature of the floor and the underside of the dash. I then took the wire and traced it onto white cardboard. I did this for both the driver's side and passenger's side.
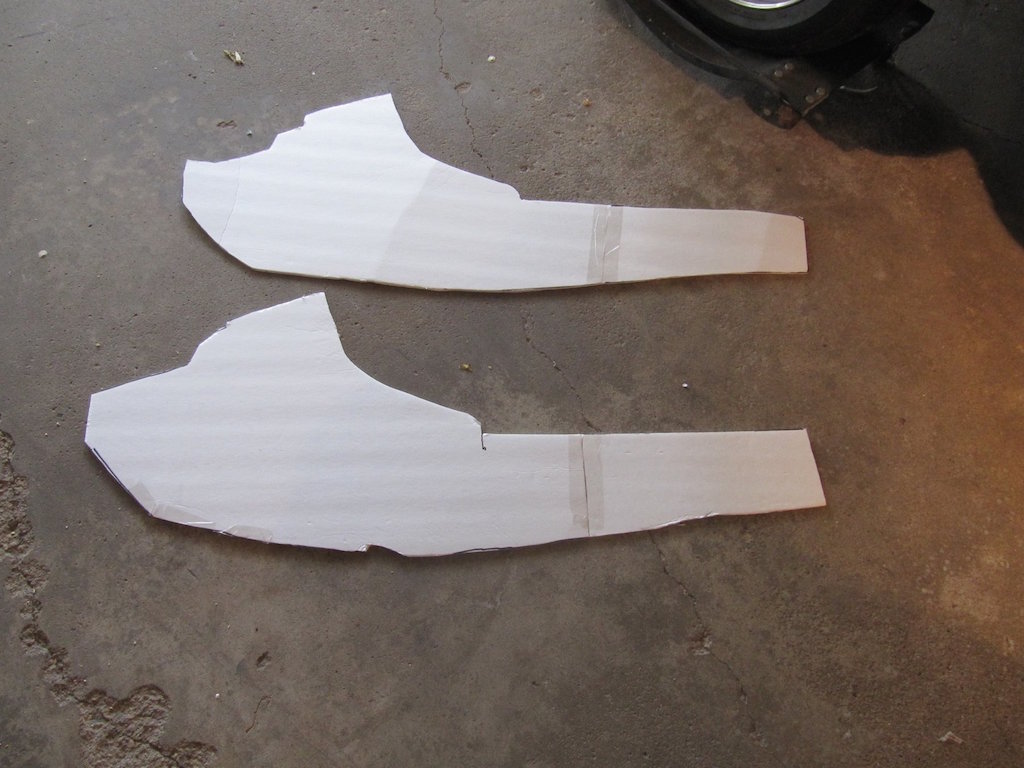
After I was satisfied with the result, I traced it onto pieces of wallboard.
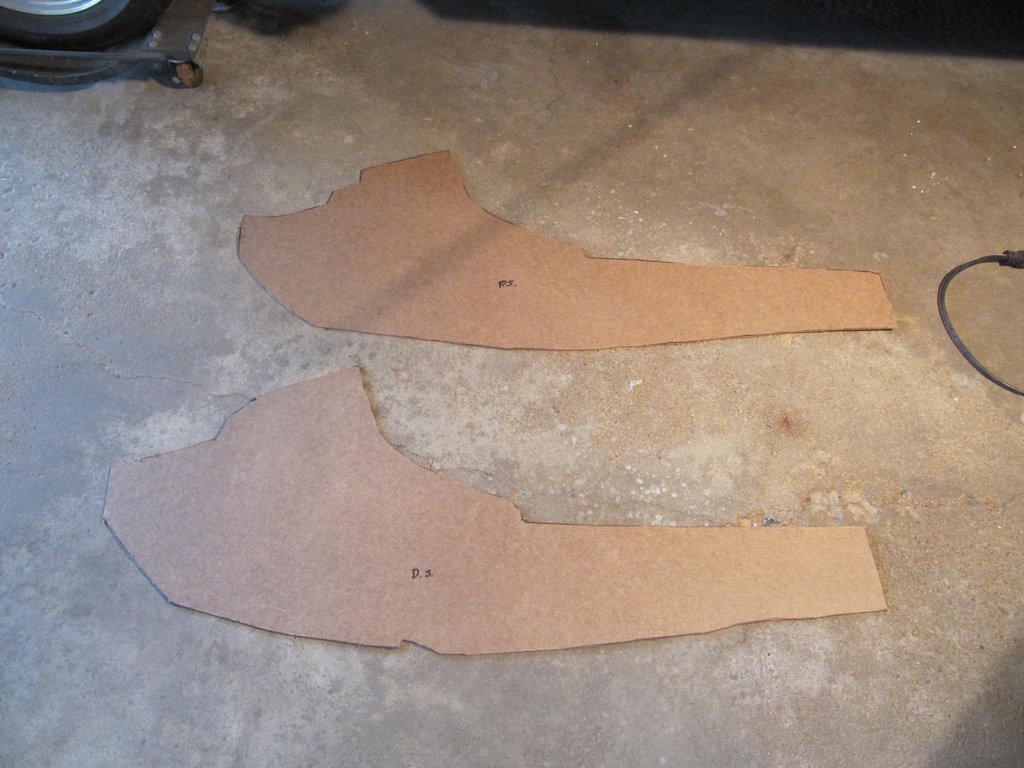
I started to put the pieces together.
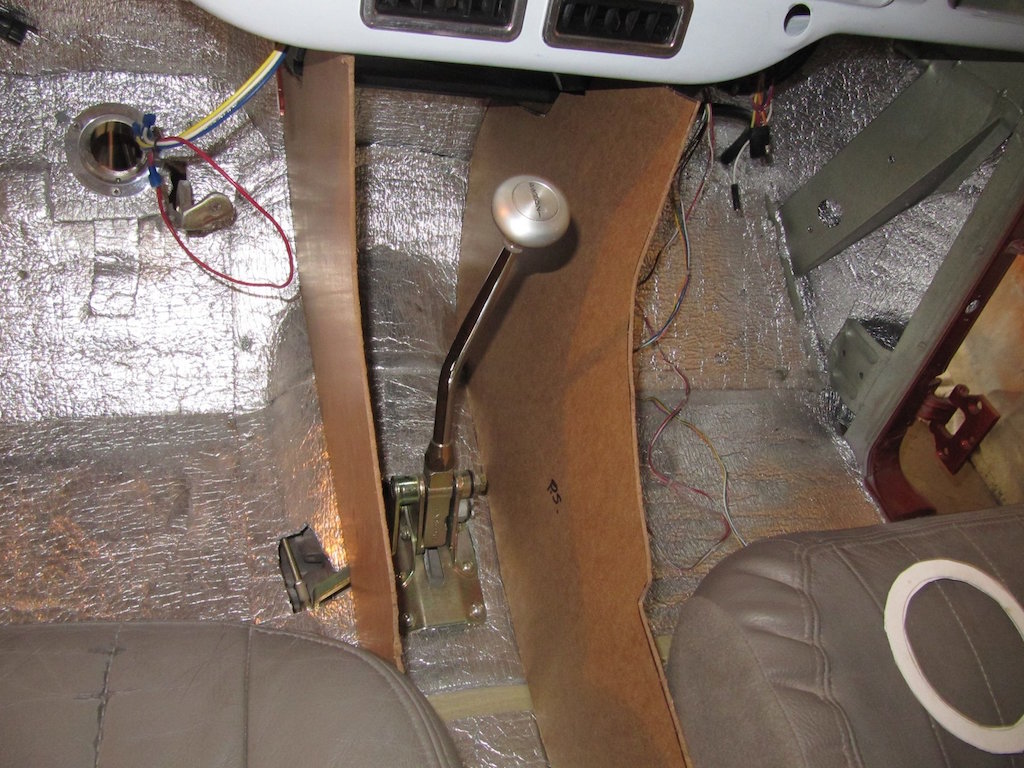
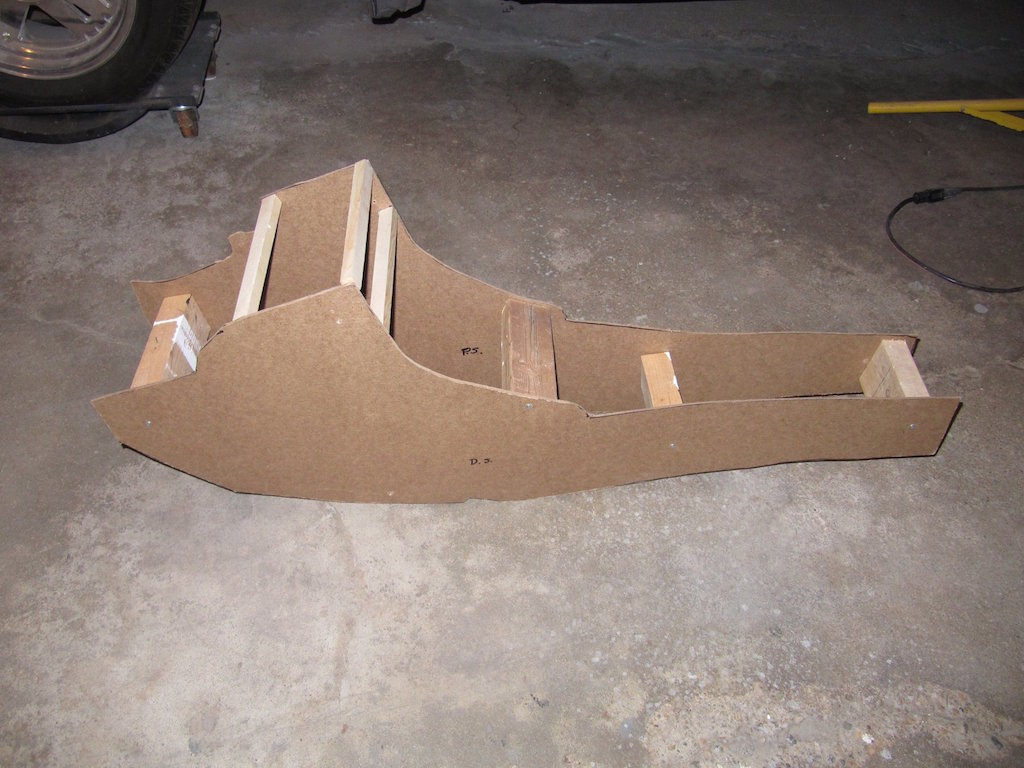

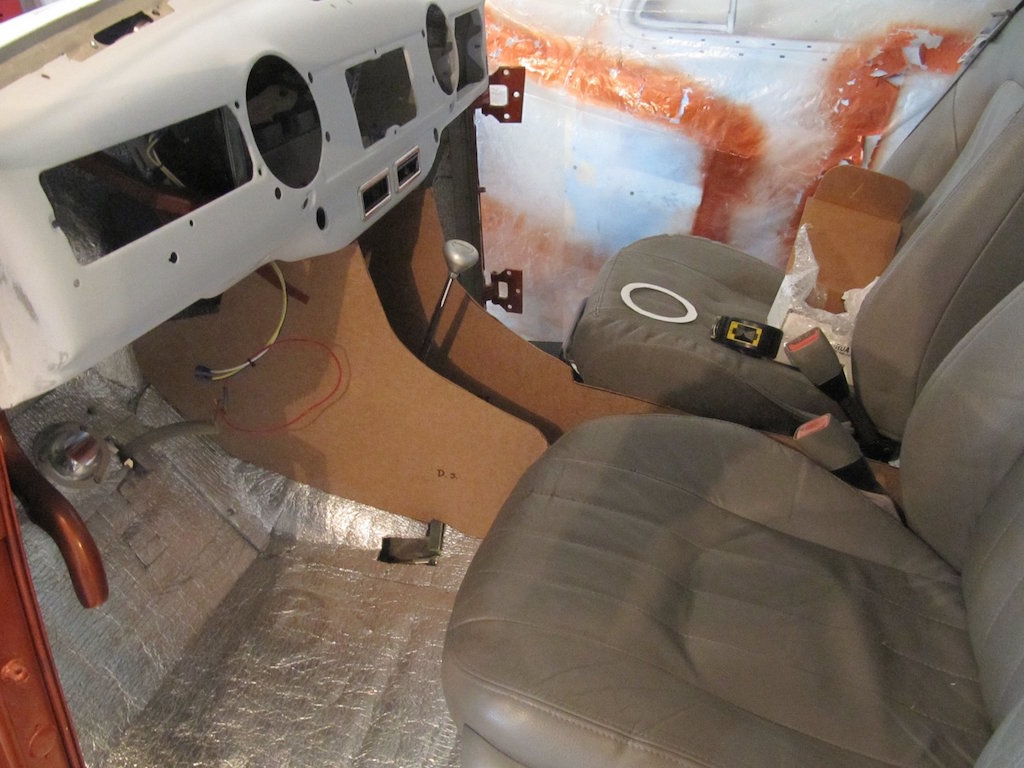
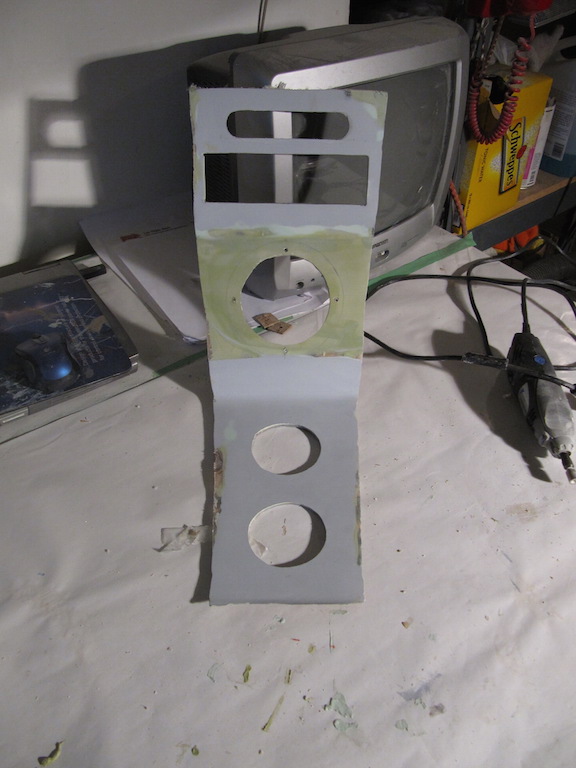
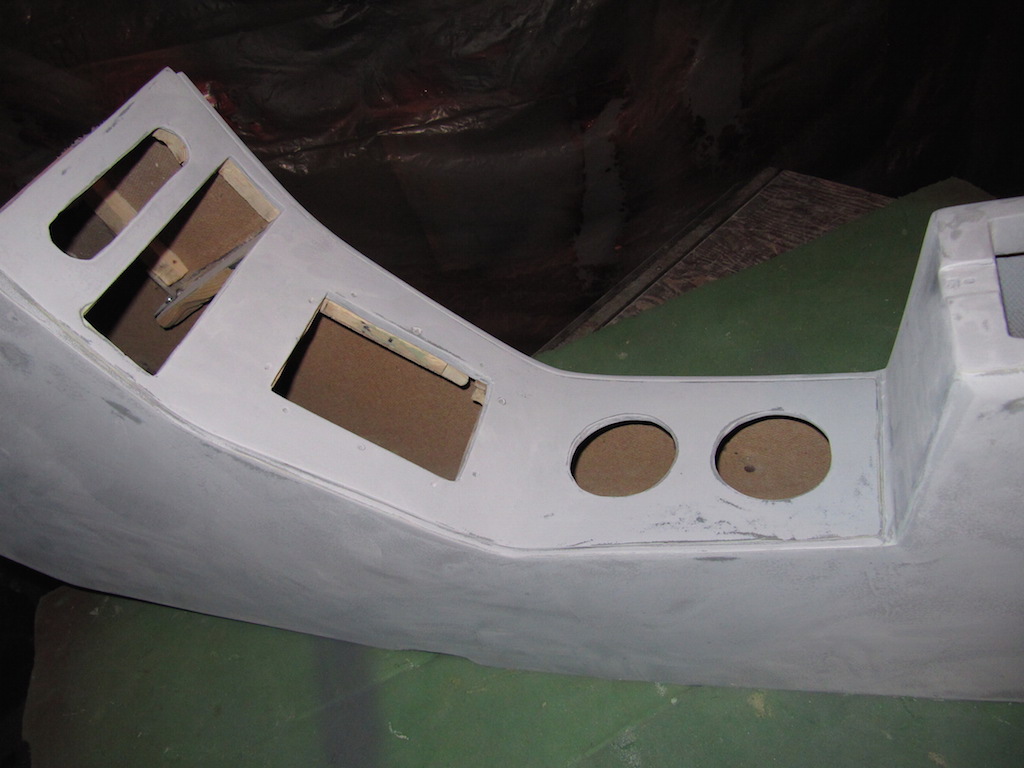
Making sure the holes in the console frame are large enough for the A/C control module, radio and stick shift ring using templates, then the real thing.

Starting the fiberglass procedure:
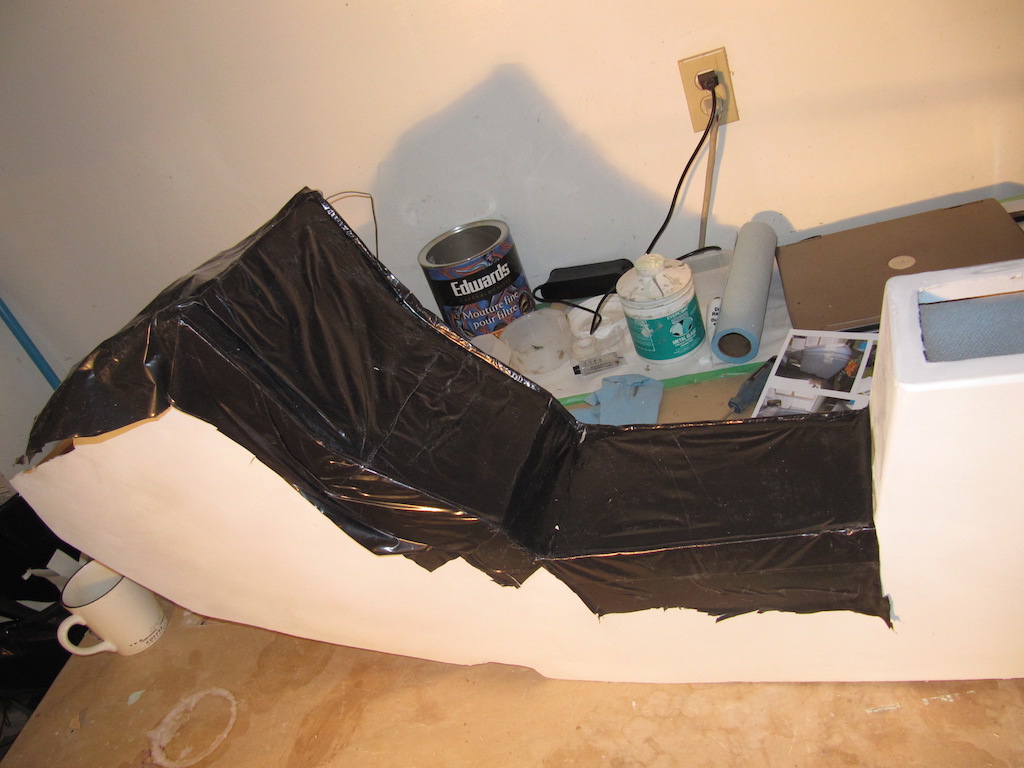
I used double sided carpet tape to tightly install pieces of a garbage bag on the top of the frame.
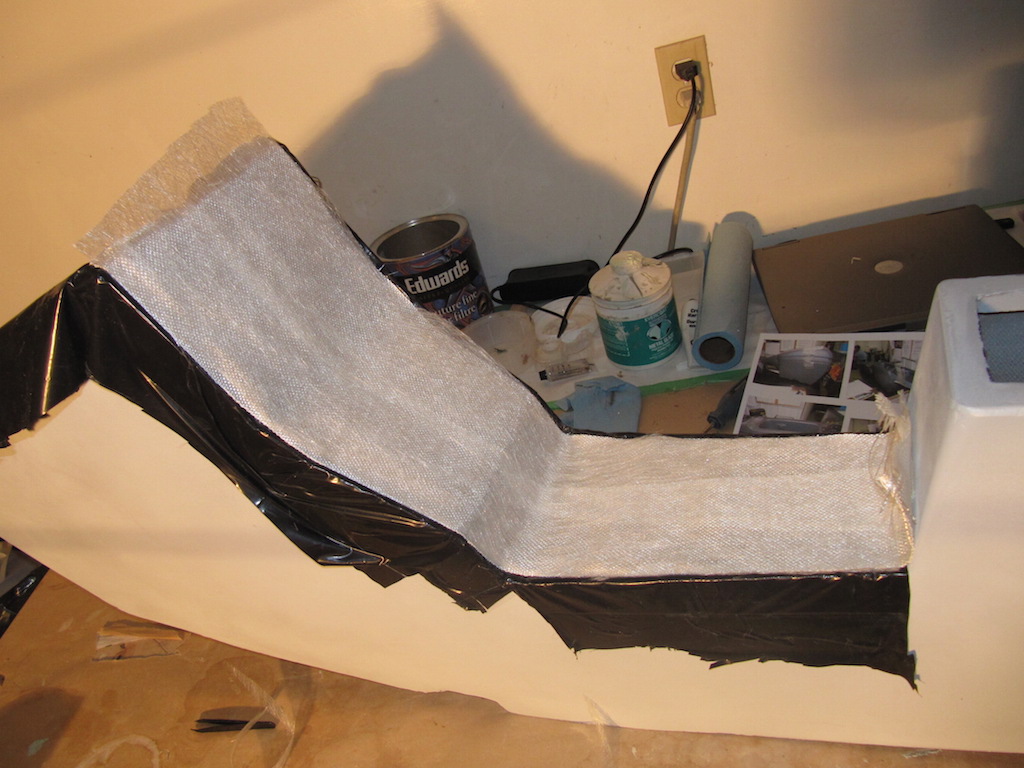
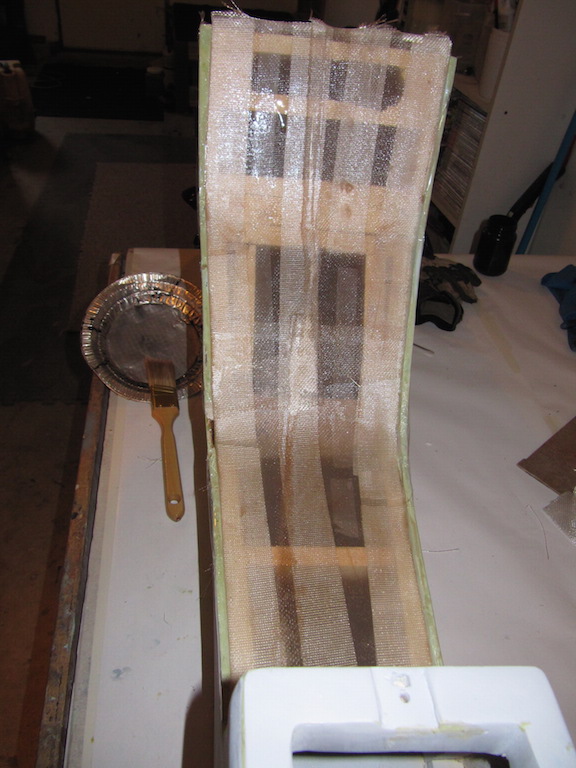
I then put another layer of double sided tape, then started laying down strips of fiberglass.
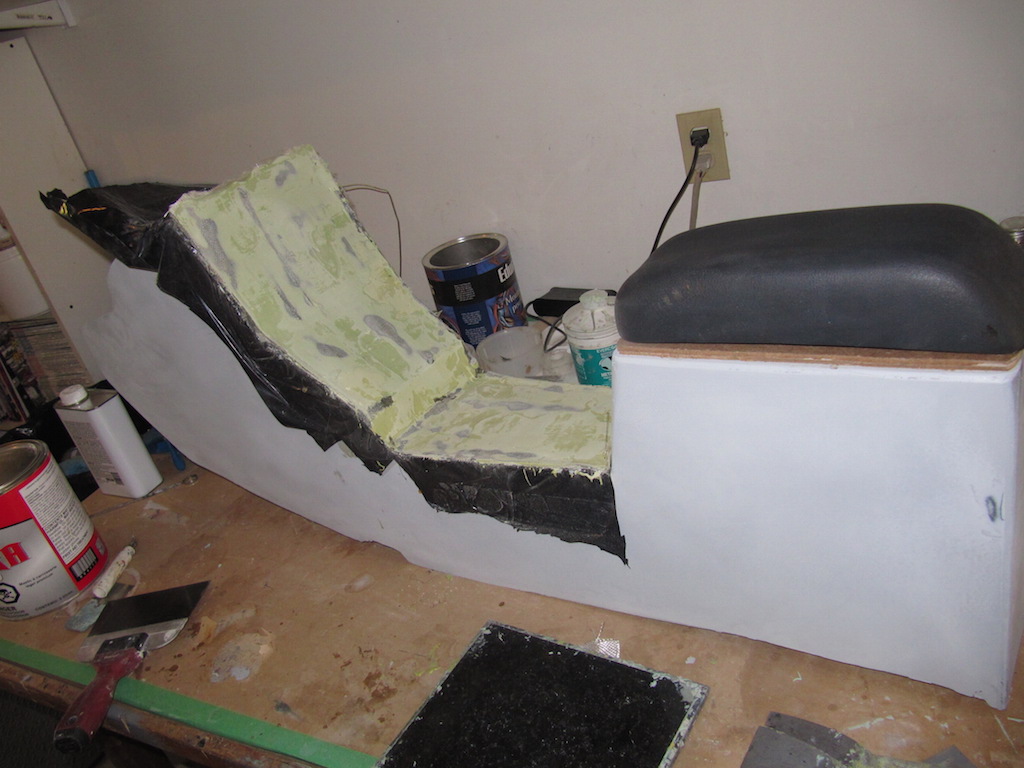
I used a paint brush to apply the resin and sanded after the resin had dried.
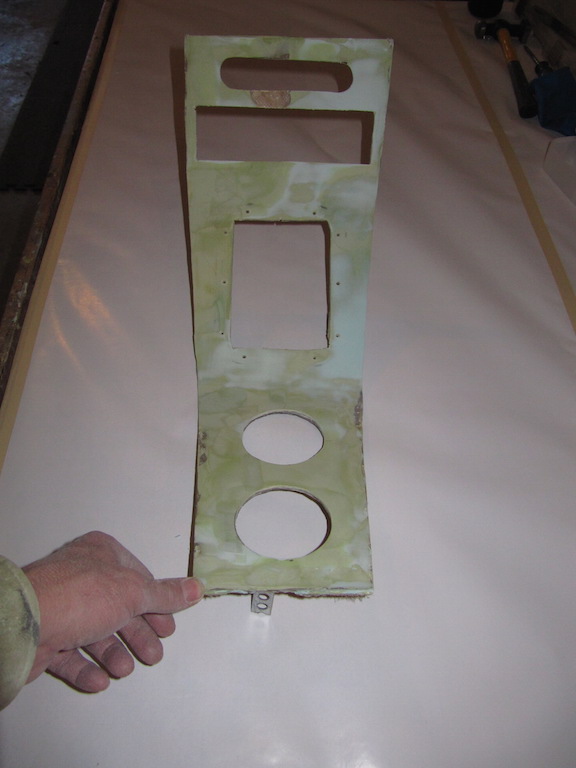
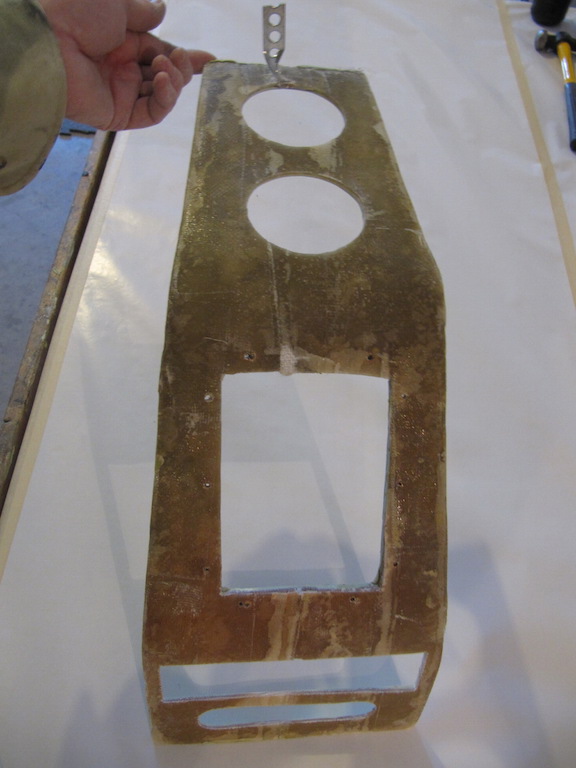
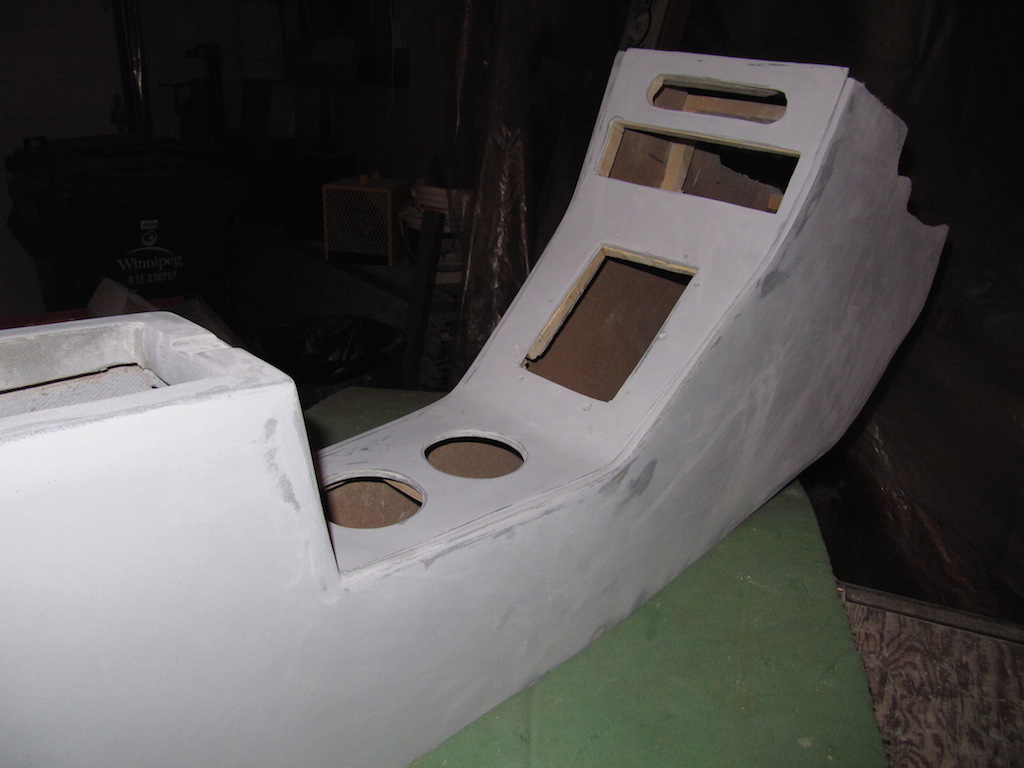
The result after about 4 layers of fiberglass cloth with resin in-between and the body putty on top and lots of sanding.
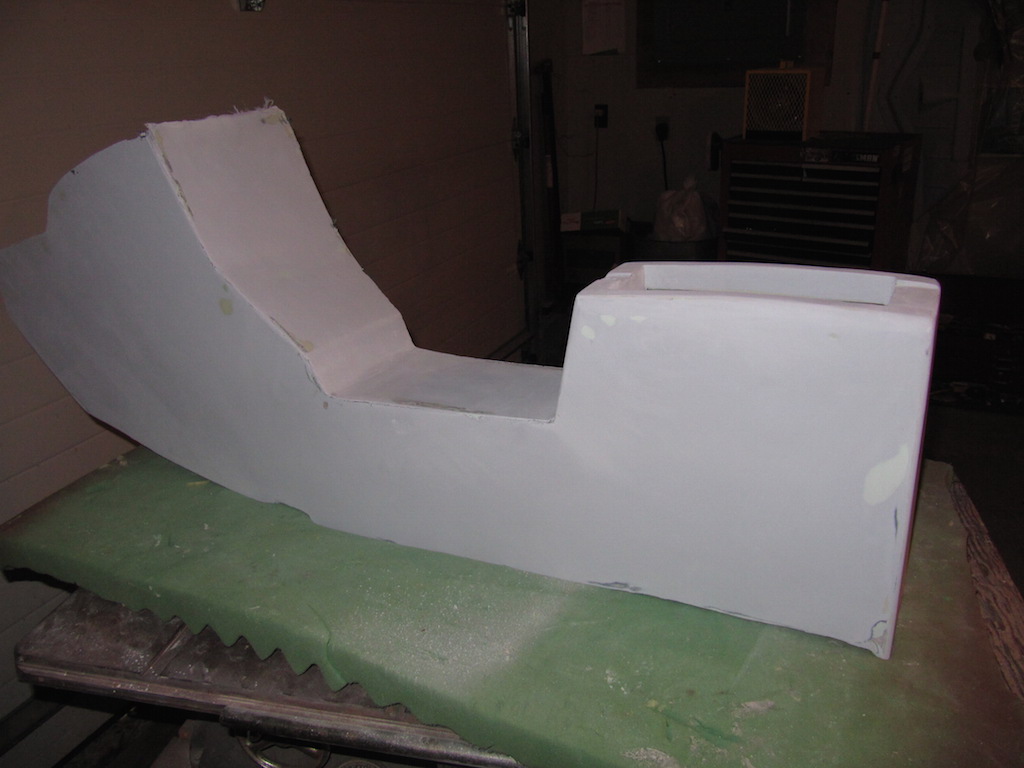
I pried out the template and cleaned up the rough edges. I made holes for the various components.
Version 2 (November 2012)
I installed the console in the car and attached the shifter ring. One day when my brother-in-law was over, he sat in the driver's seat and began shifting gears. He quickly found out that he was unable to put the transmission in low gear. The circular shifter ring prevented the shifter from arriving at all the gears. I had to start over again! I purchased a rectangular ring from Lokar that would provide the full range of the shifter.
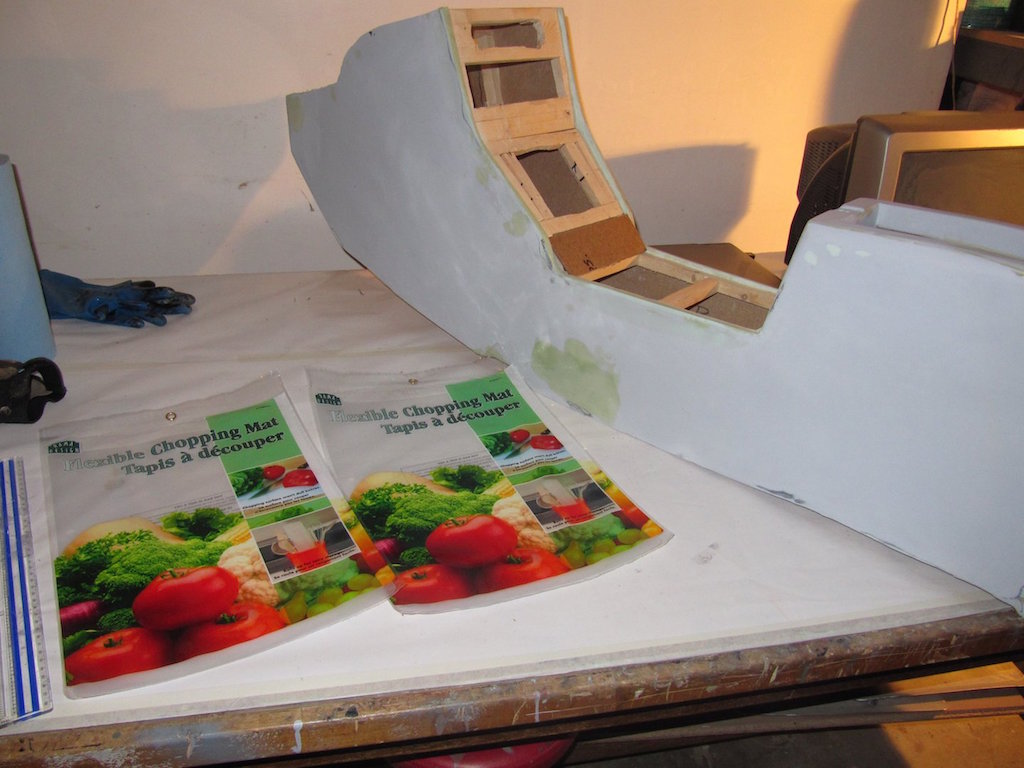
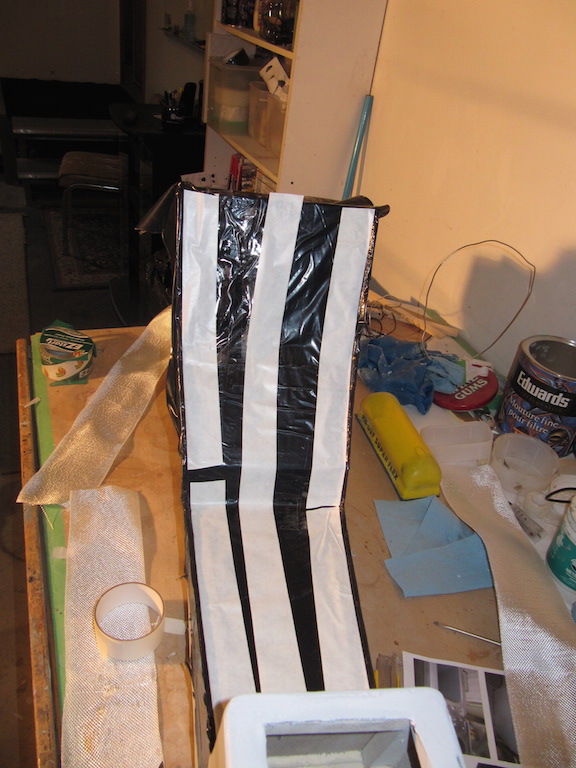
This time I cut up a a very thin chopping mat (above) and taped it to my frame. This would provide sharper edges to the sides of the top panel.
This picture shows the present console top after being soaked in resin using a paintbrush. This time I used fiberglass that came in 3 inch wide rolls. This type of fiberglass provided a sharper edge on the left and right of the top.
The front and back of the top panel above, the back below.
Left and right view of the console.
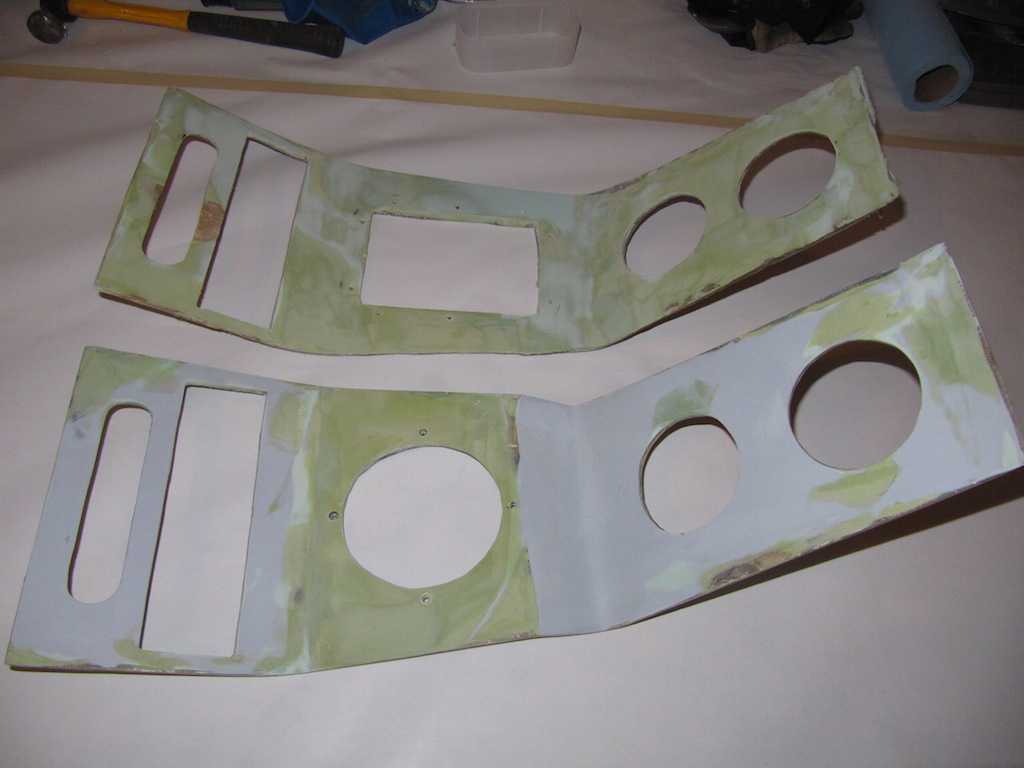
The old and the new console top side by side.
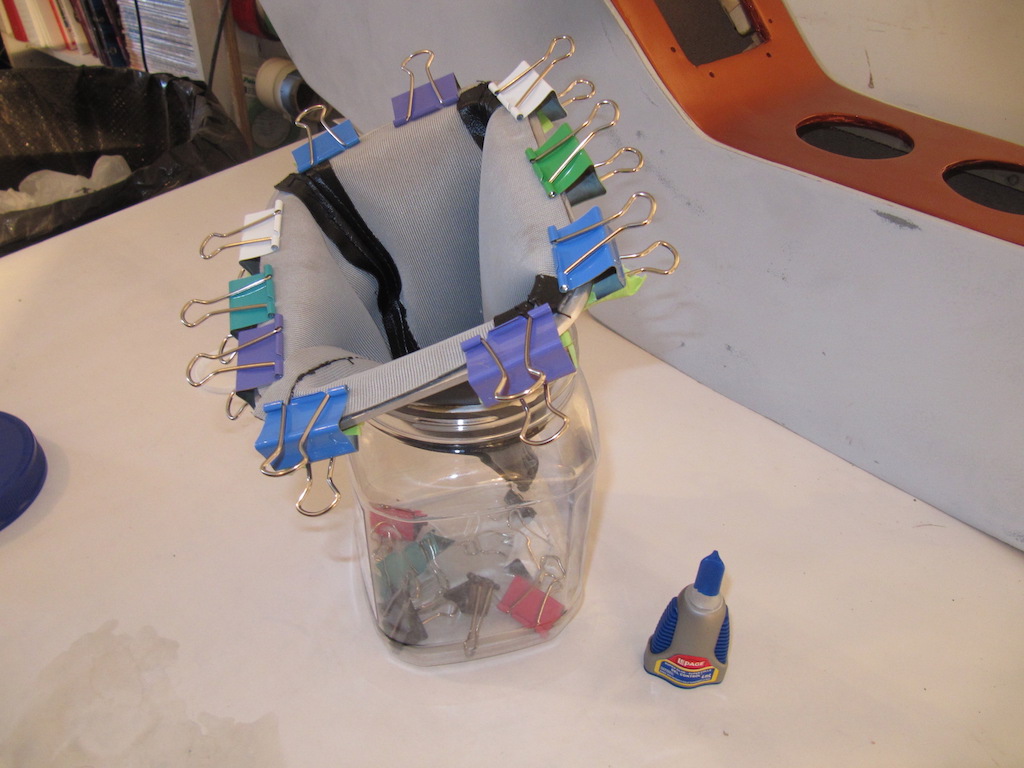
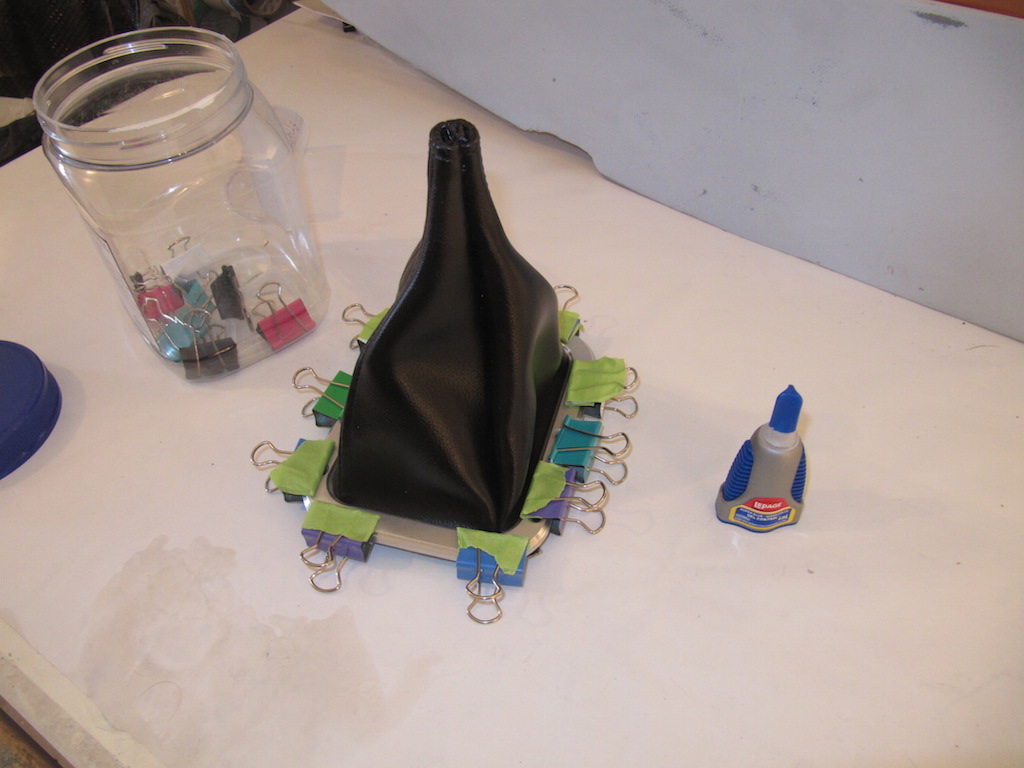
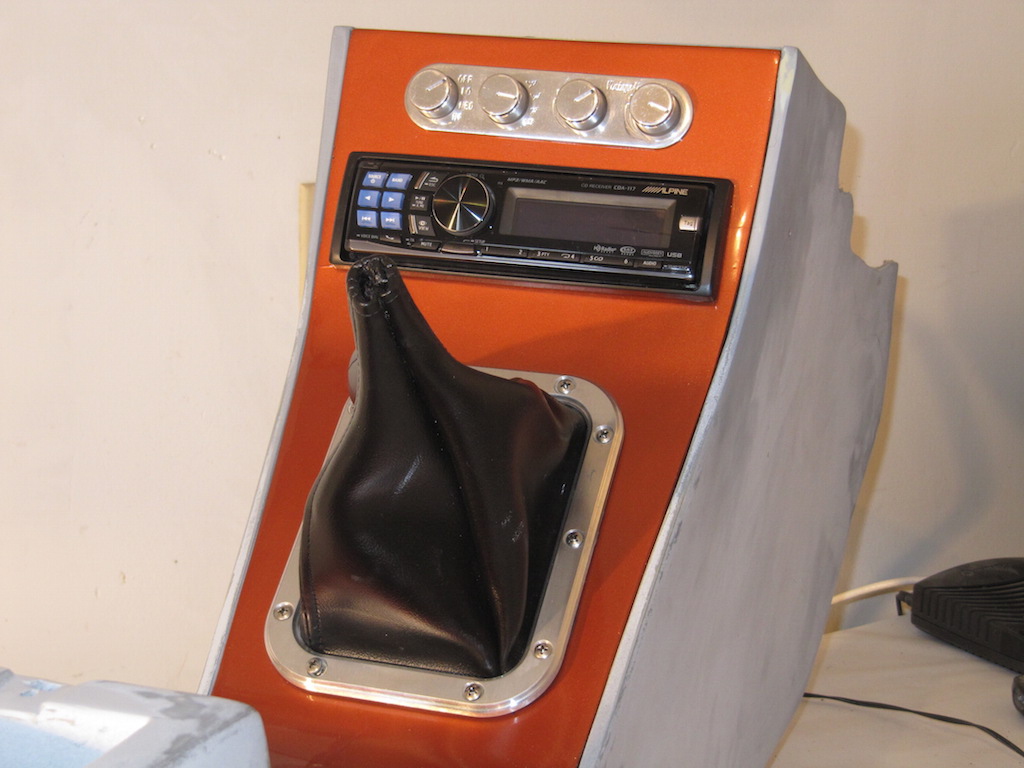
I used some Le Page Gel Super Glue to glue the shifter boot to the back of the shifter ring. I then screwed it onto the console top. I had gotten the console top painted last year with a few other parts.
The console looks great so far, but I suspect the hardest part will be connecting the components when the unit is in place. I may have to cut out a removable panel on the passenger side to connect the cabling. I have not picked out the color for the remainder of the center console. It may even be a type of vinyl.
The color will be decided when I finish the interior.
The Finished Console
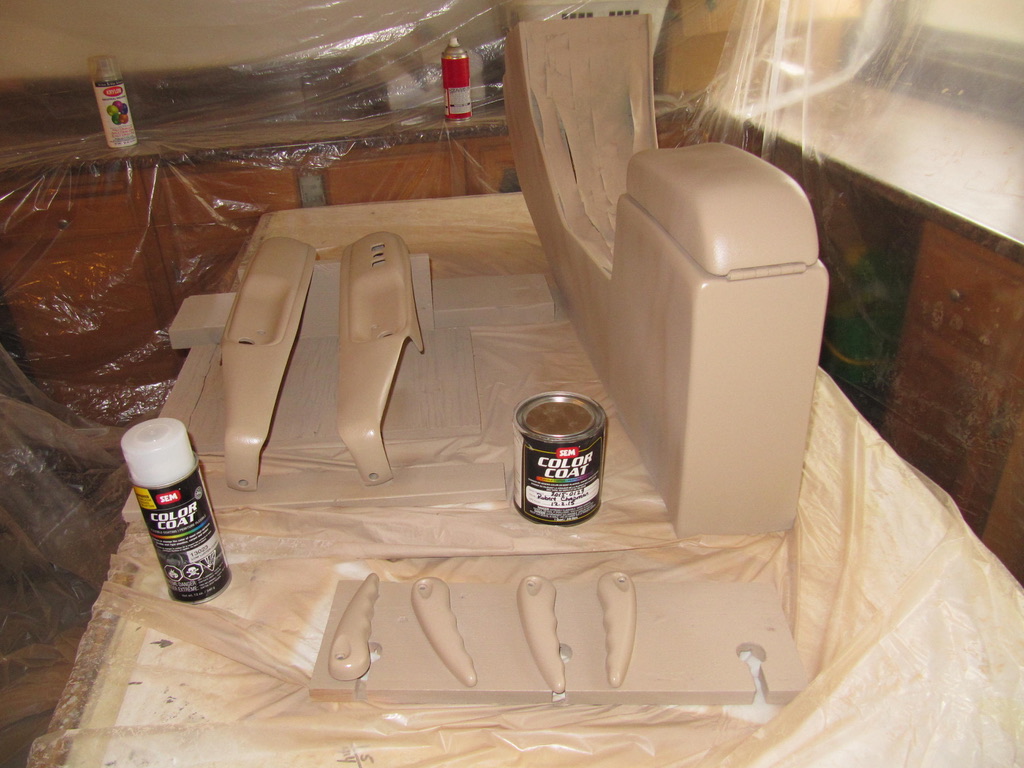
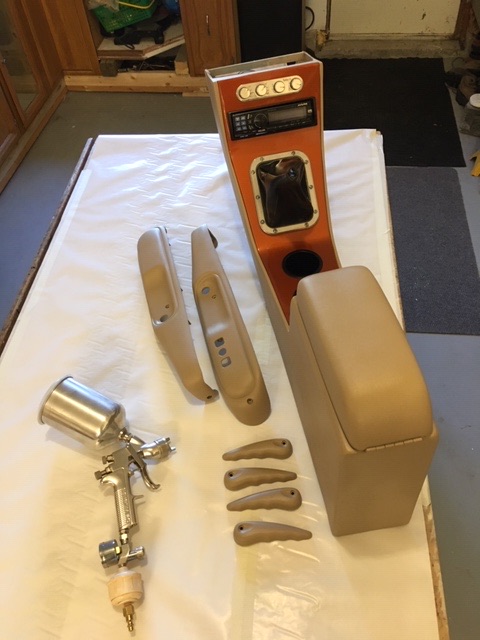
With the car interior 95% complete, I turned my attention to the center console. I looked to SEM Color Coats for vinyl paints. I sent a swatch of the interior to SEM Color Coats in the States and they sent back a quart of matching Color Coat paint. I used SEM Vinyl Prep 38343 on the vinyl top and sprayed the Color Coat on top. I sprayed Sand Free 38363 on the plastic parts and then sprayed the top coat while it was still wet (as per instructions). I was quite satisfied with the results. The original color of the vinyl top was black!. The Color Coat did not need to be thinned and no catalyst was required. It sprayed on very nicely. The picture below shows the console painted and covered with a low-luster clear coat.
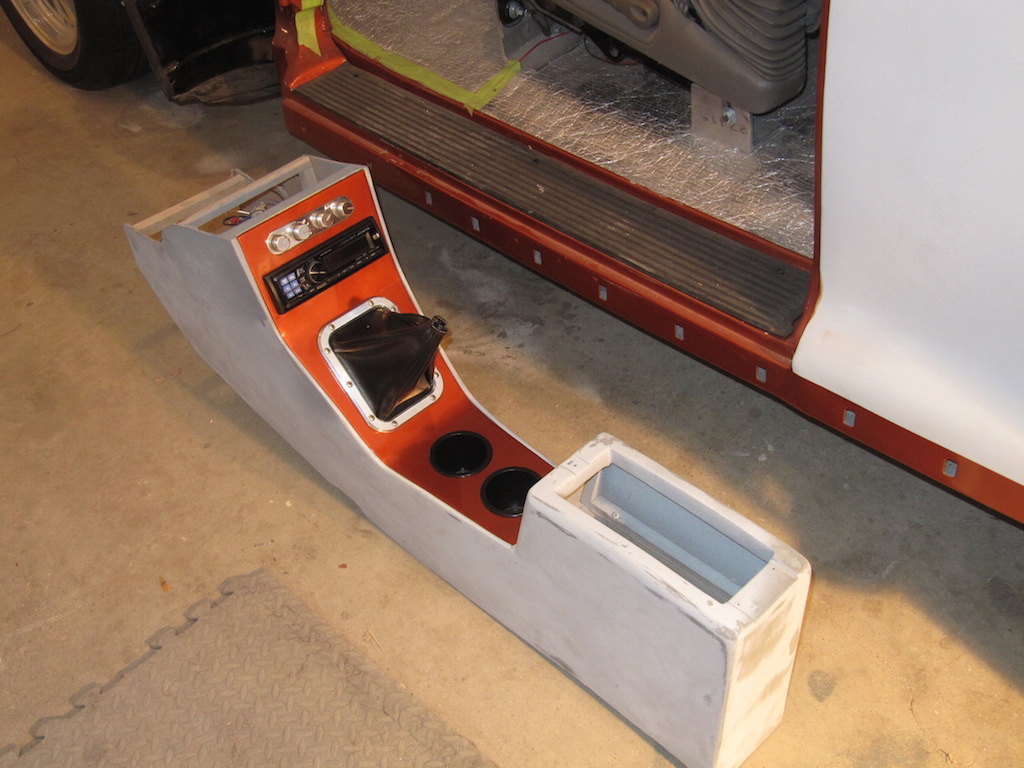
The console with the radio, A/C module and cups installed.
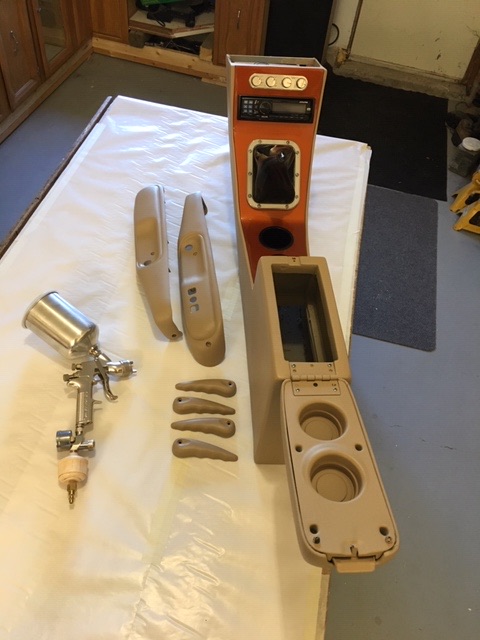
The console with rear cup holder visible.
Version 3 (November 2025)
I have gone 10 years with just the defrost hooked up. I have not hooked up the radio or the rest of the A/C controller module. The problem is the difficulty in getting my hand in to connect the wires when the gearshift assembly is installed.
I decided to create a version 3 with the A/C controller and radio on a separate panel from the gearshift assembly. This would provide the ability to install those 2 items separate from the gearshift assembly. At the same time I am going to increase the size of the cup holders in order to hold a Tom Horton's mug.
This year I also changed the exhaust system to exit the rear of the car and installed quieter mufflers. Therefore I will be able to hear the radio when the car is running! The car was way too loud before.